Centronik Interface - Basic Settings - Digital Switch Mechanism
Main Menu > Settings > Limits
The Limits menu details all of the appropriate settings to control
the conditions for stopping actuator movement.
Use the menu map on the previous page to follow the menu
structure through to the
[LIMITS]
sub menu.
Limits > Close Settings
[CLOSE.SET.]
Direction to Close
[DIRECTIO.]
Press
to edit, select preferred option using
and
for
Clockwise or Anti-clockwise operation and press
to save
selection.
Action
[ACTION]
Press
to edit, select preferred option using
and
for Seat
Limit or Seat Torque and press
to save selection.
Seating Torque
[SEAT.TORQ.]
Press
to edit, adjust shown value using
and
and press
to confirm selection (40% - 100%).
CAUTION: The Seating Torque value is used as torque
limit protection through full valve travel.
Setting the Close Position Limit
[SET.LIMIT.]
Move the actuator to the fully closed position . Allow for overrun by
winding the manual override handwheel in the open direction by
5 turns (10 turns for CK500).
Press
to edit.
[SURE??]
will show on the display, press
to confirm.
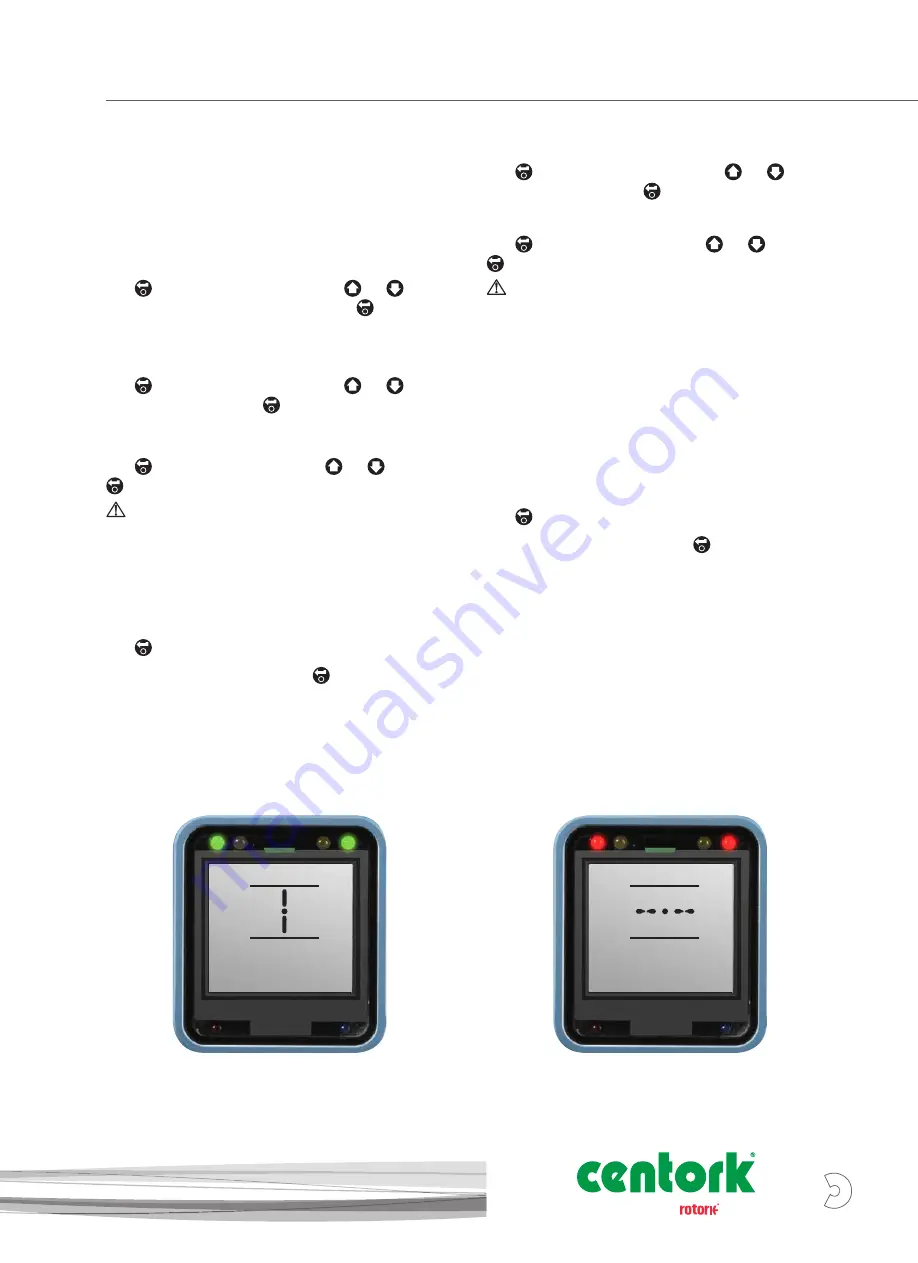
Once these steps are complete, the Centronik display position
should replicate the image below.
CLOSELIM
DEMO
OPEN LIM
DEMO
Limits > Open Settings
[OPEN.SETT.]
Action
[ACTION]
Press
to edit, select preferred option using
and
for Seat
Limit or Seat Torque and press
to save selection.
Seating Torque
[SEAT.TORQ.]
Press
to edit, adjust shown value using
and
and press
to confirm (40% - 100%).
CAUTION: The Seating Torque value is used as torque
limit protection through full valve travel.
Turns
[TURNS]
This setting will show the number of output turns configured for
actuator / valve travel between the open and closed limit positions.
This is a read only function to validate total valve travel.
Setting the Open Position Limit
[SET.LIMIT.]
Move the actuator to the fully open position. Allow for overrun by
winding the manual override handwheel in the close direction by
5 turns (10 turns for CK500).
Press
to edit.
[SURE??]
will show on the display, press
to confirm.
Once these steps are complete, the Centronik display position
should replicate the image below.
9
A
Brand
A4
US


