


4–10 • Using the PIVOTCam Control Panel
PIVOTCam Control Panel User Guide (1.2)
To access the on-screen menu through the PIVOTCam Control Panel:
1.
Tap the camera button for the camera you want to control.
Tip
: The selected camera button is highlighted blue.
2.
Tap the
Camera Controls
tab.
3.
Tap the
Open Menu
button.
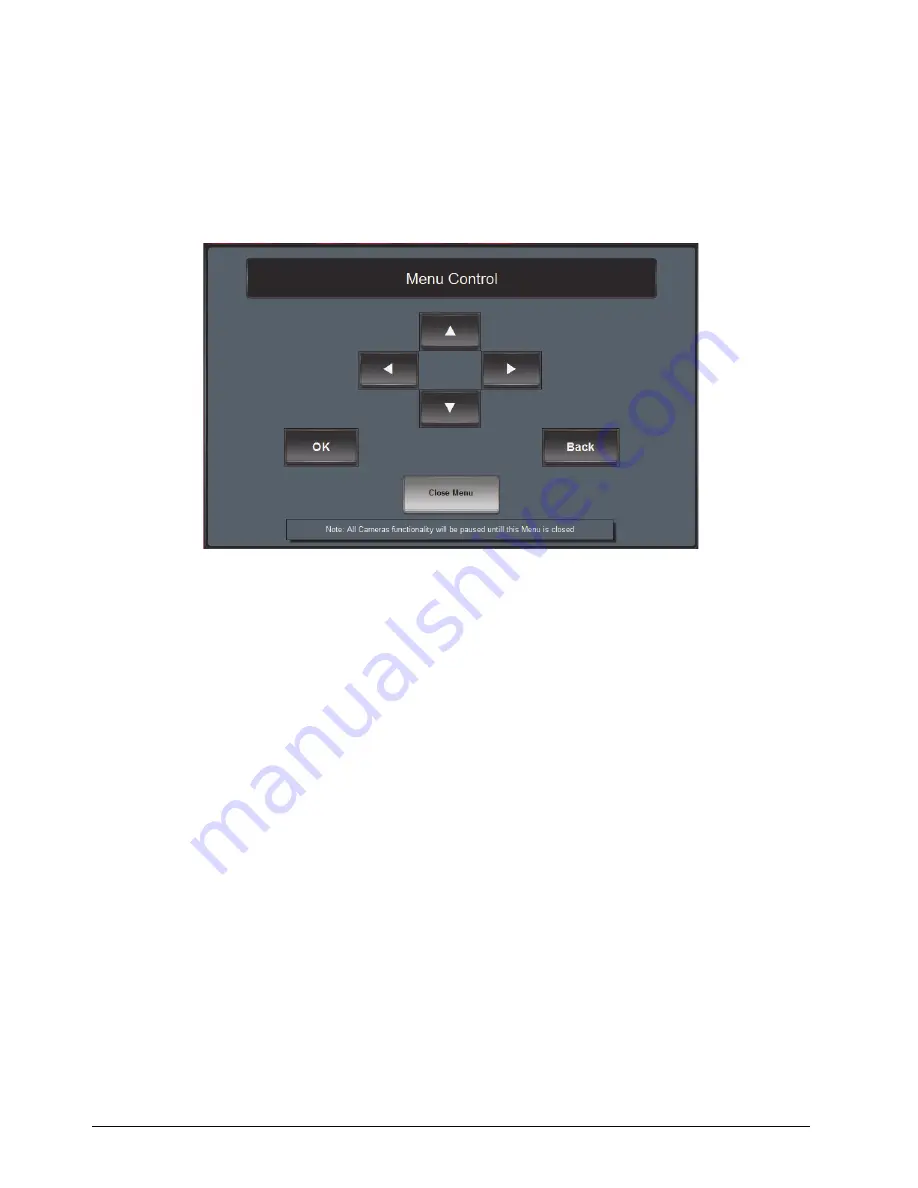
The
Menu Control
Figure 4.8
- Menu Control Interface
4.
Tap the up and down arrows to select a category that contains a setting you want to change.
Note
: The menu has two hierarchical levels, represented by columns. The left column is the upper level, and
the right column is the lower level. Selecting a category in the upper level changes the settings available in the
lower level.
5.
After you select a category, tap the right arrow to move to the right column.
6.
Tap the up and down arrows to select a setting you want to change.
7.
Tap the right and left arrows to select a value.
Note
: If the setting is
FORMAT
, use the up and down arrows to select the video format, and then tap OK.
8.
After you select a value, do one of the following:
• Tap the up and down arrows to select another setting you want to change.
• Tap the
Back
button to return to the upper level of the menu hierarchy, from which you can select another
category and then another setting to change.
9.
When you are finished changing settings, tap the
Back
button until the
SAVE
prompt appears.
10.
Tap
OK
.
11.
Tap the
Close Menu
button.


