HDC-8223A(-S) User Manual (Iss. 03)
Operation • 4–13
• If the
Text Box Size
is set to
Custom
, use the
Text Box Width
, and
Text Box
Height
sliders to adjust the dimensions of the overlay.
• Use the
Horizontal
Padding
and
Vertical Padding
sliders to nudge the overlay
position along the x or y axis respectively.
7.
Use the
Position Mode
to specify where on the display to anchor the overlay text box.
• If you set the Position Mode to a Custom option, use the
Horizontal
and
Vertical
Position
sliders to specify a location for the overlay on the display.
8.
Use the
Background Color
, and
Background Opacity
fields to configure a background
to the overlay.
9.
Use the
Border
menu to add a border to the overlay. Note that the border color is
determined by the
Character Color
setting.
10.
Click
Update
to apply your settings.
11.
Ident 2
if you wish to configure a second text overlay.
Adding a Timecode Overlay
A timecode overlay displays the timecode data as reported by the output video signal. You can
still customize the timecode format and appearance, add a background, and position the overlay
anywhere on the active picture area.
For More Information on...
• the menus and parameters available in the
Timecode Burn
sub-tab, refer to the section
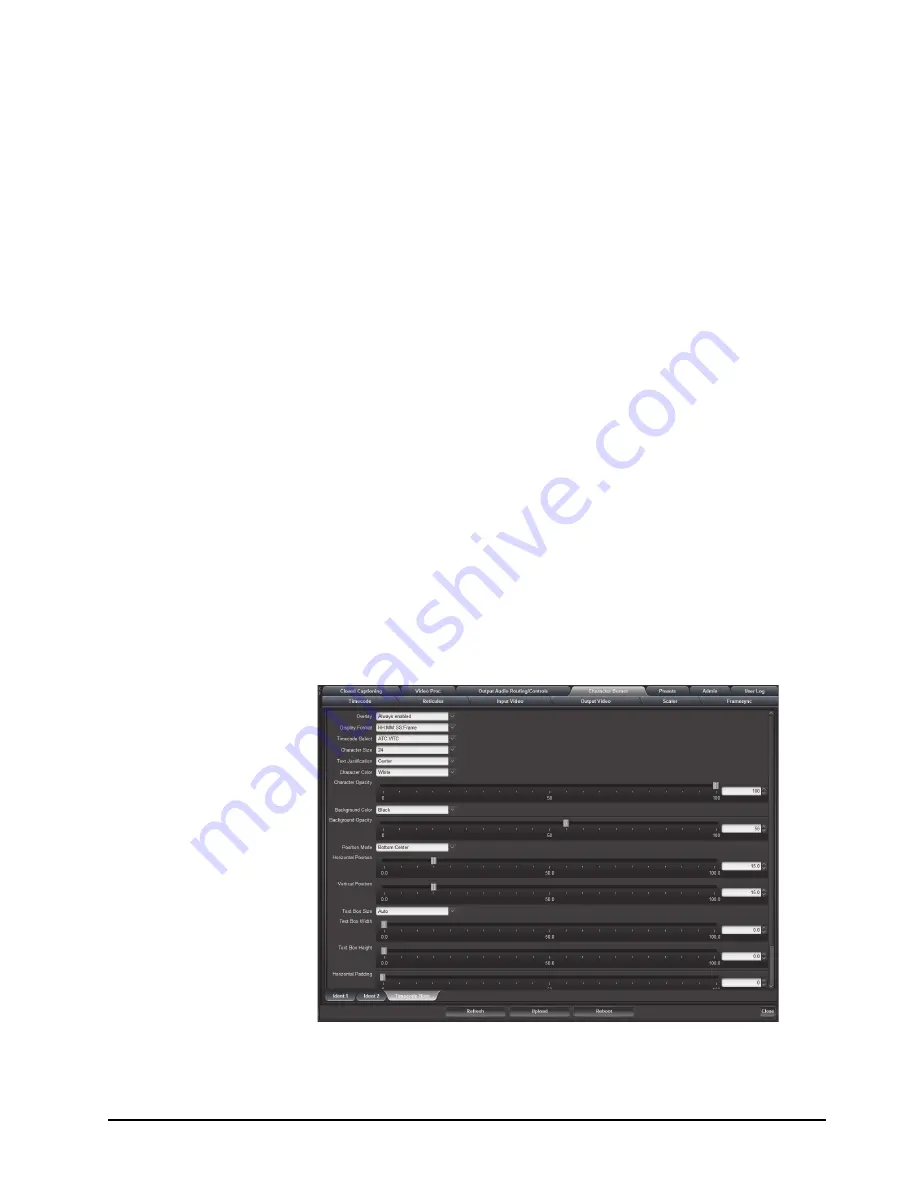
To add a timecode overlay
1.
Select the
Character Burner
tab.
2.
Select the
Timecode Burn
sub-tab located at the bottom of the
Character Burner
tab.
Character Burner — Timecode Burn Tab
3.
From the
Overlay
menu, select one of the following:
•
Always enabled
— The timecode overlay always displays on the output.


