


ROPV R80 S Series Manual
August
2005B
solution or clean water. The components should be air dried or dried with a lint-free
towel.
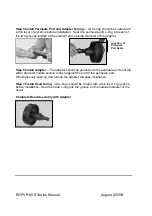
Step 5 Inspect All Components
– All components should be carefully inspected for
signs of corrosion and damage. Components exhibiting such should be replaced before
re-installation. All o-rings should be carefully inspected for signs of damage. It is
recommended that all o-rings be replaced during each complete servicing of the vessel.
Failure to do so may cause poor system performance.
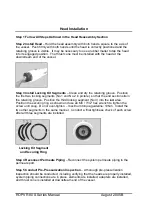
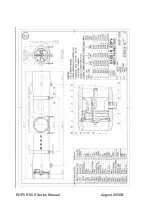
Step 6 Inspect Inside Vessel Surface
– The inside surface of the vessel should also
be inspected once the membrane elements have been removed. Special attention
should be paid to identify any scratches, damage or foreign matter. Surface scratches
can be repaired by carefully sanding the effected surface with 600-grit sandpaper. A
combination of soapy water and fresh water should be used to flush the area during
sanding. Clean water should be used to clean the area after sanding. Any
extemporaneous matter can be removed with a soft cloth, soapy water, and a clean
water flush. Damaged vessels should not be used under any circumstances.
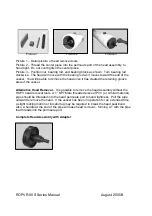
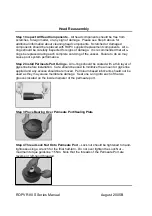
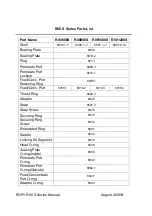
Picture of Disassembled Head Components


