


14
Playing/Recording Patterns (PATTERN SEQUENCER)
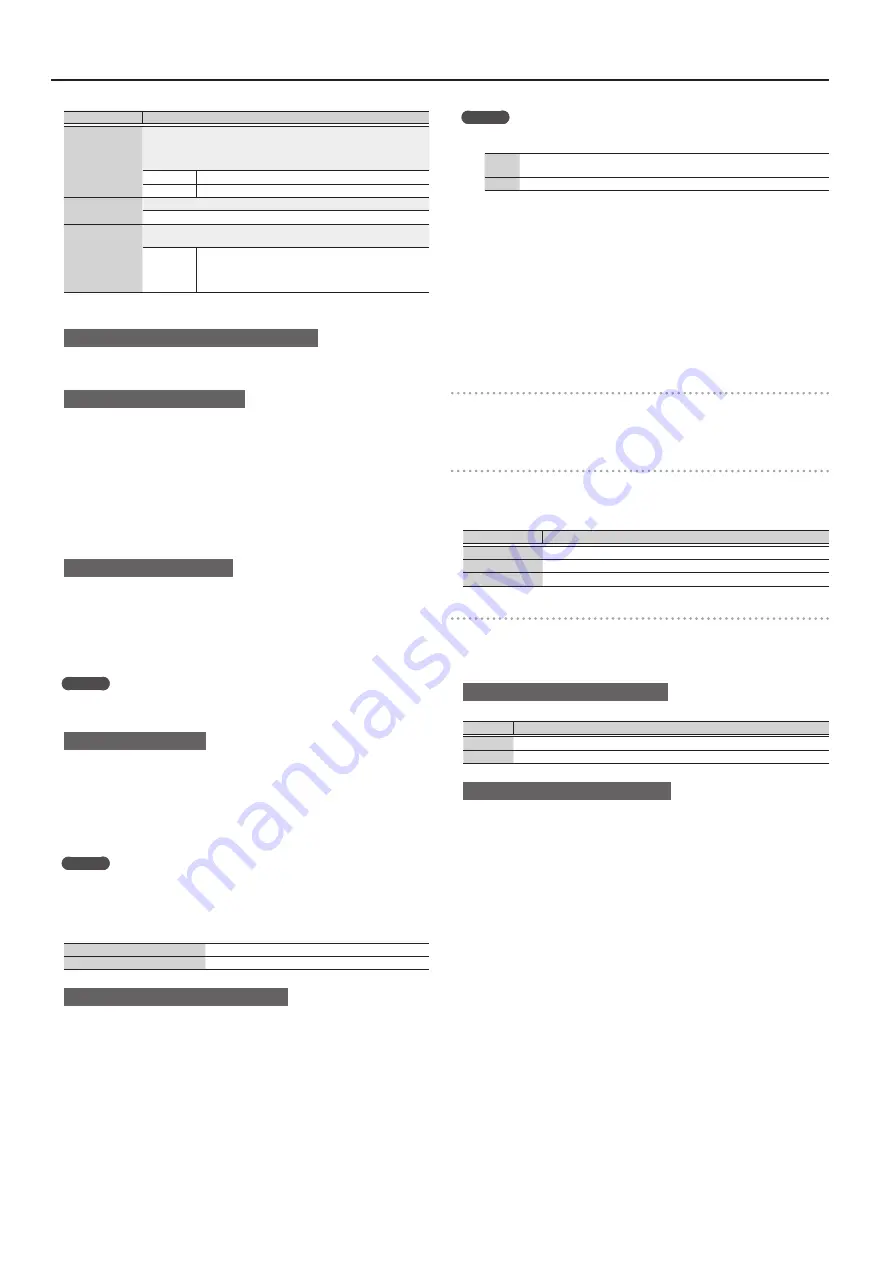
Parameter
Value/Explanation
Input Quantize
Specifies whether quantize will be applied during recording.
*
Quantize:
Automatically corrects inaccuracies in the timing of your keyboard
playing, so that the timing is more accurate.
OFF
Quantize is not applied during recording.
ON
Quantize while recording.
Resolution
Specifies the note timing value at which quantization is applied.
1/32 (
`
)–1/4 (
¸
)
Strength
Specifies the degree to which your notes are moved to precise intervals of
the note values specified by the Resolution setting.
0–100%
If this is set to “100%,” the notes that you record are moved
all the way to exact intervals of the specified Resolution.
With lower percentages, less correction is applied. If this is
set to “0%,” the timing is not corrected at all.
5.
Make various settings as necessary.
To change the number of measures in the pattern
Refer to “Specifying the number of measures in the pattern (PATTERN LENGTH)”
When recording a rhythm pattern
If R. Ptn 1st Loop Rec is ON, the rhythm pattern playback is recorded on the first
cycle after recording starts.
1.
Press the [RHYTHM PATTERN] button.
The RHYTHM PATTERN screen appears.
2.
Select a rhythm pattern group and drum kit.
3.
Use pads [1]–[8] to select the rhythm pattern.
When you press a pad, the rhythm pattern plays.
4.
Press the [EXIT] button to exit the RHYTHM PATTERN screen.
Changing the recording tempo
1.
Press the [TEMPO] button.
The TEMPO screen appears.
2.
Use the value dial to specify a tempo at which you are comfortable recording.
3.
Press the [EXIT] button to exit the TEMPO screen.
* Tempo change data is not recorded.
MEMO
You can set the tempo by repeatedly pressing the [TAP] button at the desired
interval.
To sound the metronome
1.
Press the [TEMPO] button.
The TEMPO screen appears.
2.
Move the cursor to “Metronome,” and use the value dial to set “ON.”
3.
Use the value dial to specify a tempo at which you are comfortable recording.
4.
Press the [EXIT] button to exit the TEMPO screen.
MEMO
You can turn the metronome on/off by holding down the [SHIFT] button and
press the [TEMPO] button.
6.
Use pads [1]–[8] to specify the recording track.
The selected pad is lit.
Lit other than the recording track:
A track that already contains data
Unlit:
A track that does not contain data
To change the sound of the recording track
1.
Move the cursor to the category number.
The PATCH LIST screen appears.
2.
Use the value dial to select a patch.
You can also use the category buttons ([DRUMS/PERCUSSION]–[SAMPLE]) to
make a selection.
7.
Press the [
s
] button to start recording.
8.
Play the keyboard.
Movements of the knobs and pitch bend/modulation are also recorded.
MEMO
5
By holding down the [SHIFT] button and pressing the [LOOP] button you can
turn LOOP REC on/off.
OFF
Record to the specified measure length, and then switch from recording to
playback.
ON
Continue recording even after recording to the specified measure length.
5
If the [LOOP] button is on and R. Ptn 1st Loop Rec is ON, the rhythm pattern is
also recorded only for the first cycle. For the second and subsequent cycles, the
rhythm pattern stops, and track 8 on which the rhythm pattern was recorded
will play.
5
Recording adds to the previously recorded data, and layers new data. If you
want to re-record, erase the data and record again.
9.
Press the [
t
] button.
You return to pattern playback. If you press the [
t
] button once again, you return to
recording mode.
10.
Press the [
s
] button to stop the pattern.
The pattern stops regardless of the recording/playback state.
Erasing a portion of the track data during recording/playback
1.
During recording or playback, press the [ERASE] button.
As long as you continue holding down the button, the performance data of the
selected track is erased from the pattern.
Erasing an entire pattern or track (PATTERN ERASE)
1.
Hold down the [SHIFT] button and press the [ERASE] button.
The PATTERN ERASE screen appears.
2.
Select the track that you want to erase, and press the [ENTER] button.
Value
Explanation
Track 1–8
The data of the specified track is erased.
SysEx
System exclusive messages are erased.
ALL
The data of all tracks are erased.
Specifying the number of measures in the pattern (PATTERN LENGTH)
1.
Press the [PATTERN LENGTH] button.
The PATTERN LENGTH screen appears.
2.
Select the number of measures, and press the [ENTER] button.
If the number of measures is increased
The screen asks “With Copying?”
Operation Explanation
“YES”
The recorded data is copied repeatedly to increase the number of measures.
“NO”
Only the number of measures is increased; the recorded data is unchanged.
If the number of measures is decreased
The recorded data is unchanged; only the number of measures played back is
changed.
Summary of Contents for XPS-30
Page 22: ...22 MEMO...
Page 23: ...23...


