77
Using Effects
Using Effects
6
Press [FADER/MUTE] so that the TR (track) indicator is lit.
7
Select the track for recording. Hold down [REC], and press the
[STATUS] button of the track that you wish to record. For this
example, hold down [REC] and press the track 2 [STATUS]
button. [STATUS] will blink red.
8
Select the source that will be recorded on the track. Hold down
the [STATUS] button of the track that you wish to record, and
press the [SELECT] button of the input channel that you wish
to assign as the source. For this example, hold down the track 2
[STATUS] button and press the input channel 1 [SELECT]
button. [SELECT] will blink.
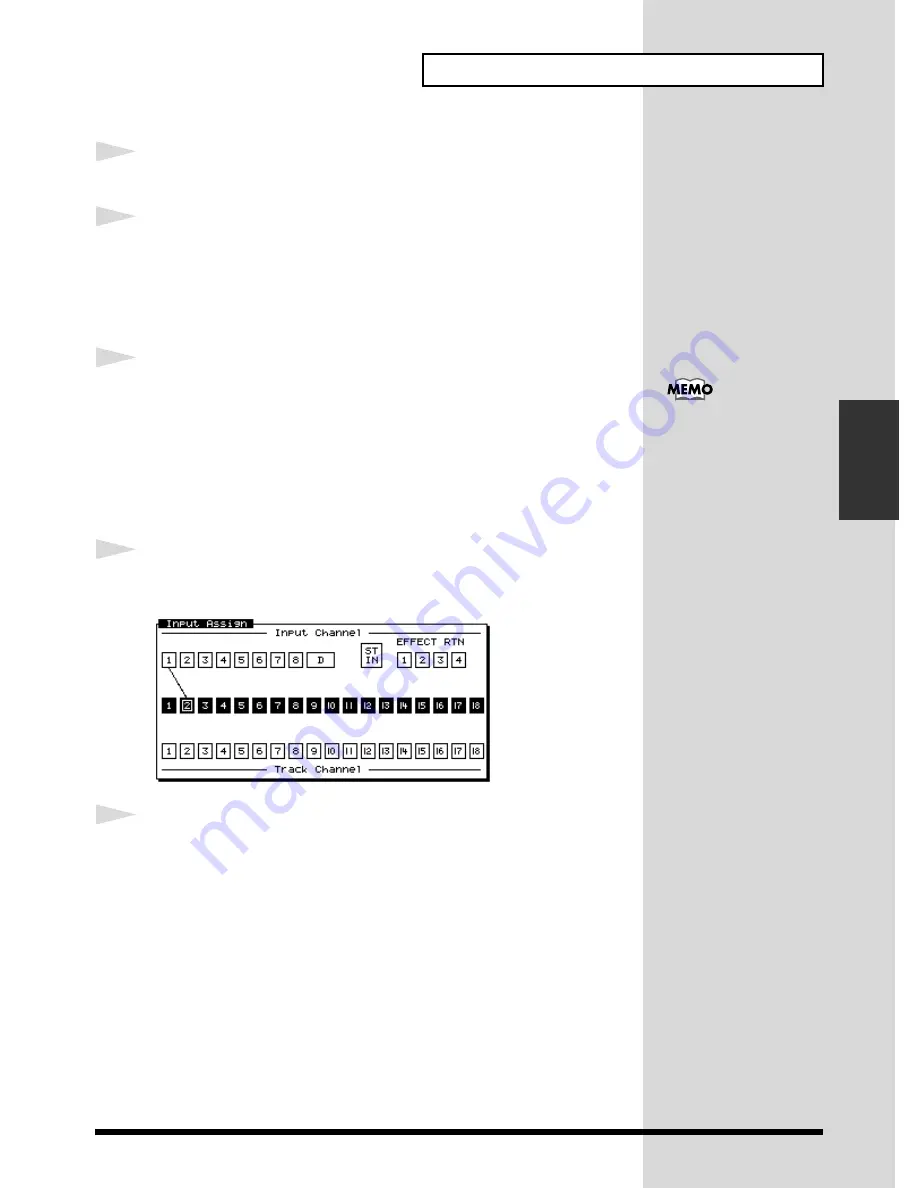
9
If you continue holding [STATUS] for a time, you can see the
source that is assigned to the track.
fig.4-07_80
10
Raise and lower channel fader 2, and verify that the volume
changes. The track channel fader is used for monitoring. It
does not affect the recording level. You can record even if you
hear no sound. Adjust the fader to a comfortable level for
monitoring.
At this time, the sound of
input channel 1 will no
longer be output directly
from master out.
Summary of Contents for VS-1824
Page 2: ...2...
Page 98: ...98 Using Effects fig 4 18a Signal Flow Routing MASTER OUT MONITOR OUT TR1 IN8 Hi Z...
Page 138: ...138 MEMO...


