9
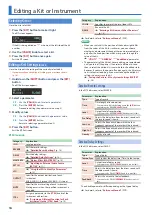
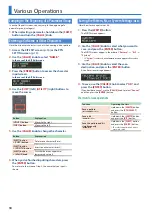
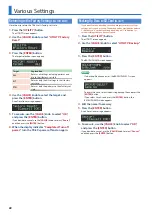
Playing Patterns
Playing Patterns
1.
Press the
[START/STOP]
button.
2.
Use the controllers of the instrument edit section to
modify the sound.
MEMO
To return to the beginning of the pattern, hold down the
[SHIFT]
button and press the
[START/STOP]
button.
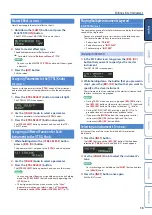
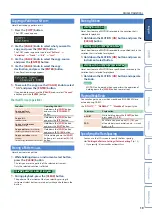
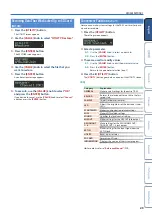
Selecting a Pattern
1.
Hold down the
[PTN SELECT]
button and press a
pad
[1]
–
[8]
.
The bank is selected.
2.
Release the
[PTN SELECT]
button.
3.
Use pads
[1]
–
[16]
to select a pattern.
The selected pad blinks. During playback, it is lit.
When you select the next pattern during playback, the pad blinks.
The pattern switches when playback returns to the first step.
You can select a region by pressing two pads simultaneously. The
selected patterns play in succession.
4.
Use the
[A]
–
[H]
buttons to select a variation.
You can select multiple instruments by holding down a button
and pressing other buttons.
The selected variations are lit, and those whose buttons are lit play
once each in the order of A
0
H.
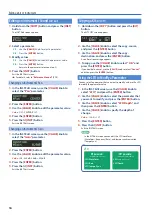
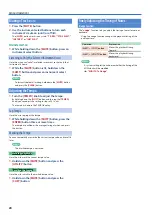
Changing the Length of the Variation
(Setting the Variation’s Last Step)
The overall number of steps used by a variation (the variation’s last
step) can be specified individually for each variation.
1.
Press the
[LAST]
button.
2.
Use the
[A]
–
[H]
buttons to select the variation that
you want to change.
* You can select multiple variations by holding down a button and
pressing other buttons.
3.
Use pads
[1]
–
[16]
to select the last step.
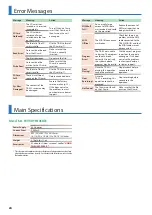
Changing the Length of a Specific Track
(Setting the Track’s Last Step)
1.
Press the
[LAST]
button.
2.
Use the instrument select buttons
[BD]
–
[RC]
to
select the track that you want to change.
* You can select multiple instruments by holding down a button and
pressing other buttons.
3.
Use pads
[1]
–
[16]
to select the last step.
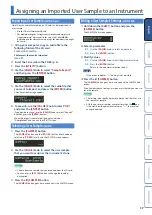
Clearing a track’s Last Step setting
1.
Press the
[LAST]
button.
The
[LAST]
button is lit.
2.
Press the instrument select button
[BD]
–
[RC]
of the
track whose setting you want to clear.
The instrument select button that you pressed blinks.
The currently-specified last step is shown by pads
[1]
–
[16]
.
3.
Press the
[CLEAR]
button.
The last step of the selected track is cleared, and pads
[1]
–
[16]
go
dark; the last step is set to the overall number of steps specified
for each variation.
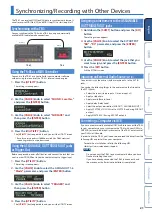
About variations
Each pattern has eight variations, A–H.
Press an
[A]
–
[H]
button to select the variation A–H that you
want to play back or record.
If you want to play back multiple variations, hold down one of
the
[A]
–
[H]
buttons and press the other
[A]
–
[H]
buttons that
you want to additionally play back.
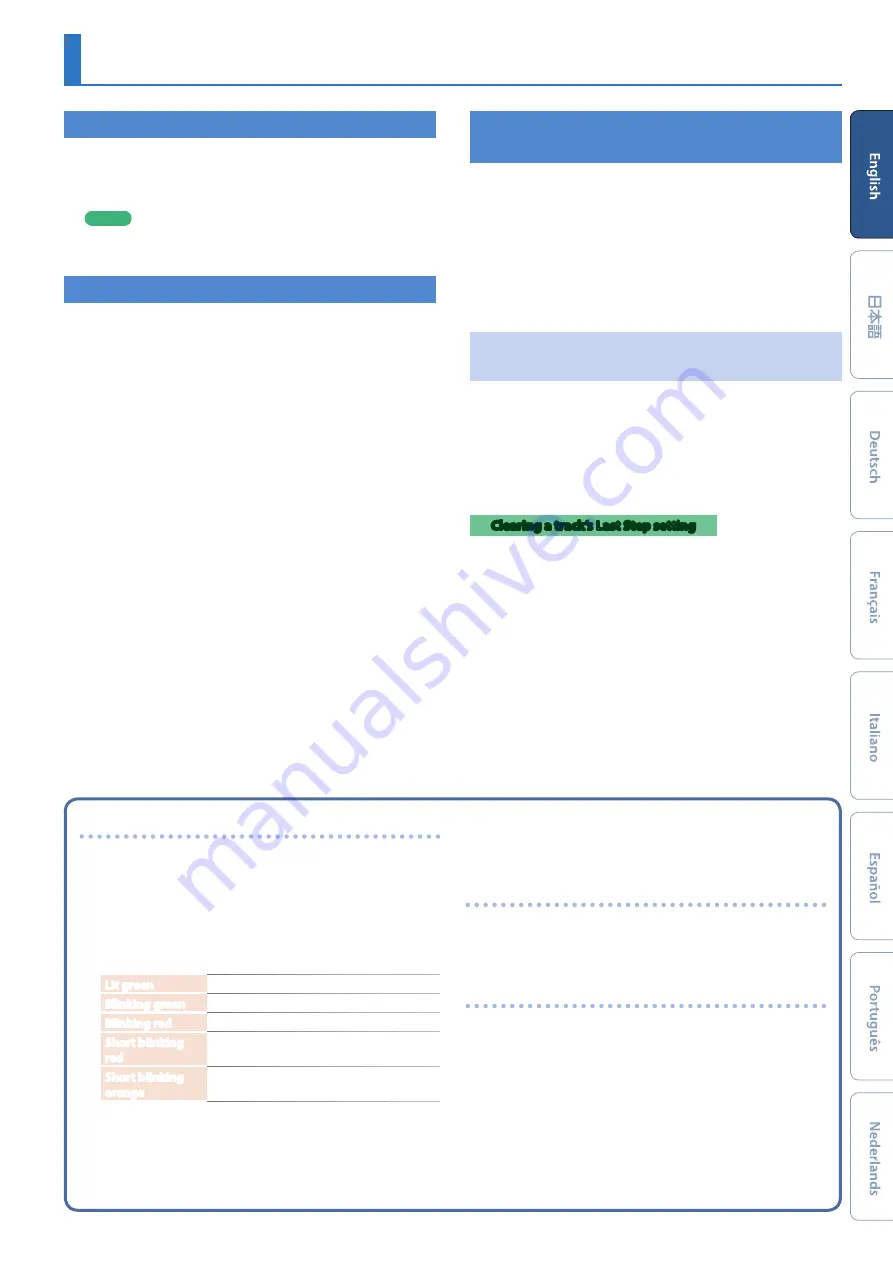
Lit/unlit state of the variation
[A]
–
[H]
buttons
Lit green
Ready to play
Blinking green
Playing
Blinking red
During PLAY&REC (TR-REC/INST REC)
Short blinking
red
Selected for both PLAY and REC
(TR-REC only)
Short blinking
orange
Not selected for PLAY but selected for REC
(TR-REC only)
Selecting the variation during TR-REC
While
[TR-REC]
is lit, pressing an
[A]
–
[H]
button makes the
[A]
–
[H]
button blink red or briefly blink red, allowing you to select a single
variation A–H for TR-REC.
During TR-REC, you can hold down the
[TR-REC]
button and
press an
[A]
–
[H]
button to select the recording target while
maintaining the variation(s) that you selected for playback. (You
can also select a variation that’s not being played back.)
About fill-in
Each pattern has two dedicated FILL IN variations. You can also use
the Scatter function as a fill-in.
&
“Selecting a Fill-In Variation”
What Is Scatter?
“Scatter”
adds a digital-feeling groove to the loop playback by
exchanging individual steps within the loop playback and also by
changing the playback direction or gate length.
* The scatter effect will not apply to the first cycle of the loop; the
effect will apply to the second and subsequent cycles of the loop.


