Driver Installation
14
5.
When a confirmation screen regarding user account control appears, click [Yes] or
[Continue] .
6.
When “The A-Series Keyboard Driver will be installed on your computer” appears,
click [Next] .
7.
Click [Next] again .
Windows 7/Windows Vista
If a dialog box regarding Windows security appears, click [Install].
Windows XP
If the “Software Install” dialog box appears, click [Continue] to proceed with the installation.
If you cannot proceed, click [OK] to cancel the installation. Change the settings as described
in “Driver Signing Options Setting (Windows XP)” (p. 46) and try installing again.
8.
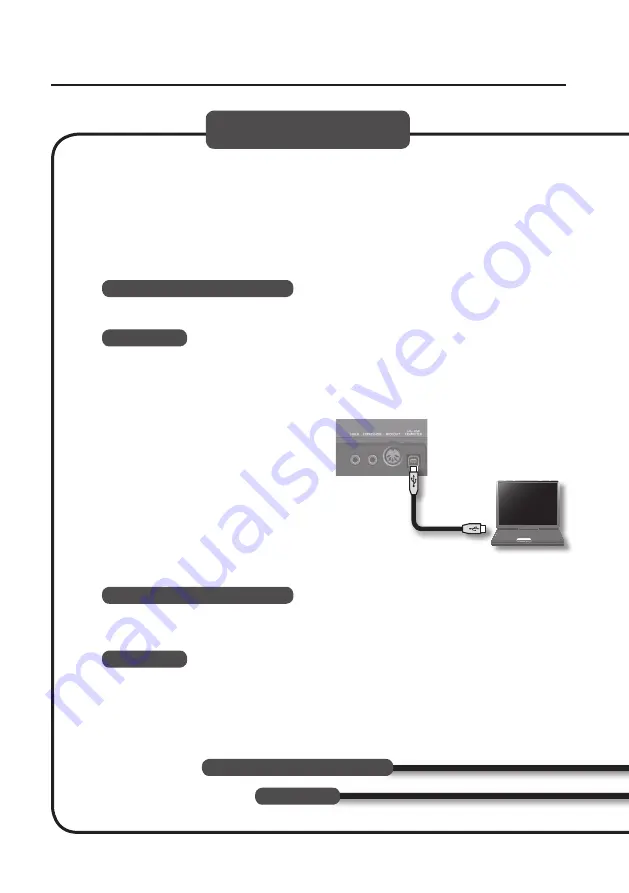
When “Ready to install the driver .”
appears, connect the USB cable of the
A-49 to the computer .
* Turn down the volume on any peripheral
devices before connecting the USB cable.
* This unit is equipped with a protection
circuit. A brief interval (a few seconds)
after turning the unit on is required before
it will operate normally.
It may take several minutes for the driver to be installed.
Windows 7/Windows Vista
If other messages appear, follow the instructions on the screen. The driver will be installed
automatically.
Windows XP
“Found new hardware” will appear in the lower-right corner of the screen.
A-49
rear panel
Windows
Windows 7/Windows Vista
Windows XP
Summary of Contents for A-49
Page 41: ...Changing the A 49 Settings 41 Restoring the Factory Settings FACT RESET...
Page 52: ...52 MEMO...
Page 53: ...53 MEMO...
Page 54: ...54 For EU Countries For China...
Page 56: ...5 1 0 0 0 2 5 0 0 0 0 2...


