Locate the Stops
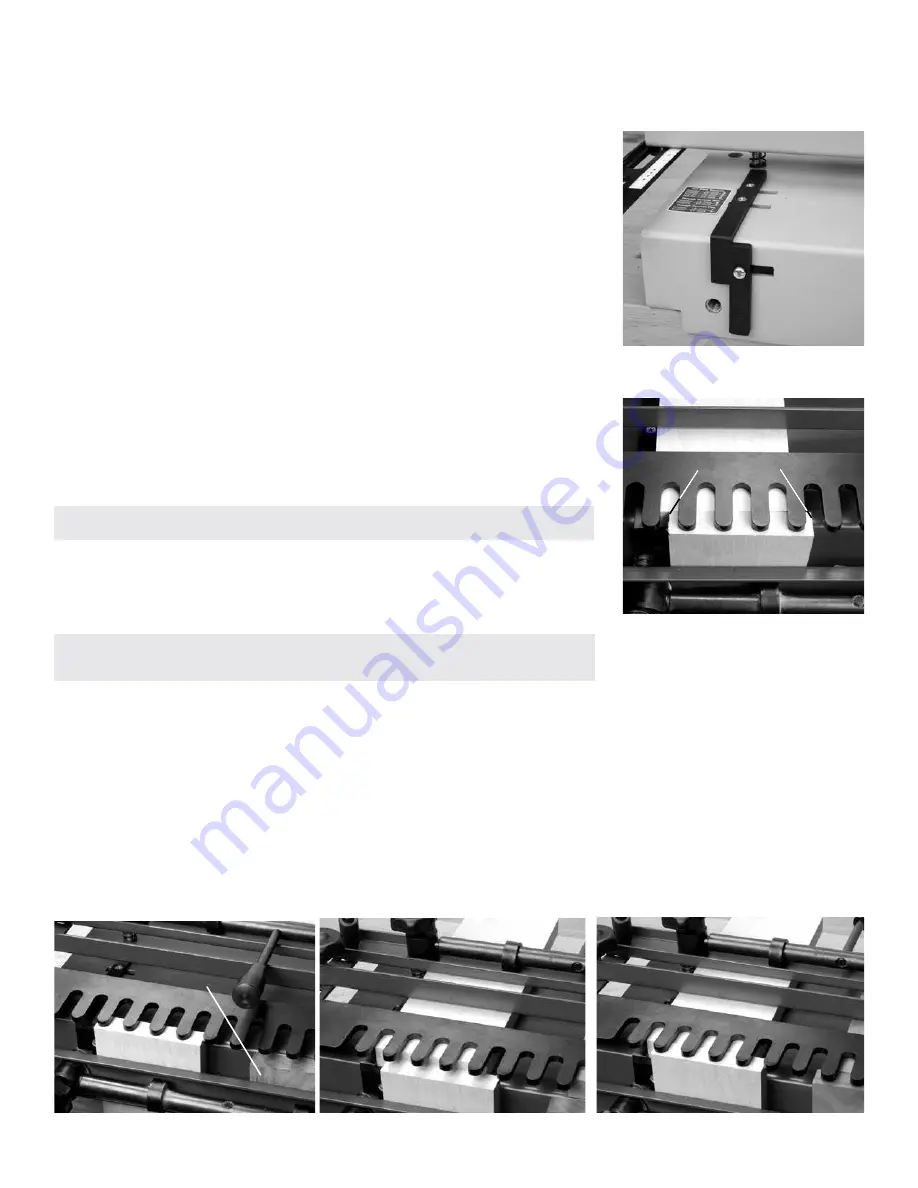
The jig is equipped with two stops (Fig. 4) that locate the drawer parts and allow
repetitive milling; once they are set you can build as many drawers as you need.
The first step is to to ensure that the dovetails are evenly spaced on your work
piece (that is, there is the same amount of pin or tail top and bottom). With the
half blind (straight fingers) template installed, slide a piece of scrap the same
width as your drawer stock into the jig. Center the board (left and right) on the
template fingers, as shown in Figure 5. The idea is to have the same amount of
finger or gap showing at each side of the board. Make sure the board lies at 90°
to the front of the jig, then loosen the three screws in the adjustable stop (the left
one, Part 11, see (Fig. 6), and slide it snug against the board. Tighten the three
screws. Repeat this process for the right side of the jig.
Insert the Drawer Parts
During initial set-up adjustment, always use test pieces the same thickness and
width as your drawer sides that you will be milling. Only install the actual drawer
sides after you’ve produced a satisfactory joint in the test pieces. Figures 6, 7
and 8 illustrate the process involved in installing the two boards for each joint.
Note that the two left-hand joints (that is, the joints that attach the left drawer
side to the drawer front and back) are cut at the left side of the jig. Subsequently,
the two right-hand joints will be milled at the right-hand side of the jig.
Shop Tip:
Always position drawer parts so inside is facing out.
Begin by installing the drawer’s left side in the front of the jig (vertically), and
securing it with the cam lock. You may have to adjust the cam lock for a good fit;
don’t over-tighten it. The top edge of the work piece should protrude above the
jig body (Fig. 6), but perfect alignment isn’t necessary at this time.
Shop Tip:
For even clamping, always use scrap wood the same thickness as
your stock as support on the opposite end of the jig.
Slide the drawer front into the top of the jig (horizontally). The inside face of this
part should be facing up.
Butt the drawer front tightly against the drawer side (Fig. 7), check that it is tight
against the stop (Part 11), and secure it in place with the cam lock.
Now you can slide the drawer side up so that its top edge is flush with the top
face of the drawer front as shown (Fig. 8). Secure the drawer side in place, tight
against the stop (Part 11), by engaging the front cam lock.
Figure 4
Figure 6
Support
scrap
Figure 7
Figure 8
Equal distance
Figure 5
3


