13
02
Language
During use, you can select your familiar language to display menu by language setup.
setting
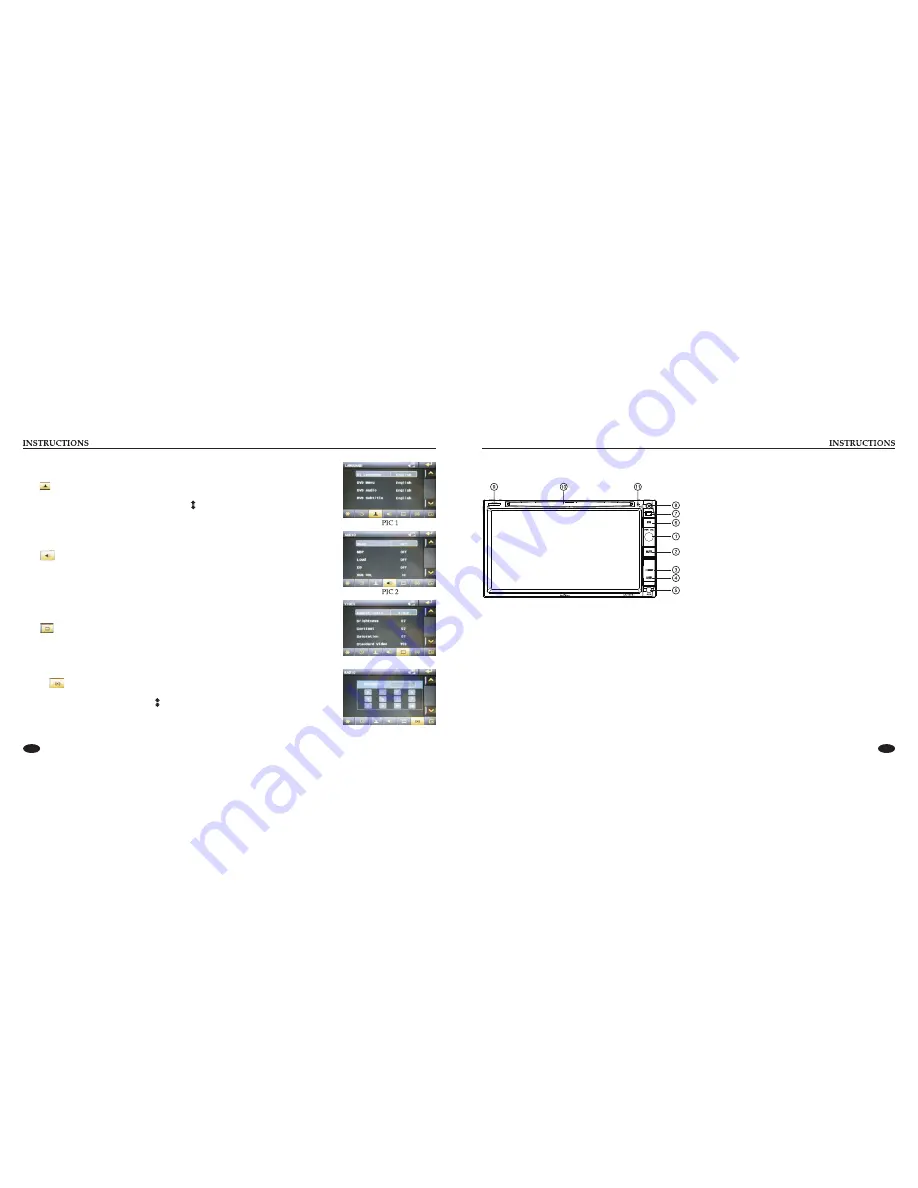
Click icon on setup interface to access language setting interface, as shown in right (PIC 1) diagram:
Click the corresponding [English] icon on the language bar desired to be set so as to switch the
language type, when there are more than 3 languages, direction icon shall pop up, click it to select
your familiar language.
Video setting
Click icon on setup interface to access video setting interface, as shown in right (PIC 3) diagram:
At video setting interface, you can adjust brightness, contrast, saturation and hue of the video.
Audio setting
You can turn on or turn off the existing functions on audio setting interface and adjust the rearview
volume.
Click icon on setup interface to access audio setting interface, as shown in right (PIC 2) diagram:
PIC 3
PIC 4
Radio setting
Click on in setting interface, input password [123456]
to enter
Touch [Europe]
icon in the radio interface,
icon will popup, click on it to choose radio region.
as shown in right (PIC 4)
diagram:
4. USB slot
Connect USB device to read video and audio files.
Warning: You can only use either front or rear USB at a time.
Never connect both front and rear USB at the same time!
This could cause malfunctions.
5. AUX slot
To input external audio.
Warning: You can only use either front or rear AUX at a time.
Never connect both front and rear AUX at the same time.
6. EQ button
In a source mode, press the button to enter equalizer setup.
7. IR
To receive infrared signals from the remote control matched with
the unit.
8. Eject disc
Press this button can eject the disc.
9. SD slot
10. Disk load slot
Disk loading / exit window.
11. MIC
Input socket for microphone.
Insert a SD card to read video and audio files.
Panel function description
1. PWR / VOL button
Press this button to power on; In boot-up state, long press this
button to power off; short press to return to main menu under an
mode, rotating the knob to adjust the volume.
2. MUTE button
Press the button to close volume output, re-press it to resume
previous volume level.
3. RESET
Press this button can back to default mode.
Summary of Contents for DD-6751
Page 1: ......


