43
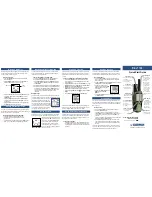
Alarm 1: Off [00:00]
Alarm 2: Off [00:00]
Kitchen Timer
Alarms
Enable: Off
Time: 00:00
Mode: Buzzer
Volume: 20
Save
Alarm 1
07 : 00
Alarm 1 time
Off
Daily
Once
Weekends
Weekdays
Alarm 1 frequency
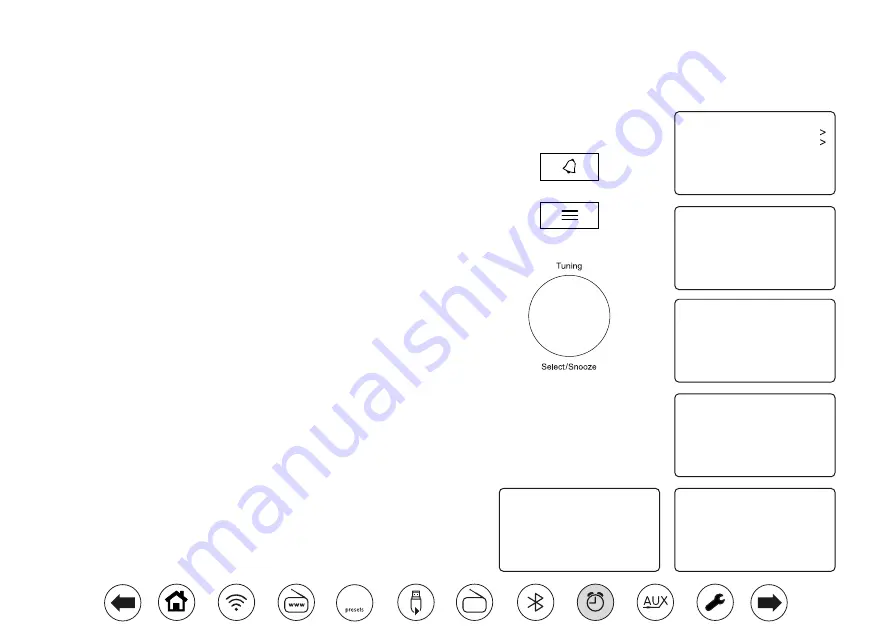
Enable: Off
Time: 07:30
Mode: Buzzer
Volume: 20
Save
Alarm 1
Last Listened
Station List
Recall Preset
Save Preset
Sleep
Alarms
Internet Radio
1. To change the states of the alarms while the radio is in
Standby
press the
Alarm
button. The display will cycle through No Alarm, Alarm 1 enabled,
Alarm 2 enabled or Alarms 1 and 2 enabled.
2. To change the alarm settings
while the radio is in Standby
,
apply a long
press
on the
Alarm
button. This will cause the Alarms menu to be displayed.
Then skip to step 5 below.
3. To change the alarm settings
while the radio is switched on
, either press
and release the
Alarm
button and then skip to step 5 below, or alternatively
press
Menu
. Choose
'Alarms
.
4. The current alarm settings will be displayed. If no change is required, press
the
Menu
or
Back
buttons to exit.
5. Choose alarm (1 or 2).
6. Choose
'Time'
and then choose the alarm hour and then the alarm minute.
If the radio has been set to use a 12 hour clock format, there will also be
an option here for setting AM or PM for the alarm time.
7. The display will then return to the alarm setting menu.
8. Choose
'Enable'
. The display will show the Frequency options for the
alarm. The alarm frequency options are as follows:
'Off'
- the alarm will be disabled
'Daily'
- the alarm will sound everyday
'Once'
- the alarm will sound once
'Weekends'
- the alarm will sound only at weekends
'Weekdays'
- the alarm will sound on weekdays only
Setting the alarm clock
Your radio has two separate alarms which can be set to wake you to either the radio or a buzzer alarm. In the event of a power interruption your radio
has built in memory that will retain your alarm settings. Ensure that the time is set correctly before setting the alarms.
Alarms may be set while the radio is in standby mode or switched on.