SECTION 12: S
ERVICING
25
SECTION 12: SERVICING
12.1 Servicing Instructions
After start-up, the heater will require maintenance to
be carried out annually. If the heater is used in a
dirty or dusty area, more frequent maintenance may
be required.
IMPORTANT:
After any maintenance or repair work,
always test fire the heater in accordance with the
start-up instructions
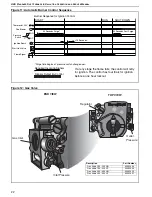
on Page 21, Section 10
through
Page 23, Section 10.3.1
to ensure all safety systems
are in working order before leaving the heater to
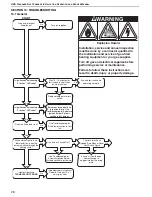
operate. Minor faults may be traced by using the
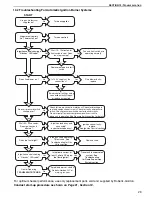
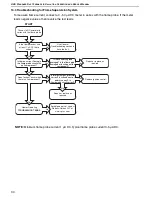
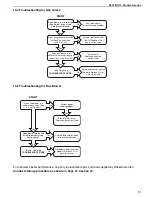
troubleshooting charts
on Page 28, Section 13
through Page 31, Section 13.5
.
IMPORTANT:
Check all gas pipes and pipe joints to
ensure there are no cracks or gas leaks. Any cracks
in the pipes or pipe joints must be repaired.
IMPORTANT:
Inspect all suspended components
and hardware. Ensure that they are in good
condition, properly tightened, and corrosion free.
12.2 Burner Maintenance
1. Open the door and remove the burner
compartment cover.
See Page 33, Section
14.2
.
2. Clean any deposits from the main burner which
may have formed in the injectors or venturi of
the burner.
See Page 33, Section 14.2
.
3. Remove the ignition electrode and flame probe.
Check condition of ignition electrode and flame
probe. Clean off any deposits which may have
been formed, check condition of ceramic
insulators. Replace as required.
12.3 Heat Exchanger Maintenance
The heat exchanger will remain clean unless a
problem has developed with combustion. Inspect the
heat exchanger. Look for signs of overheating at the
front tubes which may indicate burner over firing or
persistently low air flows.
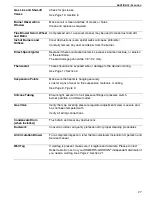
12.4 Gas Valve Maintenance
No regular maintenance is required on this device.
To change gas control valves,
See Page 32, Section
14.1
.
Do not repair or disassemble gas valve.
Replace faulty gas valves with replacement parts
sold and supplied by Roberts-Gordon.
12.5 Flue Blower
The flue blower should not require maintenance.
However, if the air pressure switch is causing burner
lockout, then remove the flue blower from the vent
box by unscrewing the three screws at the mounting
plate. Remove the four screws attaching the
mounting plate to the fan inlet (
See Page 35,
Section 14.5
). Ensure that the fan is free to run and
that the fan wheel is clean.
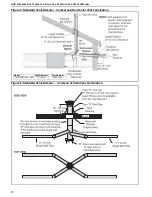
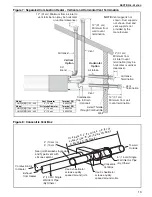
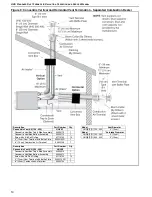
12.6 Venting and Air Intake Pipe
Inspect all venting and air intake pipe. Ensure that
all seams are sealed and suspension points secure.
Repair suspension points if any part of the venting
or combustion air pipe is sagging. Check to make
sure any insulation is not missing or in poor
condition. Replace as required. Check all venting
and air intake components to ensure they are in
good condition, gas tight and corrosion-free.
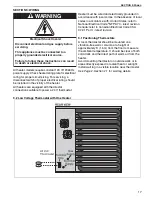
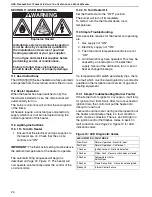
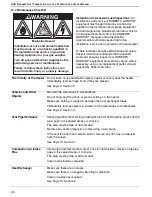
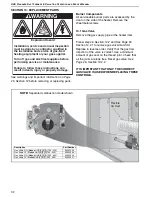
WARNING
Explosion Hazard
Installation, service and annual inspection
must be done by a contractor
q
ualified in
the installation and service of
g
as-fired
heatin
g
e
q
uipment or your
g
as supplier.
Turn off
g
as and electrical supplies before
performin
g
service or maintenance.
Failure to follow these instructions can
result in death, injury or property dama
g
e.

