7
not subject to warranty. Please follow the lamp manufacturer‘s notes! Do not touch the glass bulb bare hand
during the installation!
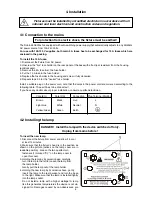
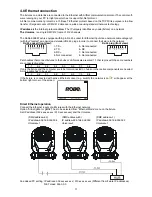
5. Re-insert the lamp cover and tighten the two quarter-turn
fasteners (1).
6. Switch on the fixture.
7. Align the lamp (see instructions below)
8. Reset the "Lamp On Time” and "Lamp Strikes” counters in the menu "Information”.
Do not operate this fixture with open lamp cover!
4.3 Lamp adjustment
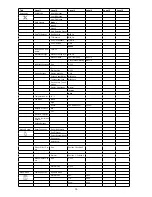
The lamp holder is aligned at the factory. Due to differences between lamps,the fine adjustment may improve
light performance:
To adjust the lamp in the fixture.
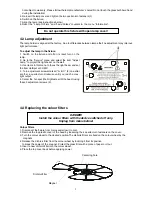
1. Switch on the fixture and after its reset turn on the
lamp.
. Go to the "Service" menu and select the item "Adjust
Lamp" to project the light beam on the wall.
3. Use items in this menu to focus the light beam and set
the item HotSpot at 0 DMX .
3.
Turn adjustment screws marked “A, B, C” (2) one after
another a quarter-turn clockwise until you reach a max.
light output.
4.
Center the hot-spot (the brightest part of the beam) using
these
3 adjustment screws (2).
4.4 Replacing the colour filters
DANGER!
Install the colour filters with the device switched off only.
Unplug from mains before!
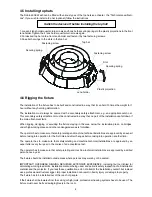
Colour filters
1. Disconnect the fixture from mains and allow it to cool.
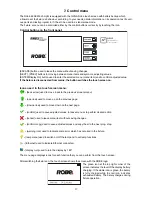
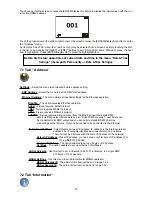
. Remove the top plastic cover of the head by loosening the 4 quarter-turn fasteners on the cover.
3. Turn the colour wheel to the desired position.The dichroic filters are fixed on the colour wheel by the
magnets.
4. Release the dichroic filter from the colour wheel by inclining it from its position
to break the power of the magnet
. Protect the glass filter with a piece of paper or clout.
5. Insert a new dichroic filter into the colour wheel.
6. Place the top cover back before applying power.
Centering hole
Dichroic filter
Magnet


