RJM MasterMind User Manual Download Page 11


5


Basic Operation 

 
The MasterMind can store up to 125 presets, organized in 25 banks of 5 presets each. Each preset sends MIDI messages 
to control different MIDI devices, telling them to load a new program, change a sound parameter, turn an effect on or 
off or perform any other function that they’re capable of. 
 
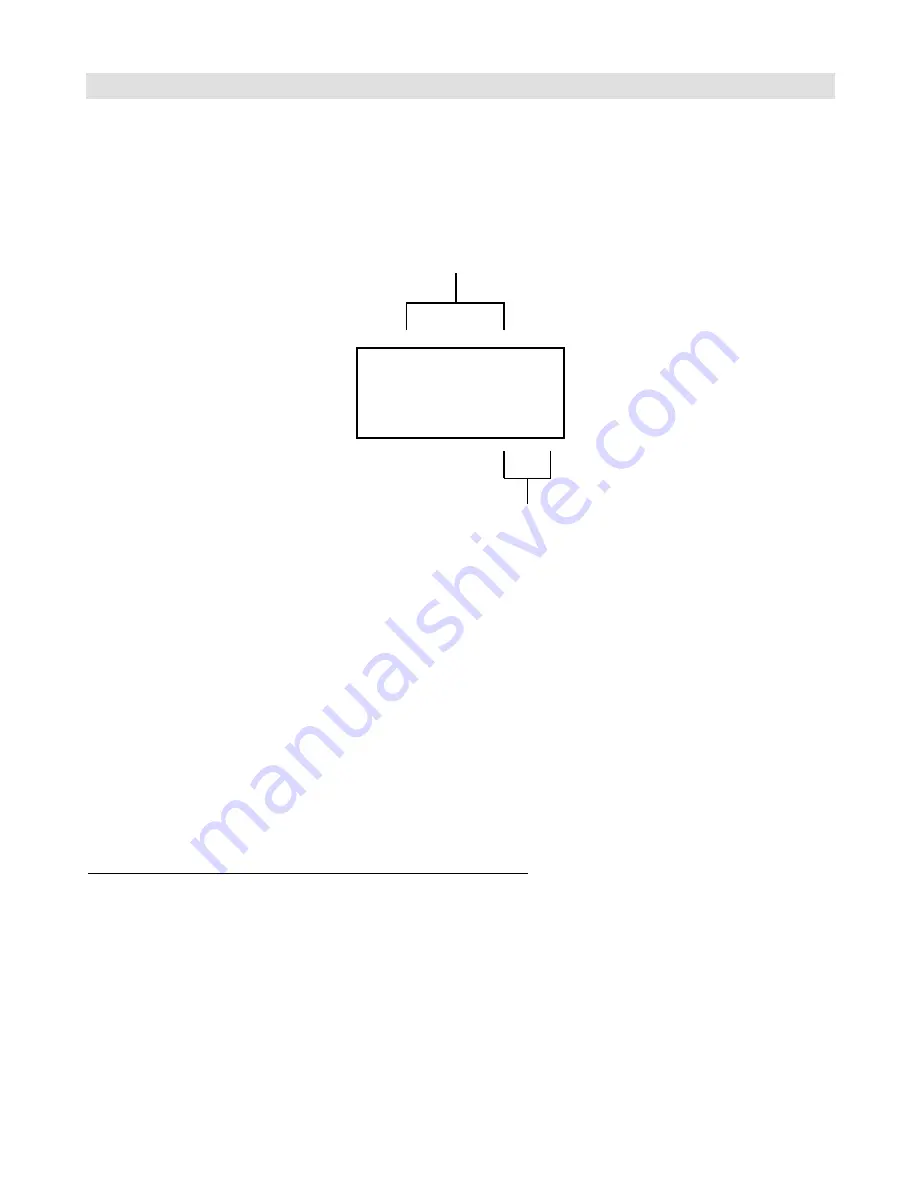
In normal use, the MasterMind’s display shows the current bank and preset number: 


(Note: the display can be changed to show a sequential preset number instead of  bank and preset. This can be helpful when 
using the MasterMind with multi-effects processors. See the Preset Display parameter in the Global Setup section for more 
details.) 

 
To change presets within a bank, simply step on one of the buttons numbered 1 through 5. The last digit in the display 
will change, and the MasterMind will send the MIDI commands associated with the new preset. 
 
To change banks, use the Bank Up (up arrow) and Bank Down (down arrow) buttons to increase or decrease the bank 
number. Pressing each button will increase or decrease by one. Holding the button down will cause the bank number 
to count up or down automatically. When you’re done selecting the bank, the preset number in the display will flash, 
indicating that you now need to select a preset number. Press one of the preset buttons to complete the selection. The 
display will stop flashing and the MasterMind will send the MIDI commands for the new preset. 
 
By default, each preset is set up to send a MIDI Program Change message on MIDI channel 1. This basic setup is enough 
to control many MIDI devices without further configuration. 
 

Using the MasterMind with RJM Music Technology products 

 The MasterMind has been designed to work with other RJM Music products, such as the RG-16 and Amp Gizmo, with a 
minimum of setup. Once you’ve connected the MasterMind’s MIDI Output to the other device’s MIDI Input, the 
programming process is as follows: 
 
1.


On the MasterMind, select a bank number (if needed), then select a preset number. 

2.


On the device you wish to control, use the front panel buttons to select which functions, loops, etc., you wish to 
have active for this preset. 

3.


On the device you wish to control, hold down the Write button until its LEDs flash. 

 
That’s it! You can repeat this process for each preset you wish to set up.  
 

 024


Preset Number


Bank Number


Summary of Contents for MasterMind

Page 1: ...MasterMind User s Manual RJM Music Technology Inc...

Page 2: ......

Page 3: ...s Manual Version 1 6 1 December 6 2010 Corresponds to Mastermind firmware version 1 4 RJM Music Technology Inc 2525 Pioneer Ave Suite 1 Vista CA 92081 1 760 597 9450 email support rjmmusic com web ww...

Page 4: ...Copyright 2009 2010 RJM Music Technology Inc All Rights Reserved RG 16 Amp Gizmo MasterMind and the RJM logo are trademarks of RJM Music Technology Inc...

Page 5: ...ts 5 Controlling Multiple RJM Music Products 6 Alternate Presets 6 Instant Access Mode 7 Expression Pedal 8 Pedal Calibration 8 Remote Access 9 Phantom Power 9 Remote Tuner Display 10 Setup Mode 11 En...

Page 6: ......

Page 7: ...and can also control devices by use of the Function button and Expression Pedal input MasterMind Features Plug and play operation with other RJM products Transmits up 4 Program Change messages and 8 C...

Page 8: ...2 Front Panel...

Page 9: ...3 Rear Panel...

Page 10: ...power supplies of 9 to 18 volts AC or DC The power supply must be able to deliver at least 200mA The connector is a standard 5 5mm 2 1mm barrel connector and can be either center negative or center p...

Page 11: ...ll cause the bank number to count up or down automatically When you re done selecting the bank the preset number in the display will flash indicating that you now need to select a preset number Press...

Page 12: ...sound A004 Drive sound w flanger 005 Solo sound A005 Solo sound w harmonizer With this setup you can press the 1 button to get your clean sound then press Function to turn chorus on or off as desired...

Page 13: ...ode the MasterMind buttons perform new functions Buttons 1 through 5 pressing one of these buttons will send a continuous controller message Each button press will toggle between on 127 and off 0 valu...

Page 14: ...dals on the market will work Pedals that have a stereo TRS 1 4 output jack and have the potentiometer wiper connected to the ring conductor of the output jack will definitely work The Rocktron Hex is...

Page 15: ...MIDI Out jack connected to the rest of your rig When the MasterMinds are turned on you ll notice that all but the first MasterMind will have the Remote indicator lit This means that the controllers ar...

Page 16: ...t this communication you will need to connect a second MIDI cable from the MIDI output of your effects processor to the Remote In jack of your Mastermind The tuner display automatically turns on when...

Page 17: ...l flash to tell you that you are now in Setup Mode and will remain flashing until you leave Setup Mode Setup Mode Buttons When in setup mode the buttons secondary functions are active These are the gr...

Page 18: ...uts you into Global Setup The green LED above the button will light to tell you that Global Setup is active You are now ready to edit the first parameter Watching the display you ll see that it altern...

Page 19: ...16 CH CC5 disabled Default value CH CC number range c000 c127 Default value c084 Sets the MIDI channel and CC number for the fifth Continuous Controller destination Press 2 Program CC Number to select...

Page 20: ...5 etc IA Instant Access Instant Access range On OFF Default value OFF Turning on this parameter will enable Instant Access mode With this parameter on the Function button will activate Instant Access...

Page 21: ...the MasterMind knows the upper and lower limits of pedal travel which are needed to provide the best pedal performance When in pedal calibration the display will read CAL With the expression pedal plu...

Page 22: ...t 001 defaults to 001 preset 002 defaults to 002 preset 003 defaults to 003 etc Sets the program number for the first Program Change destination Press 2 Program CC Number to select the program number...

Page 23: ...for the fifth Continuous Controller destination Press 4 CC Value to set the value or press 3 CC On Off to quickly toggle between the most commonly used values 000 and 127 CC6 Continuous Controller 6 C...

Page 24: ...e receiving unit then enter Global Setup select the Send parameter and press Bank Up Note that the receiving MasterMind must be in normal operating mode to receive data The receiving unit s display wi...

Page 25: ...hantom Power Accepted over pins 6 and 7 of the MIDI Out jack same specs as above Phantom power is passed over pins 6 and 7 of the Remote In jack current limited to 500mA Do not connect phantom power a...

Page 26: ...n GM2 System On Yes No Turn GM System Off Yes No DLS 1 Yes No File Reference Yes No Controller Destination Yes No Key based Instrument Ctrl Yes No Master Fine Coarse Tune Yes No Other Universal System...

Page 27: ...Y N 17 General Purpose Controller 2 MSB Y N 18 General Purpose Controller 3 MSB Y N 19 General Purpose Controller 4 MSB Y N 20 Y N 21 Y N 22 Y N 23 Y N 24 Y N 25 Y N 26 Y N 27 Y N 28 Y N 29 Y N 30 Y...

Page 28: ...CC1 default 81 General Purpose Controller 6 Y N CC2 default 82 General Purpose Controller 7 Y N CC3 default 83 General Purpose Controller 8 Y N CC4 default 84 Portamento Control Y N CC5 default 85 Y N...

Page 29: ......

Reviews: