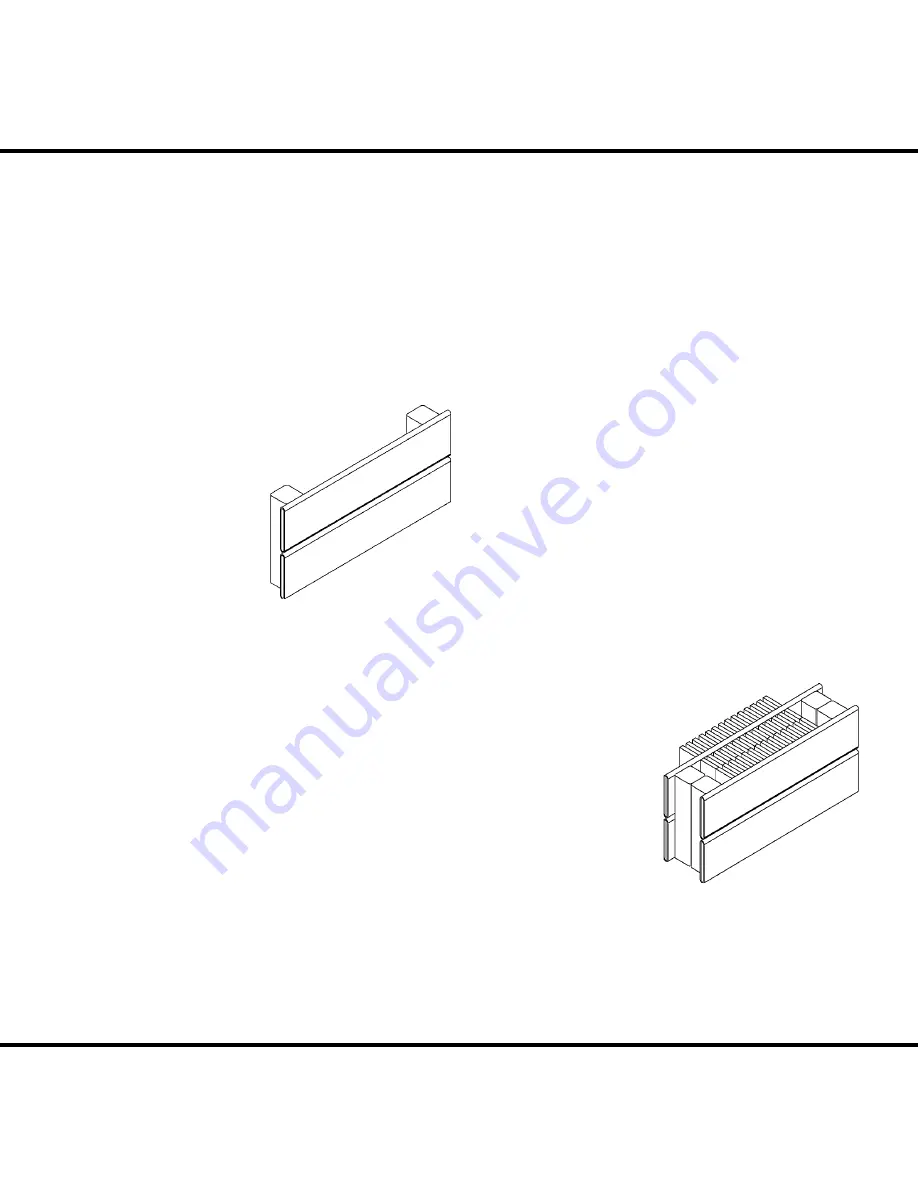
Once the radiators are installed, the system can be
1.
tested to 50 psi.
DO NOT OVER-PRESSURIZE
THE RADIATORS
as permanent damage may be
done.
Standard Pressure Panels – Maximum 56 psi
Medium Pressure Panels – Maximum 85 psi
High Pressure Panels – Maximum 128 psi
PED-SM
&
Pedestal
2.
Mounted Radiators: When
using PED-SM, each PED-
SM must line up with a
corresponding
leveling
bolt attached to the back
side of the radiator. Using
this spacing as a guide,
securely fasten each floor
post to the floor, using
appropriate fasteners. The
FIN BKT is attached to the PED-SM, and the FIN BKT
to the radiator, as described in step #4 above. The nut
and bolt used to attach the FIN BKT to the PED-SM is
to be supplied by others. A 1/4” bolt a minimum of 1
1/2” long is recommended.
For PR2F & PR3F Pedestal mounting with PED-BM-
3.
SQ the pedestals should be arranged so that the end
pedestals sit within 12” of each end of the radiator,
with the remainder spaced evenly along the radiator’s
length. Each pedestal should be securely fastened to
the floor using appropriate fasteners. Radiators sit
on the pedestals, with the “fingers” of the pedestals
sticking up between the fins to provide stability.
Radiators expand a maximum of 0.016 inch per linear
4.
foot of length if heated to 215º F. Piping attached to
the radiator must provide the necessary expansion
compensation.
When the system has been shown to hold 50 psi
5.
maximum air, the piping and radiators can be filled
with water. As water fills the system and radiators,
air is forced to the vent fittings. Vent as much air as
possible before turning on the circulating pump(s).
When the system is filled, operate the circulating
6.
pump(s) to force the remaining air to the high points
of the system. Turn off the circulating pump(s) to vent
the panels. Each radiator should be individually bled
of air. Once cold venting has been completed, heat the
system to design temperature and repeat the venting
procedure as many times as necessary to remove all air
from the system.
Model PR3F
100 Rittling Blvd. • Buffalo, NY 14220
Phone: 716-827-6510 • Fax: 716-827-6523
Toll-Free: 800-FIN-TUBE (800-346-8823)
E-mail: [email protected] • www.Rittling.com
Installation Instructions
(con’t)
:
Model PR


