01-05-2017
2
Enter the desired micron adjustment on diameter for each cartridge. The direction of
adjustment can be changed by selecting ‘+’ and pressing SEL. A plus value will increase
the cutting diameter and a minus will decrease the cutting diameter.
On multiple cartridge tools, use the up and down arrows to navigate between cartridge
adjustment values. Note that cartridge 1 is always located furthest from the shank.
Press SEL twice to start the tool compensation process. Within a few seconds the
handset will establish a wireless connection and a graphical representation of the tool
will appear, indicating that the tool is executing the adjustment command.
When the adjustment process is complete, the handset displays the tool battery level
and the percentage of physical adjustment being used by each cartridge.
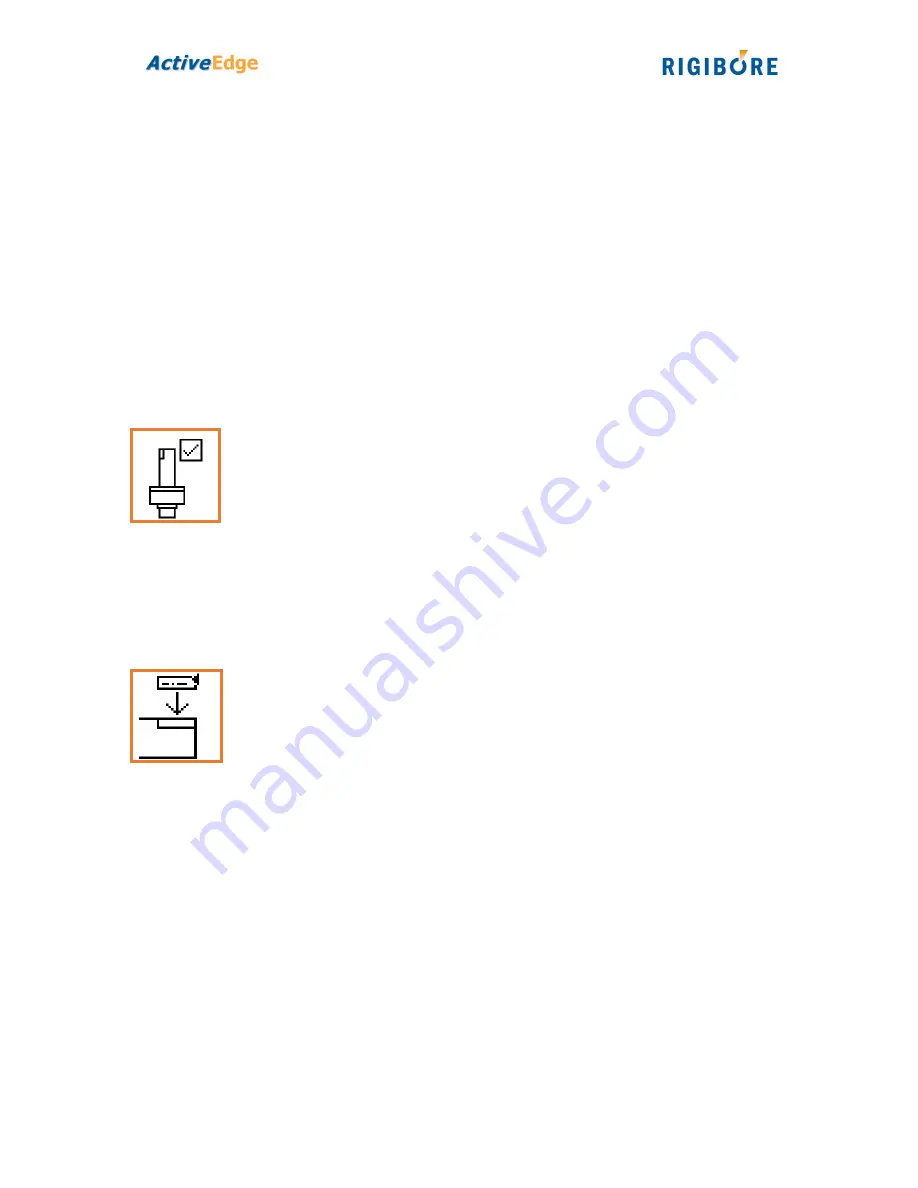
Check tool
Verify that the tool is switched on and ready for use.
Enter the tool ID and press SEL twice to start the tool check process.
Within a few seconds the handset will establish a wireless connection and a graphical
representation of the tool appears. Shortly afterwards the display shows the tool battery
level and the percentage of physical adjustment being used by each cartridge.
Replace cartridge
Upload cartridge calibration data to the tool memory.
Each ActiveEdge cartridge relies upon its own unique calibration parameters to ensure
micron accuracy. The calibration parameters must be uploaded into the tool’s memory
when the cartridge is fitted to the tool. Parameters for all ActiveEdge cartridges are
available in a single database called HandyCDF.sdf, a copy of which is provided on the
Remote Control’s SD card.
Enter the tool ID of the tool you wish to upload the cartridge parameters to, then press
SEL to continue.
If the tool ID is being entered for the first time, you will be prompted to enter the
number of AE cartridges on the tool. The Remote Control records this information so
that in future the correct number of cartridges are automatically displayed on the tool
graphic.


