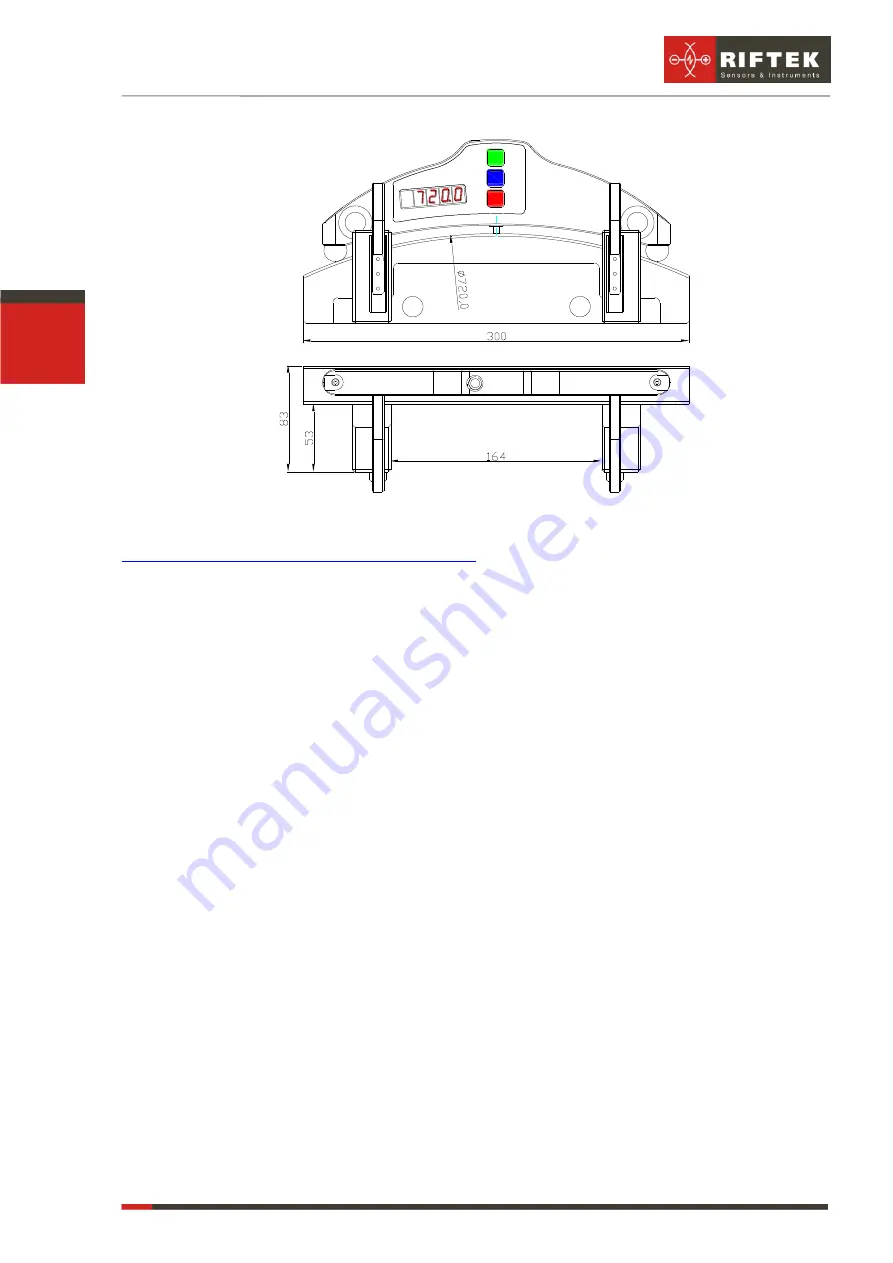
Wheel diameter measuring gauge, IDK-BT
IDK-BT [Revision 2.2] 4
th
September 2017
13
RF510.11.XXXX
Figure 5
NOTE:
Video-help for calibration procedure you can find here
www.riftek.com/resource/video/idk_calibr.avi
12. Working with the gauge and PDA
12.1. Operation principle
Operator mounts the gauge onto the wheel to be measured. Having received a
command from PDA, the gauge performs the measurement of the wheel diameter.
Measurement result is displayed on PDA, can be saved in the PDA memory, and trans-
ferred to the PC database. Simultaneously, additional parameters can be saved: opera-
tor number, side identifier (left or right wheel), axis number, locomotive (carriage) num-
ber, wheel pair number, etc.
12.2. Gauge and PDA activation
12.2.1. Gauge turn-on
Press
Red
button to turn on the power. The display shows “
ErrP
” message if the
accumulator battery voltage became lower then the control level. In this case the short-
term work is possible after pressing any key.
12.2.2. PDA turn-on
Turn the PDA on by pressing the button (1), Fig. 2. Activation indication (2) will
show a green LED lit.
After the PDA is switched on, some time will pass until automatic wireless
communication is set between the gauge and the PDA, which is accompanied by
blinking of a blue LED (1) on the diameter gauge. The LED goes out when the link is
established.
The PDA screen will show the main program window containing: main menu;
indicators of PDA charging degree; indicator of Bluetooth connection showing serial
number of the gauge with which connection is established and the
Measurement
button.


