Ricoma Quick Start Guide
17
CONTOUR CUT FROM SIGNMASTER
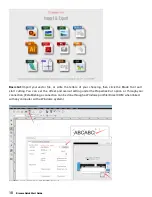
1. Import the designed image into Signmaster and follow the contour cut mini guide video.
2. When printing the TIF picture, print it out as its original size (1:1). Feed the material into the plotter
and make sure the material is aligned and flat.
3. There are two ways to connect the plotter, either through USB or U-Disc. Choose the way you want to
connect and do the following steps:
Cutting through USB cable:
1. Connect the plotter and computer with a USB cable.
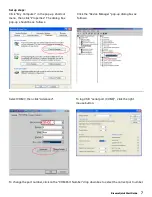
2. In Signmaster, click “Vinyl Spooler”. Then, choose “Direct COM port” in connection and click “Auto
Detect” to recognize the plotter.
Cutting through U-disc:
1. In Signmaster, click “Vinyl Spooler”. Then, choose “Windows Port” in connection and choose “File” in
port.
2. Save the plt. file and then put the plt. file into the U-Disc.
3. Insert the U-Disc into the plotter and press “Menu” where you will see the “U-Disc” button. Choose
the correct plt. file and set it on repeat. The camera will scan the marks and start cutting.


