2.
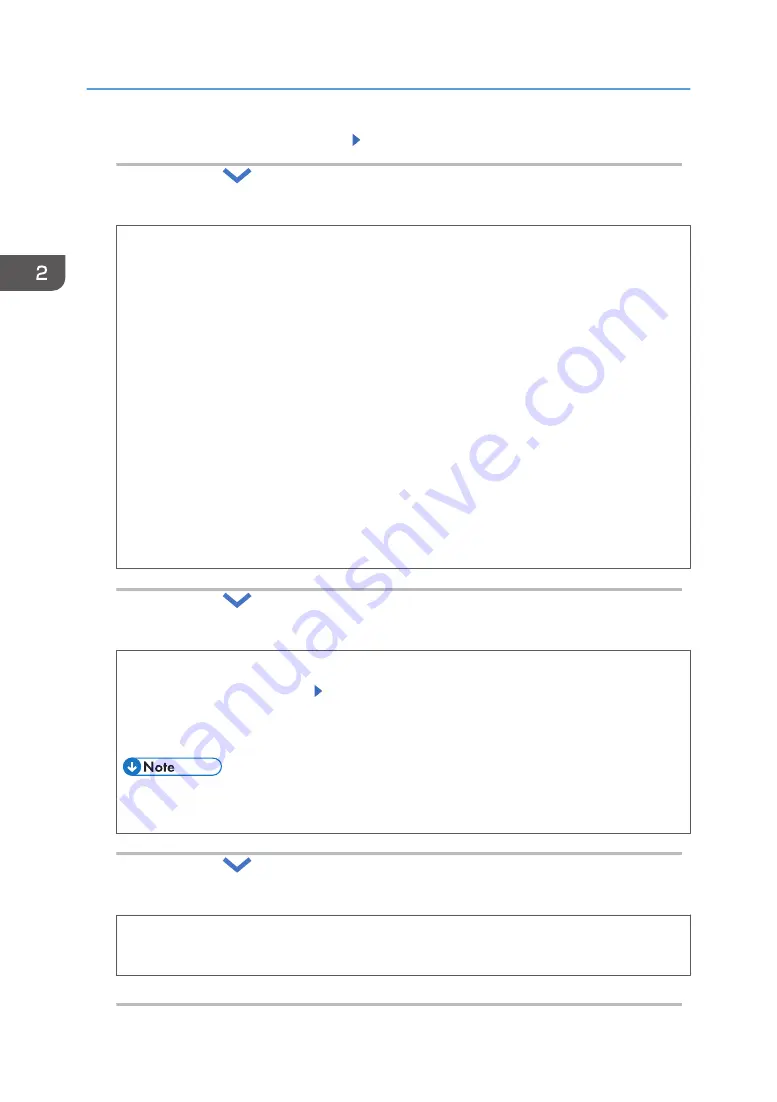
Connect the LAN cable to the printer Press [Next]
3.
Specify whether to obtain the IP address automatically or to assign the address manually.
Auto-Obtain (DHCP)
Sets the printer to receive an IPv4 address, subnet mask, and default gateway address
automatically from a DHCP server.
1. Press [OK]
2. Press [Exit]
Manual Configuration
Configure the printer's IP address, subnet mask, default gateway address.
1. Press [OK]
2. Follow the wizard to configure the following settings:
• IPv4 Address
• Subnet Mask
• IPv4 Gateway Address
3. Press [Exit]
4.
Specify whether or not to allow a direct connection from a smart device to the printer.
1. Press [OK] while the [Direct Connection Setting] menu is highlighted
2. Select [Active] or [Inactive] Press [OK]
Select [Active] to allow a smart device to connect to the printer via a wireless LAN to use
and operate the printer functions.
• To use this function, install RICOH Smart Device Connector on your smart device from
Google Play or the App Store.
5.
Exit Installation Settings, and then restart the printer.
1. Press [Exit]
2. Press [Restart]
2. Configuring the Initial Settings of the Printer
16
Summary of Contents for SP C360DNW
Page 2: ......
Page 8: ...1 Before Using the Printer 6 ...
Page 54: ...MEMO 52 EN GB EN US EN AU M0B0 7707 ...
Page 55: ......


