34
English
User Controls
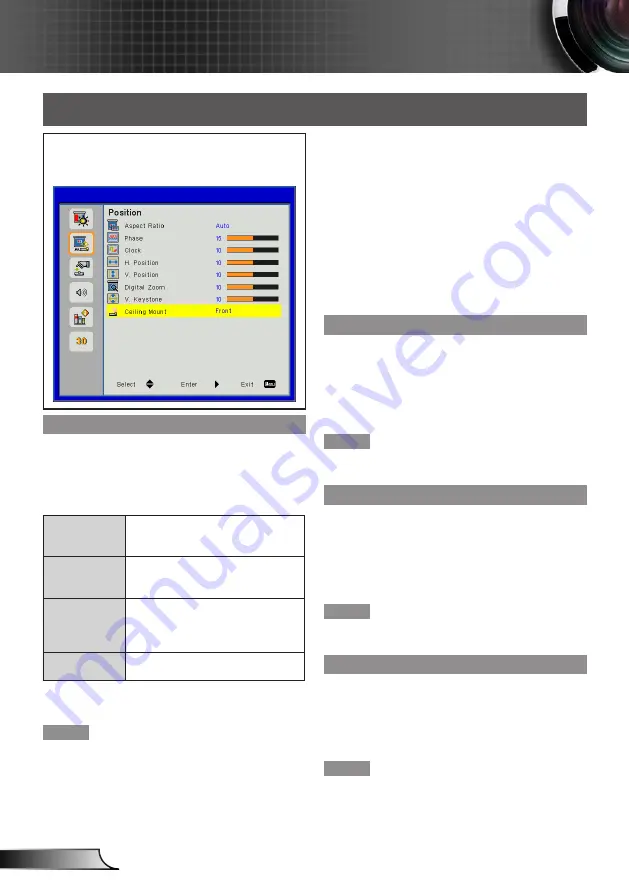
Position
Select [Position] from the Main Menu (see “How
to operate menu” on page 29) and then select the
item from the Sub Menu.
Aspect Ratio
Use this function to choose your desired aspect ratio.
Press ▲▼ to select [Aspect Ratio].
1)
Press ►, <
2)
Input/Enter
> or <
Enter
> to display
the choosing dialog box.
Press ◄► to select the desired item.
3)
Auto
The projector displays the image by
automaticallyswitching the screen
sizes between 4:3 and 16:9.
4:3
Input signal is displayed to full
screen. This mode is for 4:3 aspect
images.
16:9
Input signal is displayed with 16:9
aspect in the center of the screen.
This mode is for 16:9 aspect
signals.
16:10
This format is for 16:10 input
sources, like wide screen laptop.
<Aspect
> button on the remote also can be used for this
function.
Note
If an aspect ratio which is different from the aspect
y
ratio for the input signals is selected, the pictures will
appear differently from the originals. Be careful of this
when selecting the aspect ratio.
If using this projector in places such as cafes or ho-
y
tels to display programs for a commercial purpose or
for public presentation, note that adjusting the aspect
ratio or using the zoom function to change the screen
pictures may be an infringement of the rights of the
original copyright owner for that program under copy-
right protection laws. Take care when using a function
of the projector such as the aspect ratio adjustment,
zoom function, etc.
If conventional (normal) 4:3 pictures which are not
y
wide-screen pictures are displayed on a wide screen,
the edges of the pictures may not be visible or they
may become distorted. Such pictures should be
viewed as with an aspect ratio of 4:3 in the original
format intended by the creator of the pictures.
Phase
Adjust to achieve an optimal image when there is a
flickering image.
Press ▲▼ to select [Phase].
1)
Press ►, <
2)
Input/Enter
> or <
Enter
> to display
the adjustment dialog box.
Press ◄► to adjust the level.
3)
Note
[Phase] can be adjusted only when Computer is
y
selected.
Clock
Adjust to achieve an optimal image when there is a verti-
cal flicker in the image.
Press ▲▼ to select [Clock].
1)
Press ►, <
2)
Input/Enter
> or <
Enter
> to display
the adjustment dialog box.
Press ◄► to adjust the level.
3)
Note
[Clock] can be adjusted only when Computer is
y
selected.
H Position
Shift the projected image position horizontally.
Press ▲▼ to select [H Position].
1)
Press ►, <
2)
Input/Enter
> or <
Enter
> to display
the adjustment dialog box.
Press ◄► to adjust the level.
3)
Note
[H Position] can be adjusted only when Computer is
y
selected.


