PAGE 2
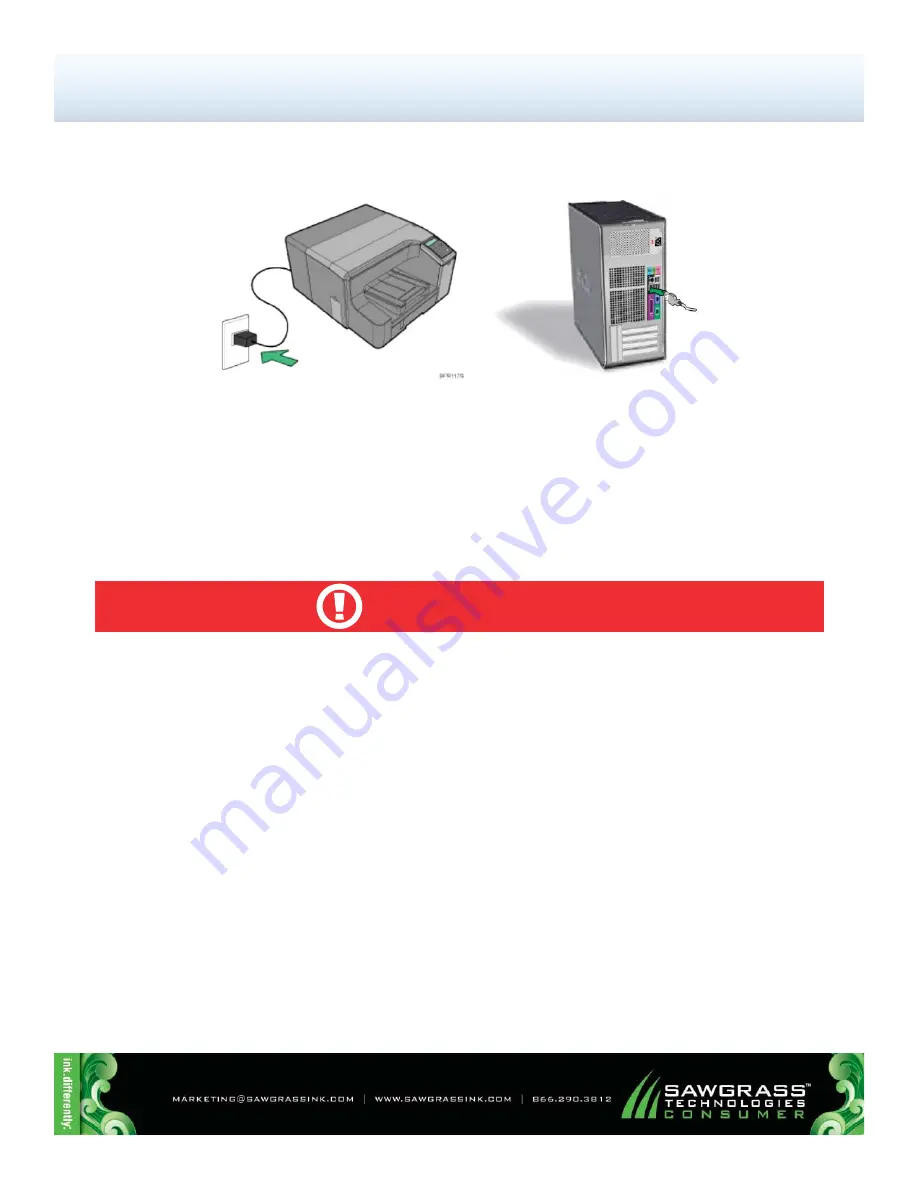
4.) Plug the power cord into a power outlet and plug the USB cable into a 2.0 USB port located on the back of
the computer.
DO NOT POWER ON THE PRINTER AT THIS TIME.
5.) Start your computer, wait until Windows is fully operational and proceed to the Ricoh (OEM) driver
download and installation section.
Note:
If you experience any communication errors, a powered USB Hub may be required.
During downtime, it is
HIGHLY RECOMMENDED
to leave the printer powered ON to allow the Ricoh Automatic
Maintenance Utilities to keep the print head nozzles clear. The Ricoh GelSprinter has been engineered to perform
automatic maintenance at various times in an effort to keep the print head nozzles in top condition. If this mainte-
nance cannot be automatically performed, it is possible that the nozzles may suffer permanent effects. As a result,
head cleanings may be unable to restore the print head to optimal operation.
CAUTION
SubliJet-R: Ricoh GX7000 –
Installation Guide:
(5:20)
Ricoh (OEM) Printer Setup
(cont’d 2:2)
Of 2 >>


