U S I N G F R O N T P A N E L M O D E S
©
©
©
© RF Innovations Pty Ltd, 1998
Page: 12
223889, Revision 2.2
5
Using Front Panel Modes
he RFI-9256 has a unique front panel user interface that can be used to assess the Radio performance
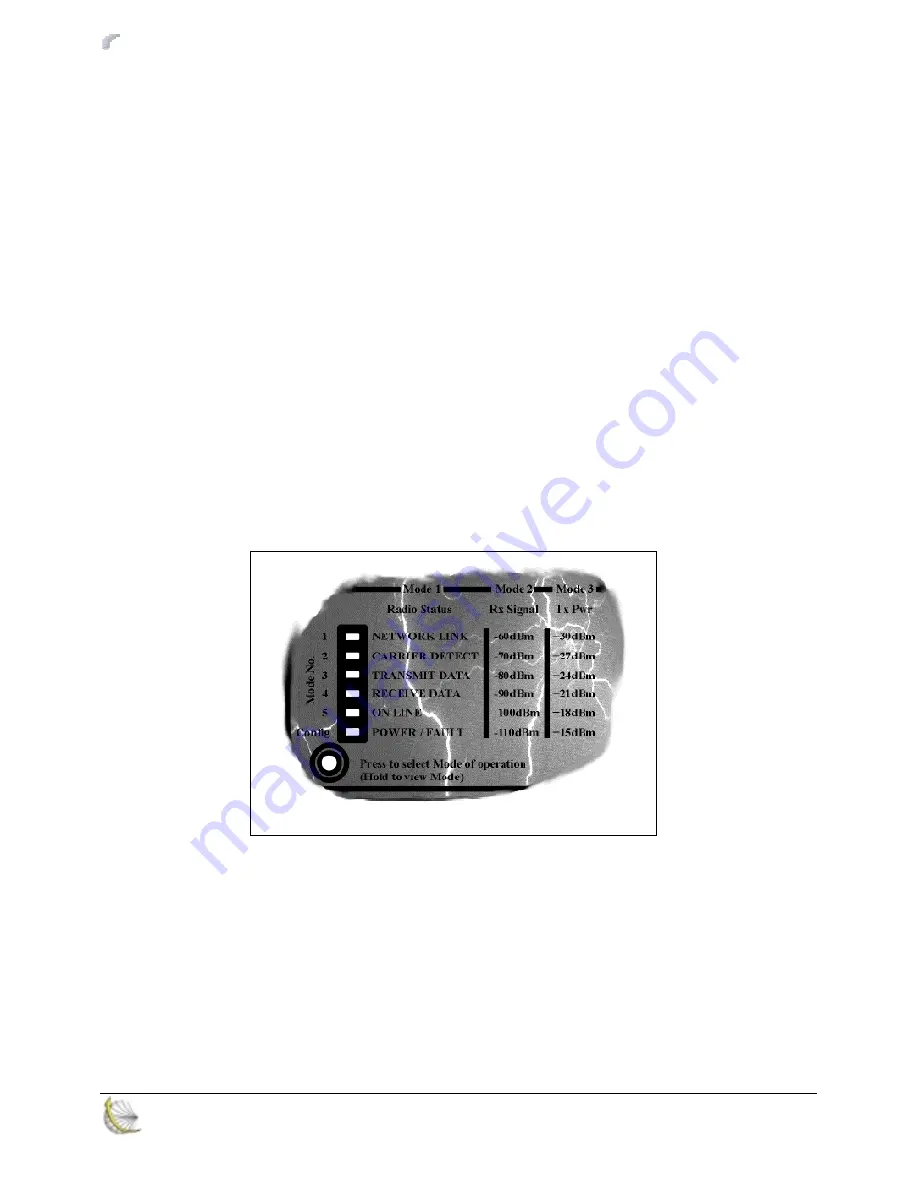
without any additional test equipment. A picture of the front panel is shown in Figure 5-1 below. The
interface is controlled by means of a small push button switch located on the front panel. A dual colour
LED bar graph display is used to signal various settings to the user.
When the Modem is first turned on the display defaults to Mode 1. The Operational Mode is
numbered down the left-hand side of the LED Display. In this mode, the purpose of each LED is
indicated in the first column on the front panel (under the heading Mode 1), for example the top-most
LED indicates the status of the Network Link. If the switch is pressed the display will change and indicate
the current mode of operation by a RED LED. If the switch is held down longer than 1 second the Mode
LED indicator will begin cycling through each mode. While the unit is in this cycling operation, the rate at
which the mode selection cycles can be increased by pressing the button at a faster rate than the automatic
toggle. Once the desired operational mode is reached then the switch can be released and after
approximately one second delay the LED display will indicate the function for that mode.
Details of the scale for Mode 2 (the receive signal power indicator mode) and Mode 3 (the transmit
power indicator mode) are also included on the front panel, under the respective headings.
Mode 1
The LED indicators in Mode 1 show the general flow of data and other radio characteristics. Table 5-1
describes the front panel indicators in Mode 1.
T
Figure 5-1 Example of the front panel indicator lights


