73
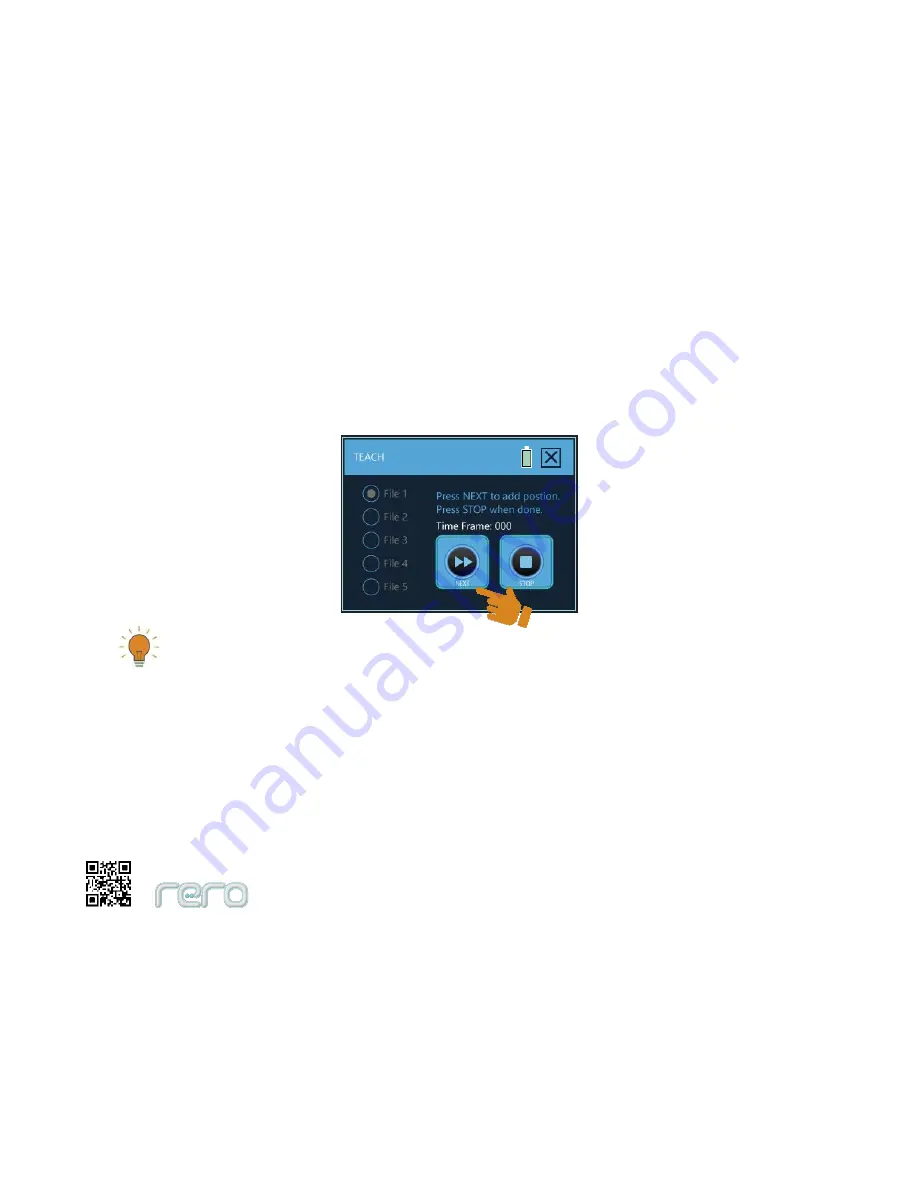
Now, twist your rero to the first position (the initial position) you want it to be. Every Cube Servo can be rotated. You
can rotate all of them or only part of them in the same time Frame. When the rero is twisted to the desired position,
press ‘NEXT’. The 1
st
time frame will be saved.
Info
All servos’ LED will turn on after you have selected a file. If there is any servo’s LED does not turn on, please check the wire
connection. rero Controller does not care the path taken when you twist your rero. It will only ‘remember’ the last position before
you press ‘NEXT’. rero Controller is unable to repeat the path how you twist your rero from one position to another position in one
time frame. Instead, it will move from 1
st
position to next position using the shortest path. Please separate complex motion into
more multiple time frames to make perfect motion.
Summary of Contents for rero2.0
Page 1: ...User s Manual Robot Construction Kit rero2 0 Cytron R D MSC Sdn Bhd ...
Page 54: ...51 Follow the direction marking when connecting Cube Servo to joints Direction Mark ...
Page 56: ...53 ...
Page 58: ...55 ...
Page 65: ...62 Release rero Cube joint from Interconnect Release rero Interconnect from Cube Joint slot ...
Page 66: ...63 Release rero claw from Cube Servo ...
Page 68: ...65 rero Daisy Chained Connection ...
Page 69: ...66 Wrong or Broken Daisy Connection ...
Page 99: ...96 rero remote Bluetooth Connection rero Remote main screen Battery Status Bluetooth Status ...


