


en
5.6 Screen shot / still image
Using the foot switch, the monitor image can be frozen (still image) or also stored on the USB memory
stick (screen shot)�
5.6.1 Still image
⇒
Press the foot switch for more than 1 sec�
♦
The still image is displayed, meaning the monitor image is frozen�
While the still image is displayed, the following actions can be performed:
⇒
Briefly press the foot switch.
♦
The screen contents are saved to the USB stick as a screen shot (see Chapter 5�6�2)�
⇒
Press the foot switch for more than 1 sec�
♦
Switch back to the live image�
The following settings can be changed while the still image is displayed:
• Switch between 2D and 3D display�
•
Switch of magnification between 4x, 15x and 20x.
5.6.2 Saving a screen shot
Screen shot are only saved as 2D images, even if the 3D display was set when the save operation was
performed�
⇒
Briefly press the foot switch.
♦
The screen contents are saved to the USB stick as a screen shot�
♦
The screen shot icon appears on the monitor�
♦ The file name is displayed on the monitor during the save operation.
♦
No other actions are possible during the save operation (approx� 5 sec�)�
The file name has the following format:
• IMGxxx�jpg
• xxx = sequential counter 000 to 999
If the USB memory stick is then connected to a PC, the file names can be changed as usual, for example,
to assign them to a customer�
5.6.3 Accessing the USB stick via a network
If the EASY view+ 3D head is connected to a local network via the network port (25, Fig� 2) and the net-
work extension cable (already inserted in the cable channel), the images (screen shots) of the USB stick
in the head can be accessed over the network�
Access can take place using free FTP transfer programs (for example, FileZilla), or directly via the WIN-
DOWS Explorer or the Apple browser, Safari�
⇒
Plug in the network cable into the cable jack at the end of the network extension cable and connect it to
a switch or router� This network cable is not included in the scope of supply�
⇒
Move the mouse and note the IP address and host name�
♦
The IP address and host name are displayed at the bottom of the screen:
IP address:
ftp://XXX�XXX�XXX�XX
Host name:
ftp://Renfert@EV3D_xxxx (xxxx: 4-digit number, device-specific)
See sections 5.8 and 5.8.1. for information on IP address and hostname.
Access via a FTP transfer program
Depending on the FTP transfer program used, you will need to enter the host name and/or the
IP address� When asked for a user name, enter "Renfert"; a password is not required and can be ignored�
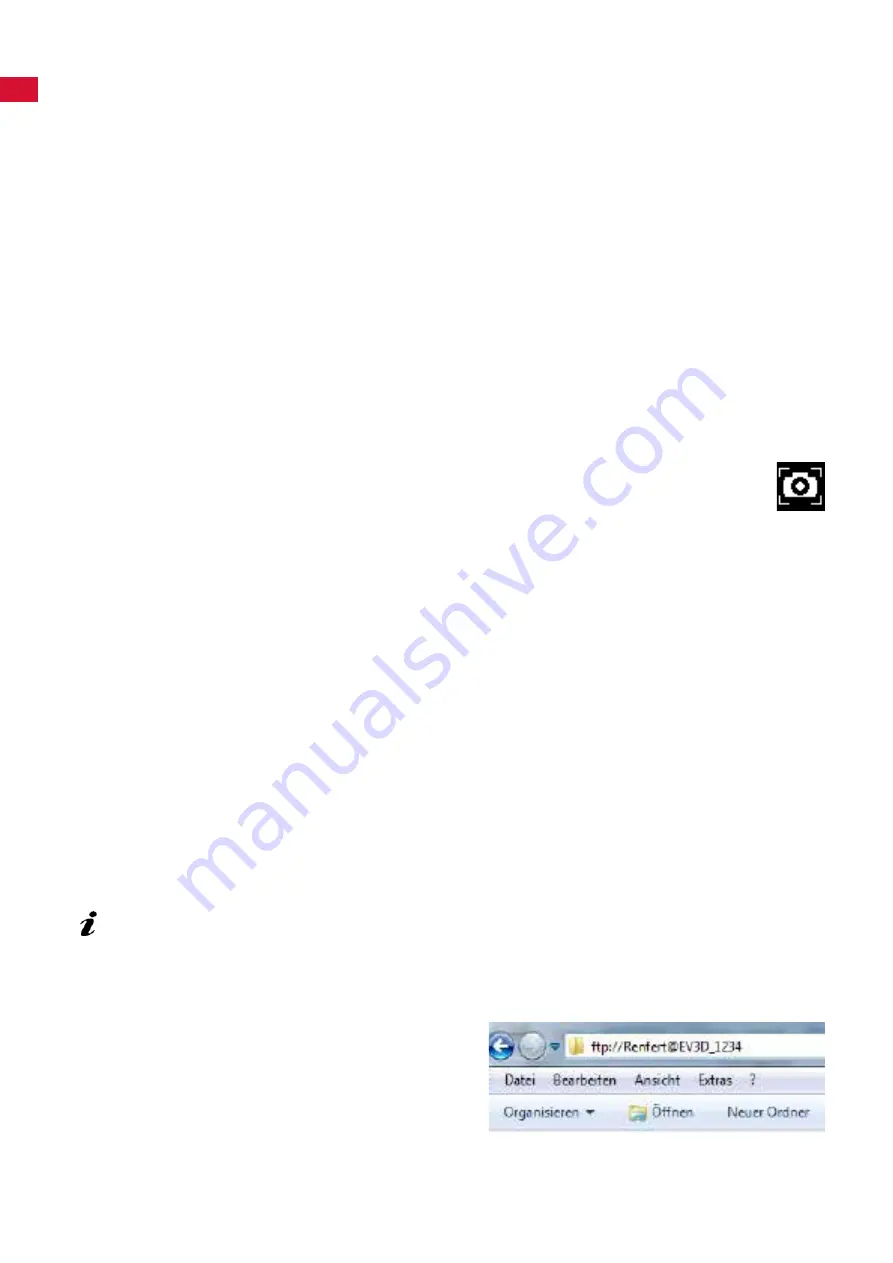
Access via WINDOWS Explorer
⇒
Open WINDOWS Explorer
.
⇒
Enter the host name as displayed in the address
line�
⇒
Press Enter�
♦
The content of the USB stick is displayed as
folder content�
♦
It is NOT possible to view a preview of the
images�
♦ Images/files can be moved/copied between the
PC and USB stick by dragging and dropping�
Fig. 15
- 12 -


