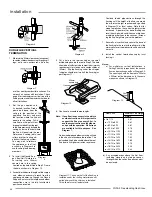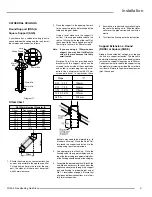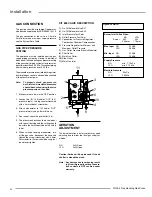
26
FG39-2 Freestanding Gas Stove
installation
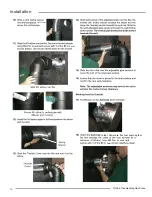
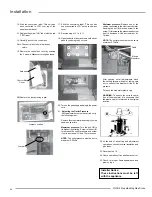
Log C in position
Log F in position
Completed Install
Log G onto bracket
Log G install
Log D install
Log E install
Log F install
D
C
F
C
E
G
G
F
F
Notch
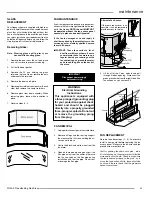
6. Install Log D onto the 2 pins on the burner in
locations shown below.
7. Install Log E (Y shaped Log) onto the pin on Log
B--set the other end of Log E on the burner.
8. Install Log F across Log C as shown, Log F
will rest in a flat spot on Log C.
9. Install Log G--top end sits in the notch at
the top of Log F and the bottom end of
Log G rests against the bracket on the
burner as shown.
Bracket
10. Test fire to ensure proper light off (make
sure flame flows smoothly from one end
of burner to the other. If there is any flame
hesitation, check that area for any blockage
of the burner port.

