6.
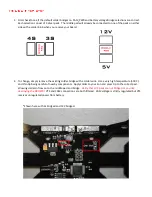
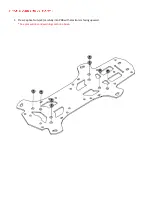
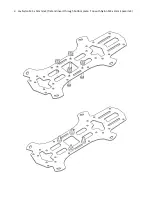
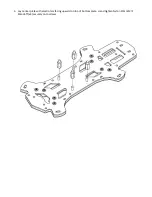
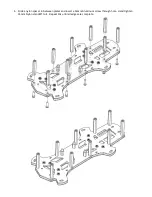
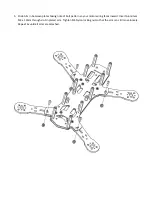
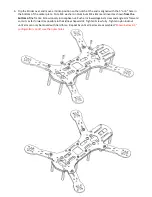
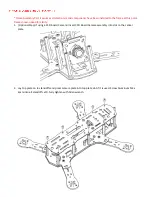
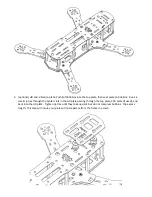
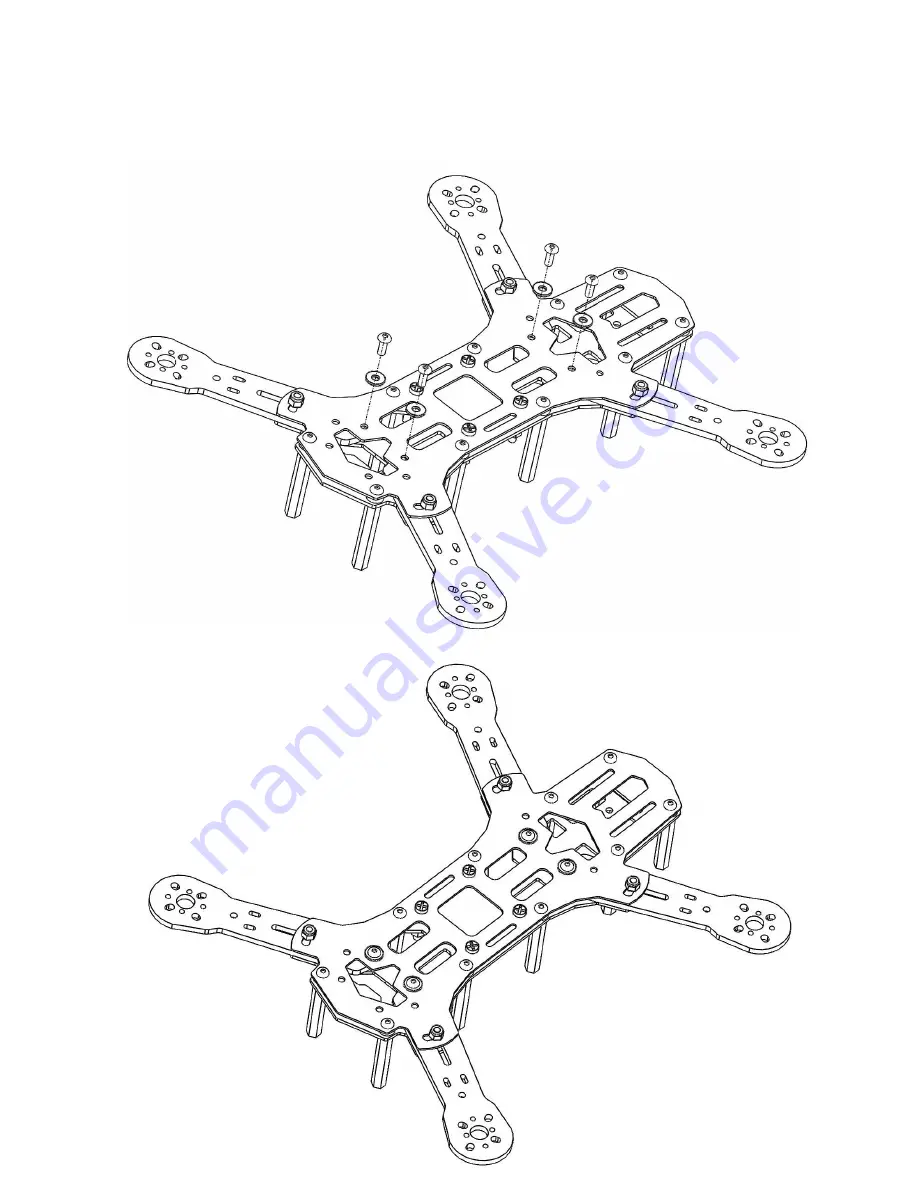
Flip the Strider over and move arm into position so the notch at the end is aligned with the 5” or 6” hole in
the bottom of the center plate. Put a M3 washer on Aluminum M3 x 8mm and insert as shown
from the
bottom of
the frame. Screw loosely into captive nut. Push arm inward against screw and angle arm forward
so it sits as far forward as possible in the kidney shaped slot. Tighten Screw fully. Tighten nylon locknut
until arm can only be moved with hard force. Repeat 4x until all 4 arms are assembled.
*Shown below in 5”
configuration. For 6” use the outer holes.
Summary of Contents for STRIDER 250
Page 1: ...STRIDER 250...
Page 2: ......
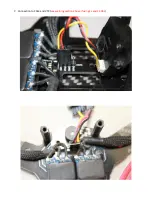
Page 16: ...7 Connection to CAM and VTX see warning section above if using 4s and 1 3Ghz...
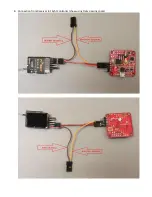
Page 17: ...8 Connection from Receiver to Flight Controller show using Frsky passing cppm...
Page 22: ......
Page 25: ......
Page 26: ...Coming soon...


