background image

P a g e


 |  8 

Bee9 User's Manual 

Reach/BTX


8.


A Note on USB File Transfer 


1.


After the USB flash disk or USB mobile HD is inserted in the USB connector, Bee9 will make self-check on the USB flash 

disk or USB mobile HD. In case that the available storage space is smaller than 1G, the text “USB” will fl

ash on the LCD 

Display. Recording will not be started. However, recorded files may be downloaded to the USB flash disk or USB mobile 

HD. In case of multiple partition, a prompt of partition selection will be displayed on the LCD Screen.  

2. 

When downloading the video file with USB flash disk or USB mobile HD, if the available space is less than 50MB during the 

downloading, a prompt will be displayed on the LCD Display and the downloading will stop.  

3. 

USB disk download is disabled when Bee9 is recording, and a prompt will appear on the LCD panel. 

4.


(Supported Formats: EXT3, NTFS, FAT32). This port does not provide power to an external disk drive powered by USB! 

5.


Files larger than 4GB are not supported by FAT 32. 

9.


Configuring t 

A static IP address is configured from the factory in the Bee9 so that it can be set up for deployment. After the device is 
connected to power and booted up, the IP address of the device from the information displayed on the LCD display.  

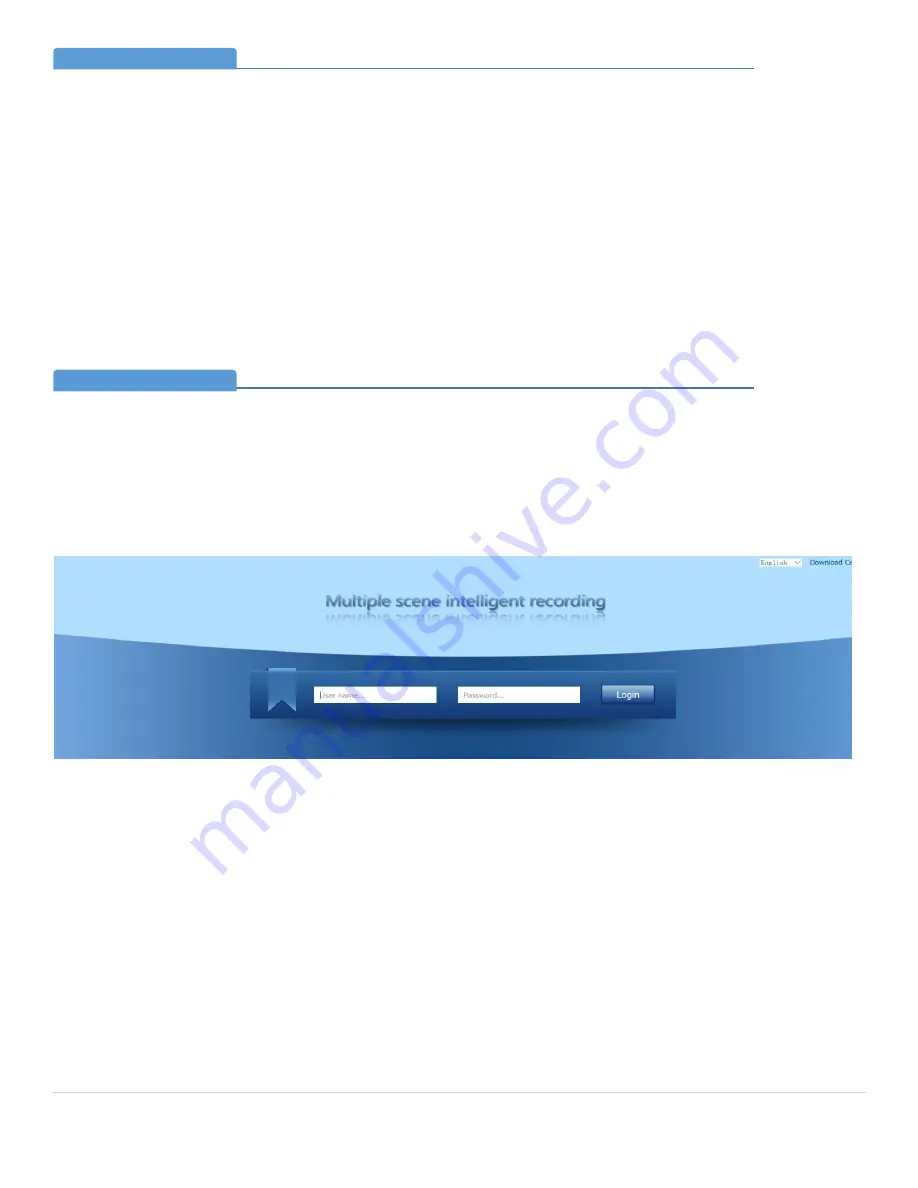
The user may log in to the Bee9 web interface with a browser by entering the IP address in the address bar. To configure 
the Bee9 to the classroom and adjust other settings, you must log in with the user name 

admin

 and password 

admin.


A note on USB file transfer

Section 8

Configuring the Bee9 through the Web Interface

Section 9

Logging into the Bee9

Summary of Contents for Bee9

Page 1: ...P a g e 1 Bee9 User s Manual Reach BTX Bee9 Multiple Scene Intelligent Recorder USER S MANUAL VERSION V1 1 US DATE OF ISSUE 01 03 2017...

Page 2: ...tact BTX Technologies 5 Skyline Drive Hawthorne NY 10532 800 666 0996 www reachAVIP us Reach REACH Reach Software are the trademarks of SZ REACH TECH CO LTD Windows Windows 7 Windows 8 and Windows 10...

Page 3: ...ystem Utilizing the Reach HD 830 HD PTZ camera it should be located centered on the blackboard whiteboard or large screen display and located no more than 55 feet 16 76M from the front of the HD 830 l...

Page 4: ...ference systems for the transfer of business intelligence to knowledge workers who otherwise would not be able to access it due to technology constraints The Bee9 features 3 HD SDI inputs for connecti...

Page 5: ...d to this port and the remote control panel This port does not provide power to an external disk drive powered by USB 3 LAN Port for Analysis Camera This LAN port is used to connect to the system anal...

Page 6: ...otocol switch should set to the RS232 position 7 DVI Digital analog VGA signal input port 16 RS485 Control Interface RS485 for Presenter close up camera PTZ control the protocol switch should switchin...

Page 7: ...is done The LCD Screen is switched to the scrolling message display to confirm the action The button LED is off in default 7 File Download When a USB storage device is connected press this button to...

Page 8: ...isplay and the downloading will stop 3 USB disk download is disabled when Bee9 is recording and a prompt will appear on the LCD panel 4 Supported Formats EXT3 NTFS FAT32 This port does not provide pow...

Page 9: ...when logging in Bee9 as the administrator There are four buttons on the top of the page to adjust the operating parameters of the Bee9 10 File Management Page File Management Video Setting System Conf...

Page 10: ...users who continue to use older browsers Reach recommends the use of the Download Application when accessing program movie and iso resource content together 4 Package Download 5 File Name The file na...

Page 11: ...e9 will display that source resolution 2 Resolution display This panel allows you to adjust analog VGA signals video phase so that there will be no shift when sources are changed 3 Analog Video Phase...

Page 12: ...Streams tab Select the resolution you wish to view the Bee9 HDMI output on a local monitor 1 Video output resolution select Click save to register output resolution NOTE when you click save the Bee9 w...

Page 13: ...za 2 RTMP Stream Info Manual control to start and stop RTSP and RTMP streams 3 Operation Mode With RTSP streams when users are connected to the Bee9 statue will change from disconnected to connected W...

Page 14: ...e Bee9 Please do not change this address This interface is provided in the unlikely event that the analysis camera has to be replaced 1 Analysis Camera IP Address Click save to record the IP address a...

Page 15: ...ials NOTE when you click save the Bee9 will automatically restart to register the IP address change or mode change 2 Save Button Refreshes the information on this page Refresh Button This tab simply a...

Page 16: ...information A slower speed will look more natural if the presenter moves faster than the analytics can adapt but may detract from the production value of the content On the basis of the observed accu...

Page 17: ...h BTX On the Central Control Tab Enter the IP address of the system external control equipment here 1 Central Control IP Address Click the save button to invoke the change and register Telnet commands...

Page 18: ...Reach BTX On the Platform tab On the System Upgrade tab Click this pull down to choose between Media Center or FTP Server for upload target destination 1 Access Type Click the save button to invoke th...

Page 19: ...tart the Bee9 It is a good practice to restart the Bee9 on a periodic basis Reach recommends a restart once every two weeks to clear the caches System Restart Button Click browse to locate the upgrade...

Page 20: ...describes the Bee9 physically and where it is on the LAN After preparing the Bee9 for deployment this page allows users to confirm the equipment is ready to be interfaced with the Director application...

Reviews: