016-0236-001 Rev. C
43
WIRING INSTALLATION
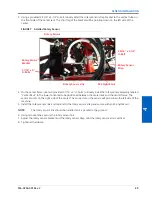
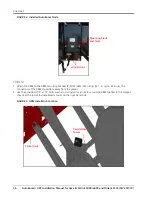
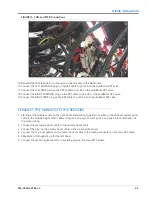
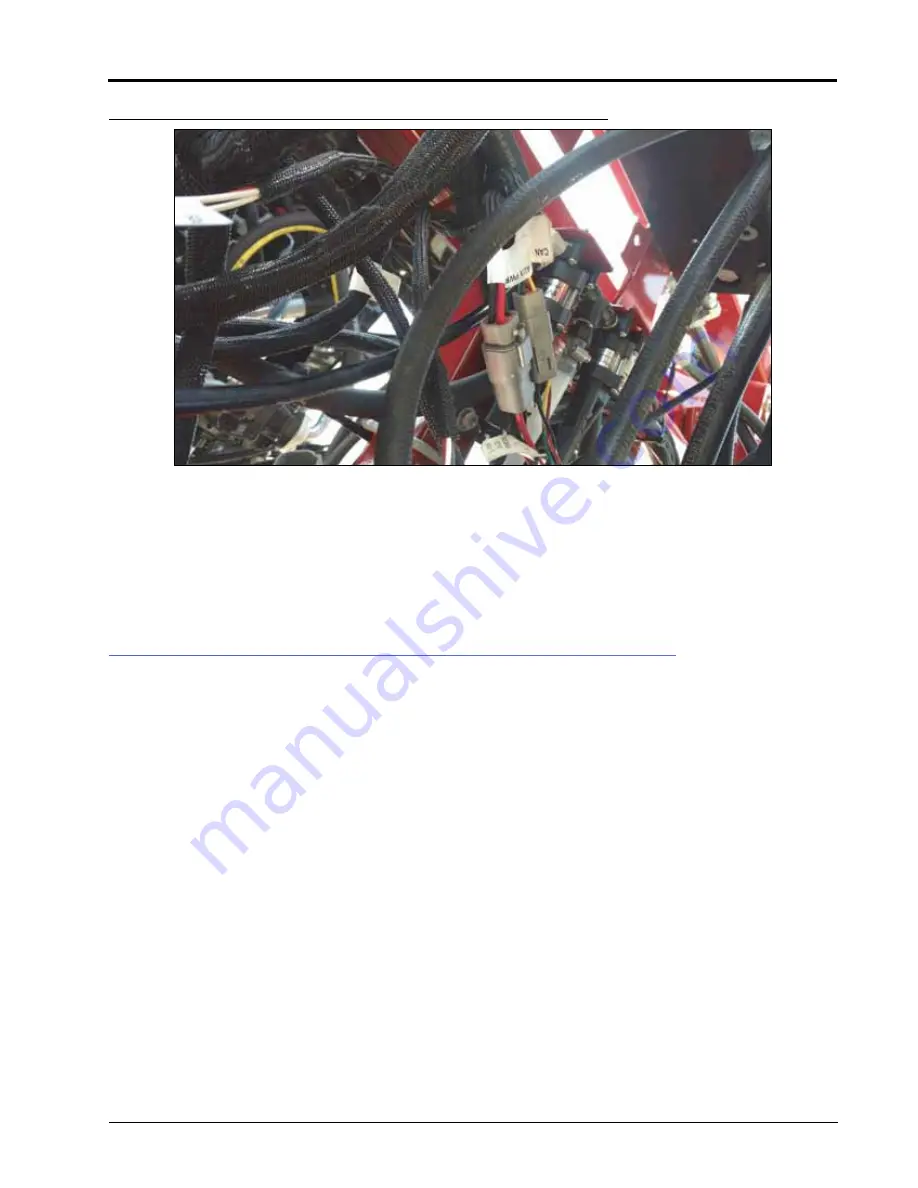
FIGURE 11. CAN and PWR Connections
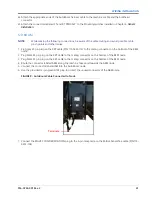
15. Reinstall the CAN terminator on the open connector next to the ABM node.
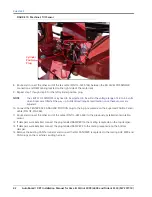
16. Connect the LEFT SOLENOID plug on the XRT cable to port 4A on the AutoBoom XRT valve.
17. Connect the LEFT PROP plug on the XRT cable to port 5A on the AutoBoom XRT valve.
18. Connect the RIGHT SOLENOID plug on the XRT cable to port 5B on the AutoBoom XRT valve.
19. Connect the RIGHT PROP plug on the XRT cable to port 13A on the AutoBoom XRT valve.
CONNECT THE HARNESS TO THE SENSORS
1. Starting at the outside sensor on the right boom and working towards the center, connect the secondary boom
cable to the outside height sensor. Refer to Figure 4 on page 37 and Figure 5 on page 38 for a illustration of
the sensor wiring.
2. Connect the secondary boom cable to the primary boom cable.
3. Connect the plug on the primary boom cable to the inner height sensor.
4. Connect the 12-pin receptacle on the primary boom cable to the mating connector on the main XRT cable.
5. Repeat step 1 through step 4 for the left boom.
6. Connect the center height sensor to the mating plug on the main XRT harness.

