Rane Sixty Eight Operator'S Manual Download Page 24

CUE POINTS

Use cue points in Scratch Live to mark and 
trigger different parts of your tracks. The cue 
point markers are saved with the file in the 
track’s ID3 tag. This means they will be present 
each time you load the track.

SETTING CUE POINTS

You can set up to five cue points for each track. 
Click on the 

+

 button to place a cue point, or 

use the keyboard shortcuts below. A cue point 
will be set at the current playhead position of the 
track and can occupy any of the 5 slots.
  Use the keyboard shortcuts: ctrl-comma (for 
left) and ctrl-period (for right) to place cue points 
in chronological order. Alternatively, use ctrl-1 
through 0 to set a specific cue point, i.e., to set a 
cue point on the Left Deck in slot 2, press ctrl-2.
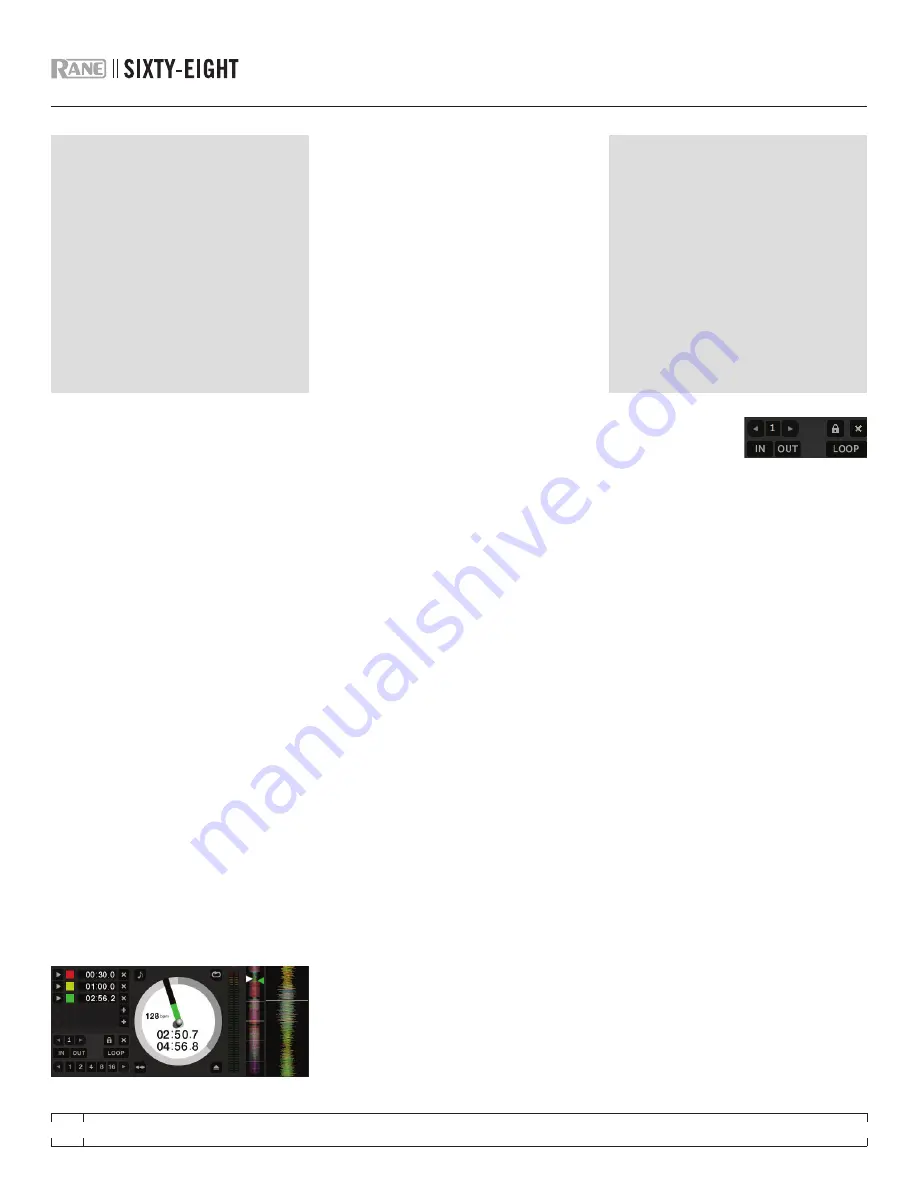
  Notice the stripe on the Virtual Deck jumps to 
the 12 o’clock position and changes color when 
you set a cue point – you are at the cue point 
when the stripe is one solid color and at the 12 
o’clock position. As the track plays on beyond 
the position of the cue point, the colored bar 
shortens by a fifth for each rotation. Likewise, as 
you approach the cue point, the color will grow 
by a fifth each rotation. For example, the picture 
below shows the track just before the end of the 
5th rotation before the cue point.

TIP: zoom in on the waveform using the – and 
+ keys and ‘scrub’ to the desired position for 
greater accuracy when setting cue points.

ENABLE HOT CUES

To turn on hot cues, check 

Enable Hot Cues

 in 

the Playback tab on the Setup screen. When Hot 
Cues are enabled, you can set cue points simply 
by pressing the number keys 1 through 0 (no ctrl 
modifier required). Note that you can only add 
cues this way if the cue point slots are empty.


SEE “ENABLE HOT CUES” ON PAGE 38.

TRIGGERING CUE POINTS

Click the 

 

arrow to the left of each cue point 

to jump to it (REL and INT modes only). You 
can also jump to cue points using keyboard 
shortcuts: 1 through 5 for the cue points on the 
Left Deck, and 6 through 0 for the Right Deck 
cue points.

EDITING CUE POINTS

To remove a cue point, use the 

x

 button on the 

right side of the cue point panel. You can also 
overwrite cue points by using the shortcut keys 
ctrl-1 through 0.

CUSTOMIzING CUE POINTS

The colors of cue points can be changed at any 
time. To change the color of a cue point, click on 
the colored square and choose a new color from 
the drop down menu.
   You can also drag and drop cue points to 
change their order in the list. If you wish to have 
the cue points sorted chronologically, check 

Sort  cues  chronologically

 in the Playback 

tab on the Setup screen. If you load the same 
track onto both Decks, you will be able to add or 
modify cue points from either Deck.
  When you jump to a cue point in INT mode 
while paused, the track will play from the cue 
point for as long as the key or mouse button 
is pressed, after which the playhead returns to 
the cue point. If this is done using the keyboard 
while the track is playing in either INT or REL 
mode, the cue point will be repeatedly triggered, 
producing a stuttering effect.

LOOPING

You can save up to 9 
loops per track. These 
loops are saved in the 
file, and will be present when you reload the 
track. To make a loop, set the in-point by clicking 
the 

in

 button, and the out-point by clicking the 

Out

 button. To turn the loop on or off, click the 

LOOP

 button. If you want the playhead to jump 

to the start of the loop when you enable the loop, 
hold the control key and press the 

LOOP

 button.

  To adjust the in-point of the loop, click the 

in


button. You can use the arrow keys: left arrow 
to move the in-point towards the start of the 
track, right arrow to move the in-point towards 
the end of the track. Hold down the shift key 
while pressing the arrow key to make coarse 
adjustments. Click the 

in

 button again to save 

the in-point. The same applies to adjusting the 
out-point.
  You can also use the control vinyl (or CD) to 
adjust the in- and out-point. Click the 

in

 button, 

then move the control vinyl. Moving the vinyl will 
adjust the in-point. Once you are happy with the 
new in-point, click the 

in

 button again to save, 

and release the control vinyl.
  The control vinyl will go back to controlling 
playback once the record is back up to normal 
speed. Using the control vinyl to adjust loop 
end points is optional — to turn this feature off, 
disable 

Adjust loops with vinyl

 under the Vinyl 

Control tab in the Setup screen.

RANE SIXTY-EIGHT 

FOR

 SERATO SCRATCH LIVE •


OPERATOR’S MANUAL


2.2

24

Summary of Contents for Sixty Eight

Page 1: ...RANE SIXTY EIGHT FOR SERATO SCRATCH LIVE OPERATOR S MANUAL 2 2 SIXTY EIGHT TWO COMPUTERS TWO USB PORTS FOUR DECKS AND A RANGE OF EFFECTS...

Page 2: ...RANE SIXTY EIGHT FOR SERATO SCRATCH LIVE OPERATOR S MANUAL 2 2 2...

Page 3: ...ain readily operable 16 This apparatus shall be connected to a mains socket outlet with a protective earthing connection 17 When permanently connected an all pole mains switch with a contact separatio...

Page 4: ...17 How to Analyze Files 17 About Corrupt Files 17 Playback Control 18 The Control Record 18 The Control CD 18 Vinyl Scroll 18 Set Auto BPM 18 The Offline Player 18 Main Screen Overview 19 Virtual Deck...

Page 5: ...Connection 36 DJ Handover 36 Keyboard Shortcuts 37 Additional Setup 38 Hardware 38 USB Buffer Size Latency 38 Updating Firmware 38 Input Select Status 38 Headphone Tone 38 Flashing Deck Indicator 38...

Page 6: ...ed TRS tip ring sleeve plug or an unbalanced TS tip sleeve plug Mic 1 has a switchable phantom power option and Mic 2 has a switchable line level option Analog Outputs All analog outputs come from the...

Page 7: ...EXFX CROSSFADER POST PH CD AUX PGM 2 SOURCE 2 1 2 1 1 2 A B CUE LEVEL MID HIGH LOW FILTER FLEXFX CROSSFADER POST PH CD AUX PGM 3 SOURCE 4 3 4 3 3 4 A B CUE LEVEL MID HIGH LOW FILTER FLEXFX CROSSFADER...

Page 8: ...4 8 6 10 0 2 4 8 6 10 0 2 4 8 6 0 1 2 3 4 5 6 7 8 9 10 0 1 2 3 4 5 6 7 8 10 9 0 1 2 3 4 5 6 7 8 9 10 0 1 2 3 4 5 6 7 8 10 9 0 1 2 3 4 5 6 7 8 9 10 0 1 2 3 4 5 6 7 8 10 9 0 1 2 3 4 5 6 7 8 9 10 0 1 2 3...

Page 9: ...ich of the Virtual Decks the control strips are in command of Pressing this button toggles between the assigned Primary and Secondary Deck Layers as chosen in Scratch Live See Primary Secondary Deck L...

Page 10: ...rnal analog effects and external USB effects applied in any combination It is possible to cue and control the level of this auxiliary mix in the Main Mix This architecture is very flexible and not at...

Page 11: ...p bypass Six built in effects Filter Flanger Phaser Hold Echo Robot Reverb General Behavior The effect time is saved for each effect Changing BPM for one effect changes the BPM for all effects Tapping...

Page 12: ...selector USB 3 Playback Virtual Deck Three PGM 3 Source selector PGM 4 Source selector USB 4 Playback Virtual Deck Four PGM 3 Source selector PGM 4 Source selector USB 5 Playback is the RETURN on the...

Page 13: ...ive icon to your dock for quick launching 3 Plug either USB port from your Sixty Eight to a computer USB port No extra hardware or driver installation is required Windows It is important that Windows...

Page 14: ...r and double clicking on the application You can also do this if you have already installed the latest version just rename the application eg to Scratch Live 2 1 1 and then reinstall the earlier versi...

Page 15: ...e Threshold A threshold is a lower limit below which a process will not occur In the case of Scratch Live the noise threshold is the limit below which the input signal will not be interpreted as contr...

Page 16: ...net audio files see Whitelabel net on page 17 NOTE Older iTunes Music Store DRM files cannot be played back by Scratch Live iTunes Plus files are DRM free Playing Music Click on the All icon to show a...

Page 17: ...ixty Eight disconnected On the left side of the main screen click the Analyze Files button to automatically build overviews for all the tracks in your library TIP You can drag and drop individual fold...

Page 18: ...trol CD to access Vinyl Scroll Find the track you want to load and go back to track 1 The track you selected will be loaded and ready to play You can reverse the direction of Vinyl Scroll and set the...

Page 19: ...peaks for the track on the left side above a row of blue peaks for the track on the right side in the Tempo Matching display area When the two tracks are matched to the same tempo the peaks will line...

Page 20: ...rmation there is a tap tempo button displayed where the BPM usually is in the song info area Pressing alt space bar activates the tempo tapper press alt space bar a second time to activate the tempo t...

Page 21: ...tion displayed In Library Mode only the track information Virtual Deck mode track overview display and meter are displayed TIP Use the space bar to toggle between Library Mode and your current display...

Page 22: ...al mode to ABS mode by lifting the needle and placing it in the lead in of the control record Emergency Internal mode will activate after 1 second Use the keyboard shortcut F1 left deck or F6 right de...

Page 23: ...There is a temporary cue point that can be used like the cue button on many DJ CD players Press ctrl I to set this temporary cue point on the Left Deck and ctrl K to set it on the Right Deck This tem...

Page 24: ...ing the shortcut keys ctrl 1 through 0 Customizing Cue Points The colors of cue points can be changed at any time To change the color of a cue point click on the colored square and choose a new color...

Page 25: ...ttons as laid out on screen ie if the onscreen buttons display 1 2 4 8 16 bar loops alt 1 triggers 1 bar loop and alt 5 triggers a 16 bar loop Loop Roll Loop roll performs a standard auto loop but whe...

Page 26: ...n slot 6 to trigger each sample respectively SP 6 Instant Doubles You can instant double from the Virtual Decks down to the SP 6 from the SP 6 up to the Virtual Decks and also between the sample slot...

Page 27: ...olume of the loaded sample The gain adjustment will also be written to the track s ID3 tag meaning that it will be the same everytime you load it SP 6 Output Selector Use the master output selector bu...

Page 28: ...ttons Each Deck can only pass through one FX unit at a time Show Parameters Press the Show Parameters button to expose the individual parameters for each effect You can then control the individual par...

Page 29: ...to the mouse If you need to change a control using the mouse disable MIDI assign mode MIDI Platters The Scratch Live Virtual Decks are not user assignable to MIDI control MIDI devices with platters on...

Page 30: ...t back from the recycle bin trash Crate files have the extension crate Subcrates You can drag and drop crates into other crates to make subcrates If you drag a crate to the very left of the crate pane...

Page 31: ...fields are currently being used Press esc or the x button on the right of the search box to clear the search TIP Use the keyboard shortcut ctrl f to jump to the search box This keyboard shortcut will...

Page 32: ...ck information NOTE We recommend that you turn off any wireless networking devices when using Scratch Live If you export your playlist online whilst playing you may experience USB dropouts If so you m...

Page 33: ...he track has been imported from the iTunes library The track has been imported from the iTunes library and Scratch Live has detected some corruption in the MP3 file Solution If possible re encode the...

Page 34: ...ntrols 2 Choose the Input Source by clicking on the downward arrow icon to get the drop menu 3 Click the red record icon to start recording 4 The record icon flashes while recording and the display sh...

Page 35: ...t right arrow to the Right Deck NOTE Recording files are automatically split when the recording exceeds 3 hours 16 bit or 1 hour 50 minutes 24 bit See Recording Bit Depth on page 38 Sampling From Viny...

Page 36: ...channel for you to take over See USB Sources Analog Inputs on page 19 2b USING TWO CONTROL SOURCES Unassign the USB Source for the non playing Virtual Deck on Computer A Then have Computer B assign th...

Page 37: ...te the file from your library and send to the recycle bin Note to iTunes users files in your iTunes library cannot be deleted this way ctrl shift Toggle the input reverse switch esc Clear search strin...

Page 38: ...ect value Headphone Tone These controls adjust the Low and High tone controls to the headphone outputs Flashing Deck Indicator Displays a flashing white border around the Virtual Decks which currently...

Page 39: ...Doubles This option allows you to quickly match the playhead position of two tracks With this option enabled when you load the same file on one Virtual Deck that is already loaded on the other Virtua...

Page 40: ...o the file information of tracks in your iTunes library will not appear in iTunes until after you play the track Scratch Live cannot play files that have been protected by Digital Rights Management sy...

Page 41: ...orms the Library and the SETUP screen Audio Cache Use this slider to set the amount of audio that is loaded into memory A small audio cache will place less load on your computer and the tracks will lo...

Page 42: ...e USA The first time I play a new track it takes a while to load Scratch Live has to read the entire file and create a file index overview the first time it is loaded This may take a few seconds for l...

Page 43: ...an audio file Unsupported file This MP3 contains mul tiple layers While scanning this file Scratch Live found frames belonging to multiple MPEG layers Scratch Live does not support MP3s containing fr...

Page 44: ...rom the speakers CD PLAYER INTO PHONO INPUT The Sixty Eight is set to receive a phono level input Switch to the correct Line setting on the Sixty Eight PHONO INTO LINE INPUT The Sixty Eight is set to...

Page 45: ...h Live is unable to track correctly Swap sides or get new vinyl ASAP LEFT CHANNEL IS NOISE Left signal has been lost with a noisy loose connection RIGHT CHANNEL IS NOISE Right signal has been lost wit...

Page 46: ...le turntable technique allows you to mix as if you had two turntables using just one If one of your turntables is not performing properly or if you only have one available you will be able to continue...

Page 47: ...XFX BEAT TIME TAP MIC 2 MONO LOOPS SELECT SAVE 4 3 2 1 CUE POINTS 5 ROLL AUTO MANUAL IN LOOP OUT LOOP DELETE MIC 1 PHASER FLEXFX FLEXFX FLANGER ROBOT ECHO REVERB POST SCROLL LOAD A LAYER SHIFT BACK LO...

Page 48: ...back and forth to distribute lubricant E Do not bend the torsion spring Do not disturb the position of the small sensors at each end of the Fader If you accidentally do make sure the parts are standin...

Page 49: ...onnectors of the three white and blue wires 8 Slide out the fader assembly completely 9 The channel faders are mounted in pairs Remove the four screws for each pair of faders 1 and 2 or 3 and 4 0 The...

Page 50: ...d A2 Record A3 Record A4 HP FILTER HP FILTER Record PGM 1 Record PGM 2 Record PGM 4 Record Main Mix Return Send METER A D PGM 1 PGM 2 PGM 3 PGM 4 FlexFx Loop MICS SC 2 Record SC 3 Record SC 1 Record S...

Page 51: ...sional Audio Signal Processing BRAND Rane Model Sixty Eight Immunity Results THD N 4 dBu 400 Hz BW 20 Hz 20 kHz Test Description Measurement Conditions RF Electromagnetic Fields Immunity 80 MHz 1000 M...

Page 52: ...ED TO THE ORIGINAL RETAIL PURCHASER BY THE AUTHORIZED RANE DEALER OR DISTRIBUTOR AT THE TIME OF PURCHASE Rane Corporation does not however warrant its products against any and all defects 1 arising ou...

Page 53: ...hased in the U S AT THE RANE FACTORY IN THE U S If the product is being sent to Rane for repair please call the factory for a Return Authorization number We recommend advance notice be given to the re...

Page 54: ...RANE SIXTY EIGHT FOR SERATO SCRATCH LIVE OPERATOR S MANUAL 2 2...

Reviews: