69
9. ADJUSTMENT AND SETTING OF THE
DOSE (where available)
9.1. Models E1
It is possible to adjust the dose of coffee dispensed
E1 models.
9.1.1. Adjusting the dose
The coffee dose adjustments are made by acting on
the group keyboads with machine at rated pressure.
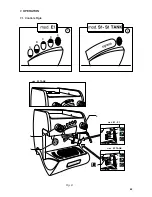
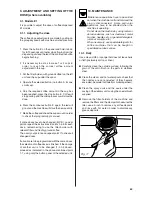
1 Press the button E on the panel and hold it down
for 8-10 seconds until water stops flowing from the
dispensing unit and the led of the continuons button
begins flashing.
2 It is necessary to act as to make 1 or 2 cups in
order to reach the correct coffee amount
adjustment in the cup.
3 Put the filter-holder (with ground coffee) on the left
unit and the cup under the spout.
4 Operate the selected button (i.e. button A for one
small cup).
5 One the required coffee amount in the cup has
been reached, press the stop button E. Coffe will
stop pouring and the microprocessor will store the
dose.
6 Press the continuous button E again; the led will
go out and the machine will store the new quantity.
7 Make the coffee and check the cup amount in order
to check that programming is correct.
If some doses have to be changed (B-C-D), once at
point 5 repeat the instructions in points 3-4-5 for each
dose, remembering to use the filter-holder with
relevant filter and freshly ground coffee.
Then carry out point 6 and repeat point 7 to check all
changed doses.
If all units are to be programmed with the same doses,
the selection of coffee doses is finished. If the dosage
of another unit is to be changed (1-2-3-4 doses),
proceed as indicated in the above-mentioned point
1-7, using only the button panel of the selected unit.
10. MAINTENANCE
Maintenance operations have to be carried
out when the machine is off and cold and the
plug is disconnected. Some particular
operations have to be effected when the
machine is operating.
Do not clean the machine by using metal or
abrasive devices, such as steel wool, metal
brushes, needles, etc. or general detergents
(alcohol, solvents, etc.)
When necessary, use special detergents for
coffee machines that can be bought in
specialized service centres.
10.1. Daily
Use a clean cloth or sponge that does not leave hairs
or fluff (preferably cotton or linen).
●
Carefully clean the outside surface, following the
grain of the satin finish on the parts in stainless
steel.
●
Clean the steam and hot water spouts, check that
the nozzles are not encrusted (if they become
encrusted, be careful not to deform or damage them).
●
Clean the spray units and the seals under the
casing of the delivery units using the special brush
supplied
●
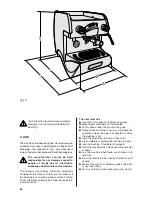
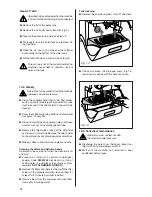
Remove the filter-holders of the machine and
remove the filters and the clamp which secures the
filter, use a brush to remove any coffee deposits
and rinse with hot water in order to dissolve any
grease deposits.
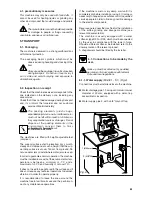
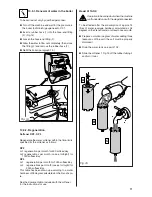
Fig. 11
Summary of Contents for Epoca S
Page 1: ...epoca USE AND MAINTENANCE S CD DE version 2 0...
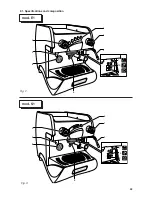
Page 5: ...2 1 Specifications and composition Fig 3 4...
Page 11: ...7 OPERATION 7 1 Controls Fig 8 Fig 8 10...
Page 17: ...epoca PARTS BREAKDOWN CD DE version 1 01...
Page 18: ......
Page 19: ......
Page 20: ......
Page 21: ......
Page 22: ......
Page 23: ......
Page 24: ......
Page 25: ......
Page 26: ......
Page 27: ......
Page 28: ......
Page 29: ......
Page 30: ......
Page 31: ......
Page 32: ...epoca DIAGRAMS S CD DE version 1 01...
Page 33: ......
Page 34: ......
Page 35: ......
Page 36: ......
Page 37: ......
Page 38: ......
Page 39: ......
Page 40: ......
Page 41: ......
Page 42: ......
Page 43: ......
Page 65: ...91 REV 00 J5 J6 J4 GR...
Page 66: ...92...
Page 67: ...93...
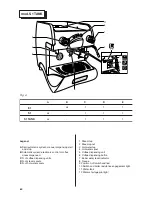
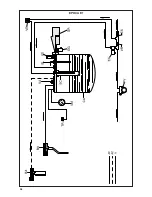
Page 70: ...96 EPOCA E1...
Page 71: ...97 PV EPOCA S1...
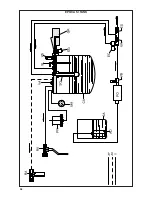
Page 72: ...98 EPOCA S1 TANK...

