Page 38
WES
3
Installation and Operations Manual V2.0 Ramtech Electronics Limited 2020
Unit Numbering LED indications
When the A button is held down on two units, both will begin by
illuminating the amber LED followed by a confirmation LED pattern.
The following table indicates the meaning of the various LED patterns.
One of the units needs to be the Base Station
LED pattern Description
●
Red
●
Amber
●
Green
Pairing started
●
Red
●
Amber
●
Green
Pairing success. The two units are on the same
site and have the same unit number. Both units
must display a green LED.
●
Red
●
Amber
●
Green
Pairing failed. The units are already part of two
different existing sites. The units need to be
deactivated and reactivated to allow pairing to
succeed.
●
Red
●
Amber
●
Green
Unit numbering success. The unit has successfully
joined the same site as the base station and has
the unit number selected in the Unit Numbering
Screen.
A unit whose amber LED fails to illuminate will not pair. This may be
due to an internal tamper.
Date and Time
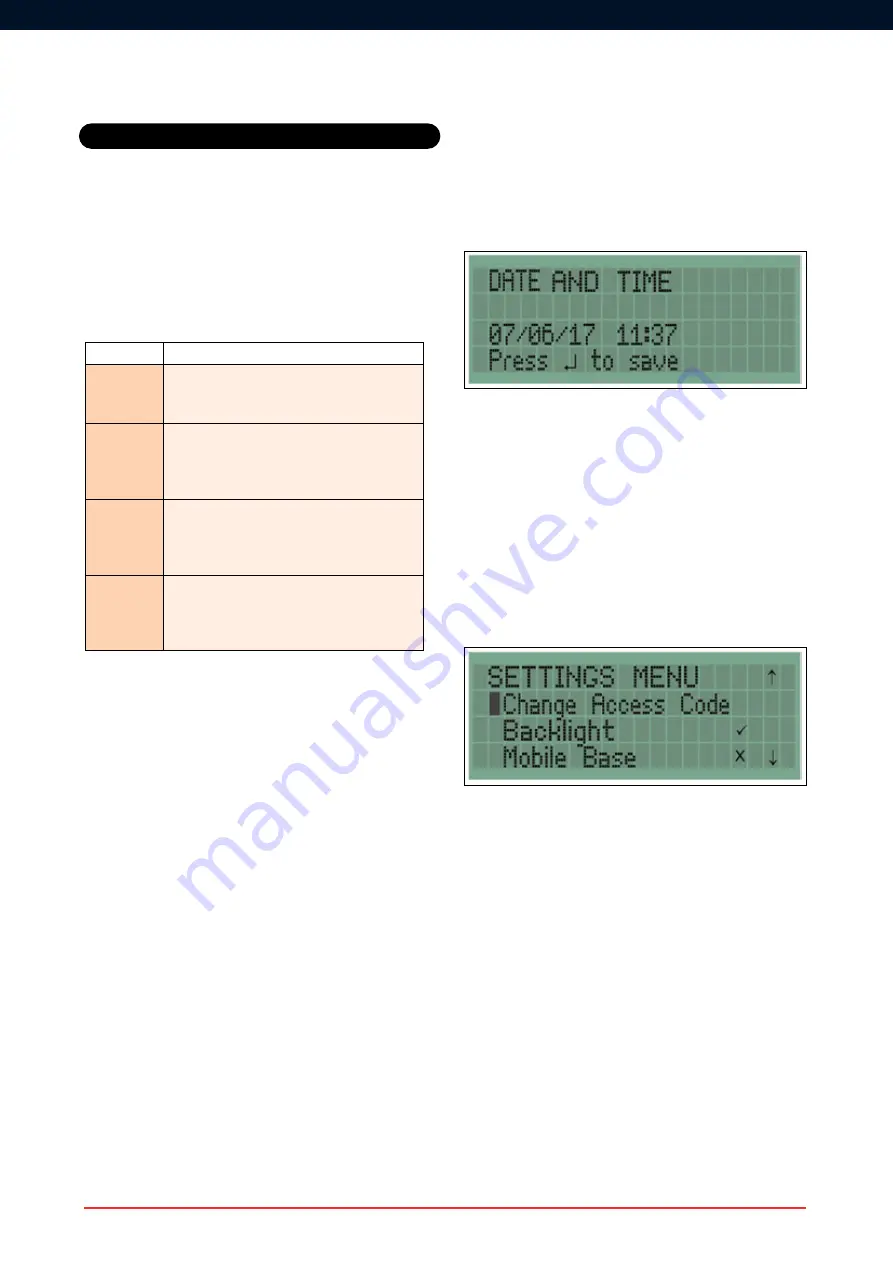
The date and time can be updated in the Date and Time screen using
the navigation pad and pressing enter to save. The date and time
must be set manually and will not automatically adjust for international
time zones, British Summer Time etc. The format is DD/MM/YYYY and
HH:MM. Time is displayed as a 24hr clock.
Back Light
The LCD backlight can be disabled by pressing enter when the
Backlight option is highlighted. A tick indicates that the backlight is
enabled and a cross indicates it is disabled. By default the backlight is
enabled.
Mobile Base
It may be desirable for the Base Station to be used without being fixed
to a wall, for example, if you need to keep it in the site office during the
day but move it to a security hut at night.
This feature deactivates the rear tamper so the unit is Mobile.
The Base Station unit can be made mobile by pressing enter on the
Mobile base option. A tick indicates that the Mobile Base option has
been enabled.
Settings


