Every disk should appear with the word “
Basic
”, a size value that shows the
available storage capacity, and a status of “
Online
”. Instead of Basic, a disk could
appear
Unknown
,
Dynamic
, or
Not Initialized
.
If the disk appears as “
Unknown
”, right-click the disk icon and select
Write
Signature
. A window opens with the selected disk (all Unknown disks may appear
in this window). Make sure the box next to each disk is checked and click OK. The
disk should now be marked as a
Basic
disk.
If a disk appears as “
Dynamic
”, right-click the disk icon, and select
Revert to
Basic Disk
. Within a few seconds, the disk should be marked as a
Basic disk
.
If a disk is marked “
Not Initialized
”, right-click the disk icon and select Initialize
Disk. An additional dialog box appears allowing you to select which disks to
initialize. Uncheck the SteelVine Processor Disk item and click
OK
. Within a few
seconds, the selected disk(s) should be marked as a
Basic
disk.
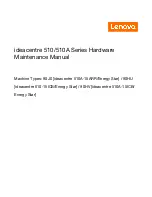
3. Right-click the configured disk's unallocated space and select
New Partition
.
If the New Partition option is not available, select the disk and initialize it first. To
do this, right-click on the disk item and select "
Initialize Disk
".
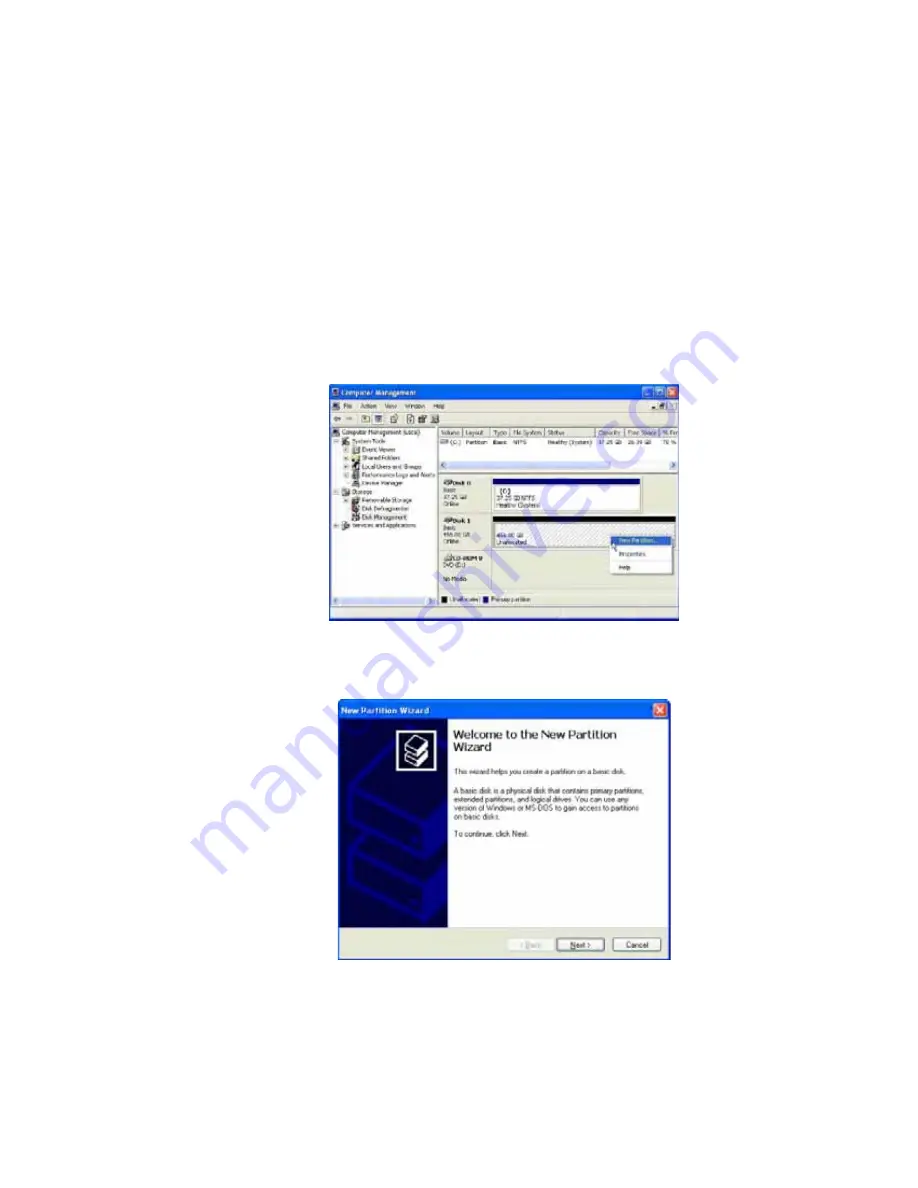
4. Click
Next
to start the Partition Wizard.
5. Select the Primary or Extended option and click
Next
.
11