


38
Scan lists help you organize trunking
system users into categories. For ex-
ample, you might use List 1 for police
IDs, List 2 for fire department IDs, List
3 for emergency medical service IDs,
and so on. Once IDs are stored in
lists, you can scan them like you scan
conventional channels. You can pro-
gram IDs into scan lists manually, dur-
ing a search, or automatically.
Manually Storing IDs into
Scan Lists
1. Select the desired trunking bank
(see “Scanning a Trunked Bank”
on Page 33).
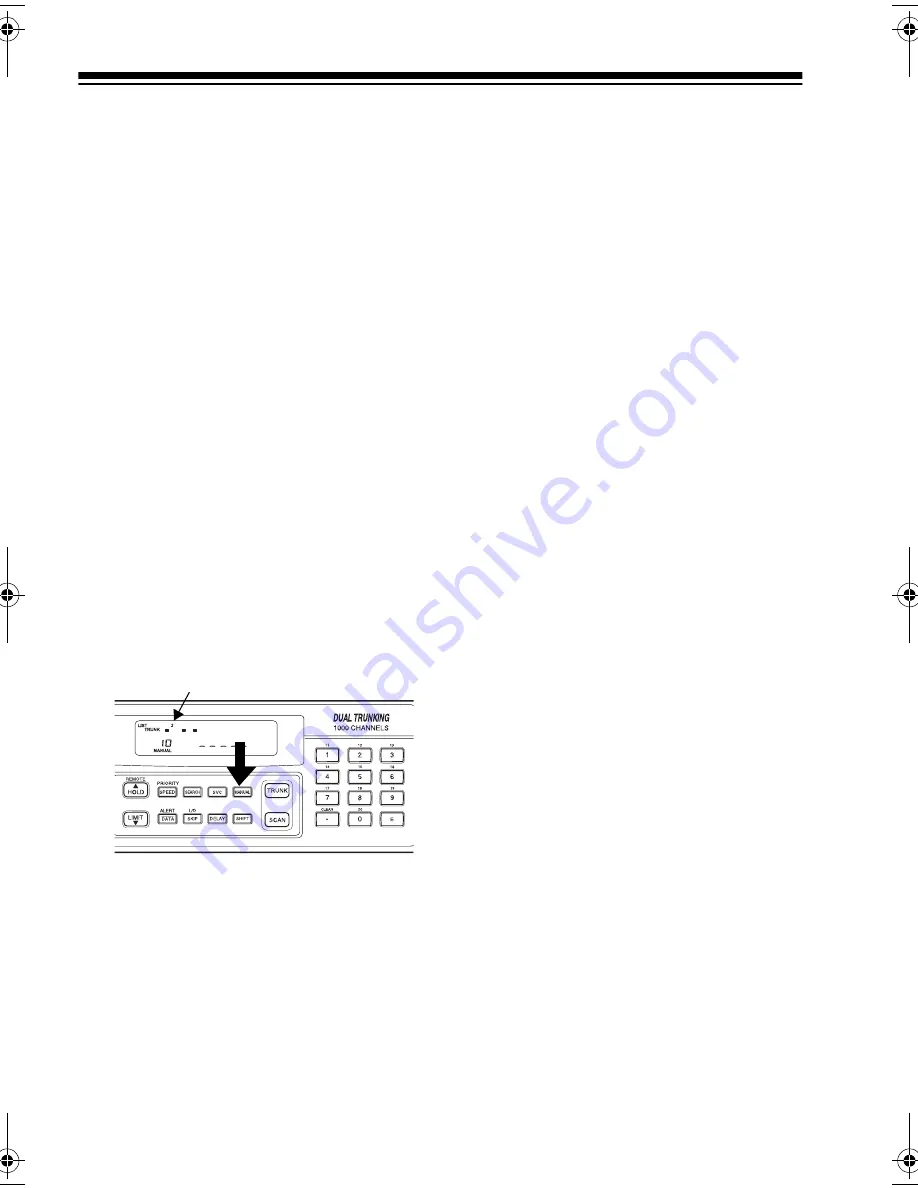
2. After the scanner begins trunk
scanning, press
MANUAL
. A scan
list number appears at the top of
the display, and a bar shows the
channel activity.
3. Repeatedly press
▲
or
▼
to select
the scan list location you want to
program.
4. Enter the Type II ID you want to
store, then press
E
.
Or, to enter a Type I ID:
a. Use the number keys to enter
the block number and the fleet
number, then press
•
.
b. Enter the subfleet number, then
press
E
.
Note: To clear a mistake while
entering an ID, press
CLEAR
, then
start over at Step 4.
Or, to enter an EDACS ID:
a. Use the number keys to enter
the agency number, then press
•
.
b. Enter the fleet number, then the
subfleet number, then press
E
.
5. Repeatedly press
MANUAL
or
▲
to select the next scan list location
you want to program. Then repeat
Step 4 to enter another ID.
Storing IDs into Scan Lists
While Searching
Follow these steps to select a scan list
location and store an ID during a
search.
1. When your scanner stops on an
ID you want to store, press
PRI-
ORITY
. The currently selected
scan list memory location flashes.
2. Press
E
to store the ID in the
selected scan list memory loca-
tion. Or, repeatedly press
▲
or
▼
to select another location, then
press
E
.
3. Press
SEARCH
to resume search-
ing.
Scan List Number
20-432.fm Page 38 Friday, July 14, 2000 11:30 AM


