5
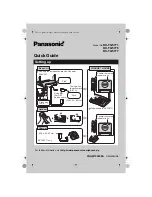
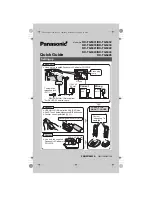
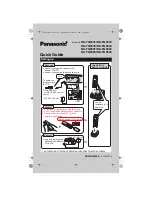
2. Insert the supplied AC adapter’s barrel
plug into the
DC IN 9V
jack on the back of
the base.
3. Route the adapter’s cord through the
strain relief slot on the base.
4. Plug the adapter into an AC outlet.
5. Lift the antenna to a vertical position.
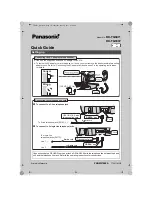
On a Wall Plate or Wall
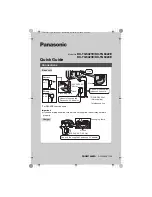
1. Plug one end of the supplied modular
cord into the
TEL LINE
jack on the back of
the base.
2. Route the modular cord through the right
slot on the bottom of the base.
3. Insert the supplied AC adapter’s barrel
plug into the
DC IN 9V
jack on the back of
the base.
4. Route the adapter’s cord through the left
side of the strain relief slot on top of the
base and through the left slots at the bot-
tom of the base.
5. Plug the modular cord
into the wall plate jack,
press the excess cord
into the slot in the center
of the base, then align
the base’s keyhole slots
with the wall plate studs
and slide the base down to secure it.
6. Press and lift out the handset holder, turn
it over and rotate it 180
°
, then snap it
back into place so it holds the handset.
7. Plug the adapter into an AC outlet.
8. Lift the antenna to a vertical position.
To mount the phone directly on a wall, you
need two screws (not supplied) with heads
that fit into the keyhole slots on the base’s bot-
tom.
Drill two holes 3
16
/
15
inches (100 mm) apart.
Then thread a screw into each hole, letting the
heads extend about
1
/
8
inch (3 mm) from the
wall. Then, after completing the modular and
adapter cords connections, align the base’s
keyhole slots with the mounting screws and
slide the base downward to secure it.
Connecting and Charging
the Battery Pack
The phone comes with a rechargeable nickel-
cadmium battery pack in the handset. Before
using your phone, you must connect the bat-
tery pack and then charge it for about 24
hours.
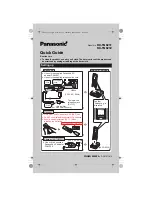
1. Press down and slide the battery com-
partment cover in the direction of the
arrow to remove it.
2. Lift the battery pack out of the
compartment. Plug the bat-
tery pack’s connector into the
socket in the compartment.
The connector fits only one
way.
3. Put the battery pack into the compart-
ment.
4. Replace the cover.
To charge the battery pack, simply place the
handset on the base. The CHARGE/IN USE
indicator on the base lights.
Recharge the battery pack when the handset
beeps and the TALK/BATT indicator flashes.
Notes:
• If the CHARGE/IN USE indicator does
not light when you place the handset on
the base, be sure the battery pack and
AC adapter are correctly and securely
connected. Also, check the charging con-
tacts on the handset and the base. If the
contacts are dirty or tarnished, clean
them with a pencil eraser.
• When you first use the phone after charg-
ing or recharging the battery pack, the
phone might not work and you might hear
an error tone. If this happens, return the
handset to the base for a few seconds.
43-1107d.fm Page 5 Tuesday, July 24, 2001 10:07 AM


