background image

18

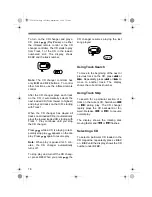
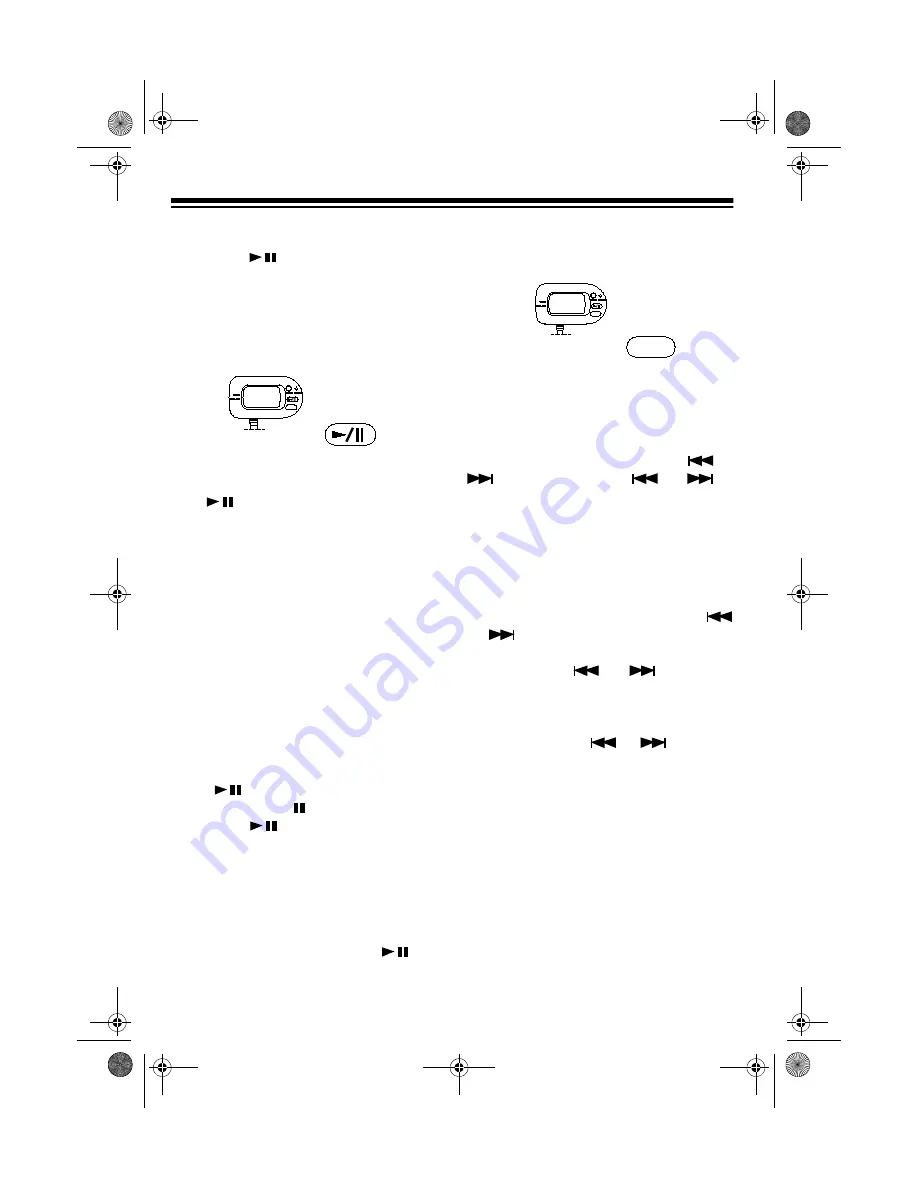
To turn on the CD changer and play a
CD, press 


(Play/Pause) on either

the infrared remote control or the CD
changer controller. The CD starts to play
from Track 1 of the CD in the lowest-
numbered slot. The display shows

DISC

 and the track number.

Note:  The CD changer controller has
only 

 and 

OFF 

buttons. To control

other functions, use the infrared remote
control.

After the CD changer plays each track
on the CD, it automatically selects the
next loaded CD (from lowest to highest)
and plays all tracks on that CD, starting
with Track 1.

When the CD changer has played all
tracks on all loaded CDs, it automatically
plays the lowest loaded CD, starting with
Track 1. Play continues until you stop
the CD changer.

Press 

 while a CD is playing to tem-

porarily stop play. 

 appears on the dis-

play. Press 

 again to resume play.

Note: When play is paused for 5 min-
utes, the CD changer automatically
turns off.

To stop play and turn off the CD chang-
er, press 

OFF. 

When you press 

, the

CD changer resumes playing the last
song played.

Using Track Search

To move to the beginning of the next or
previous track on the CD, press 

 or

. Repeatedly press 

 or 

 to

move to another track. The display
shows the current track number. 

Using Track Skip

To search for a particular section of a
track on the current CD, hold down 
or 

 during play. The CD changer

rapidly plays the CD backward or for-
ward. Release 

 or 

 to resume

normal play.

The display shows the rotating disk
moving faster and 

 or 

 flashes. 

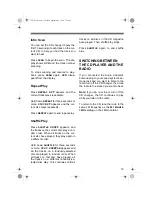
Selecting a CD

To select a particular CD loaded in the
CD magazine, repeatedly press 

+ DISC

or 

– DISC

 until the display shows the CD

number under 

DISC

.

OFF

d

ISC

CD


CHANGER CONTROLLER

RadioShack

CD


CHANGER CONTROLLER

ISC

d

OFF

OFF

RadioShack

12-2182.fm  Page 18  Friday, September 3, 1999  7:31 AM

Summary of Contents for 10 Disc CD Changer

Page 1: ...Cat No 12 2182 OWNER S MANUAL Please read before using this equipment 10 Disc CD Changer 12 2182 fm Page 1 Friday September 3 1999 7 31 AM...

Page 2: ...n heavy traffic or during hazardous driving conditions Your CD changer has these features 10 Disc CD Cartridge lets you load and play up to ten CDs Controller with Infrared Wireless Re mote Control le...

Page 3: ...e playing a CD Track Skip lets you rapidly play a CD in either direction to locate a desired section of track This CD changer is made and tested to meet exacting safety standards Warning This system e...

Page 4: ...ng the Components 13 Mounting the CD Changer 13 Mounting the Audio Adapter 14 Mounting the CD Changer Controller 15 Reconnecting the Vehicle s Battery 15 Operation 16 Loading and Unloading the CD Maga...

Page 5: ...ioShack store where you purchased it dISC OFF CDCHANGER CONTROLLER ISC d RadioShack RadioShack ISC d A U D IO A D A P T E R CD Changer CD Magazine CD Changer Cable Power Cable Yellow Audio Adapter FM...

Page 6: ...ge to your stereo CD changer and your vehicle s electrical system you must follow the or der of installation shown in this manual including instructions for making con nections and testing In addition...

Page 7: ...the CD changer Mount the CD changer as level as possible If you cannot mount the CD changer exactly level make sure it will not tilt more than 15 degrees from the horizontal or verti cal mounting posi...

Page 8: ...of the CD changer Note If you do not remove the shipping screws from the CD changer the chang er will not operate Save the shipping screws in case you might want to install the CD changer in another v...

Page 9: ...ols and marked inside 3 Replace the cover When the remote control stops operat ing properly replace the batteries Warning Dispose of old batteries promptly and properly Do not burn or bury them Cautio...

Page 10: ...icle s sound system has a pair of RCA input jacks either on the stereo head unit or the power amplifier you can connect the CD changer to the sound system s output jacks 1 Use a screwdriver to slide I...

Page 11: ...you leave the CD changer on when you turn off the ignition 5 Connect the Audio Adapter s yellow memory back up wire with in line fuse holder to your vehicle battery s positive terminal or to a fuse t...

Page 12: ...the CD changer and its components and continuous power for the CD changer s memory when the ignition is turned off Cautions The CD changer cable s plugs fit only one way into the Audio Adapter and CD...

Page 13: ...ns are correctly marked or identified Then follow the in structions in Mounting the Compo nents MOUNTING THE COMPONENTS Before you mount the CD changer and its components be sure it is connected corre...

Page 14: ...he sides of the CD changer 3 Using the supplied mounting studs as templates and the width between the mounting brackets as a guide mark the positions for the mounting holes 4 Attach the mount ing stud...

Page 15: ...ing surfaces with isopropyl alcohol and allow them to completely dry 2 Peel the backing from one side of the hook and loop fastener and attach it to the mounting location 3 Peel the backing from the o...

Page 16: ...ine As you insert a CD into the CD maga zine the disc lever moves to the right Cautions Do not insert more than one CD into the same slot in the CD magazine This will damage the CD magazine the CD cha...

Page 17: ...ers might be damaged when a sudden loud passage occurs If the CD changer is jolted during play the rotation speed might sud denly change or the CD changer might make an unusual noise This is not a mal...

Page 18: ...he dis play Press again to resume play Note When play is paused for 5 min utes the CD changer automatically turns off To stop play and turn off the CD chang er press OFF When you press the CD changer...

Page 19: ...erent order Hold down SHUFFLE for three seconds or more DISC SHUFFLE appears and all the tracks on a randomly selected disc are played in random order When all tracks on thst disc have played all the...

Page 20: ...an error code Err 1 Err 10 locks up or does not work properly press the hole on the bot tom of the Audio Adapter marked RESET with a pointed object such as a straight ened paper clip for 1 or 2 second...

Page 21: ...icle radio not set to the proper FM frequency Set the vehicle s radio to FM band and tune to the frequency set on the FM modulator 89 1 MHz or 88 7 MHz CD changer components not connected to sound sys...

Page 22: ...dio station Set 88 7 MHz 89 1 MHz to a fre quency with an active radio sta tion if available Note If there is no active broad cast on 88 7 MHz or 89 1 MHz you cannot eliminate these static sounds CD m...

Page 23: ...wear of parts Handle the CD changer gently and carefully Dropping it can damage circuit boards and cases and can cause the CD changer to work im properly Use only fresh batteries of the required size...

Page 24: ...e sells a suit able CD cleaner kit Do not write on either side of the CD particularly the non label side Signals are read from the non label side Keep the CD dry A water drop can act as a lens and aff...

Page 25: ...se must be 5 amps Warning Before you begin disconnect the cable from the vehicle battery s neg ative terminal 1 Unlatch the two latches on the fuse holder so the holder springs open 2 If a fuse is blo...

Page 26: ...r Consumption 3A Maximum Unit Weight 6 Ibs 7 oz 2920 g Unit Dimensions HWD 31 2 117 16 75 8 Inches 90 290 194 mm CONTROLLER FM MODULATOR Power Source 14 4 Volts DC Negative Ground Unit Weight Controll...

Page 27: ...27 NOTES 12 2182 fm Page 27 Friday September 3 1999 7 31 AM...

Page 28: ...he warranty period take the product and the RadioShack sales receipt as proof of purchase date to any RadioShack store RadioShack will at its option un less otherwise provided by law a correct the def...

Reviews: