USER MANUAL
6
2.6.
Operation Instruction
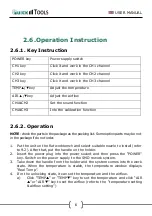
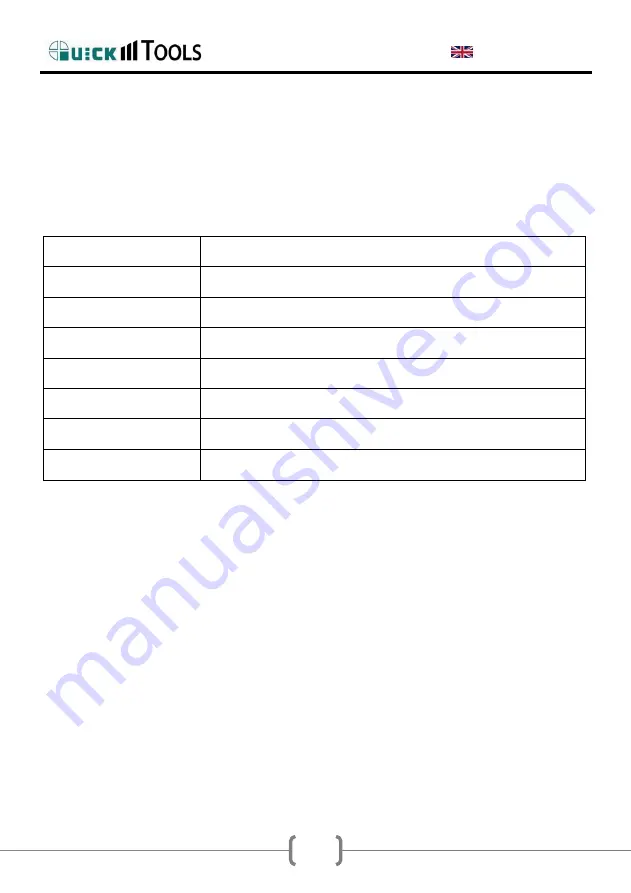
2.6.1. Key Instruction
POWER key
Power supply switch
CH1 key
Click it and work in the CH1 channel
CH2 key
Click it and work in the CH2 channel
CH3 key
Click it and work in the CH3 channel
TEMP
▲
/
▼
key
Adjust the temperature
AIR
▲
/
▼
key
Adjust the airflow
CH1&CH2
Set the sound function
CH1&CH3
Into the calibration function
2.6.2. Operation
NOTE: check the parts in the package as the packing list. Some option parts may be not
in the package if do not order.
1.
Put the unit on the flat workbench and select suitable nozzle to install (refer
to 9.2). After that, put the handle on the holder.
2.
Insert the power plug into the power socket and then press the “POWER”
key. Switch on the power supply to the SMD rework system.
3.
Take down the handle from the holder and the system comes into the work
state. When the temperature is stable, the temperature window displays
“Real Temp”.
4.
If in the unlocking state, it can set the temperature and the airflow.
a)
Click “TEMP
” or “TEMP
” key to set the temperature and click “AIR
” or “AIR
” key to set the airflow (refer to the
“temperature setting
& airflow setting”)


