


Quantum Scalar i6000: Drive Replacement
6-67999-01 Rev A
October 2013
10
Update the Drive Firmware Using Firmware Images
Note:
On the back of the drive, the Green LED 2 will flash rapidly while
the firmware update is in progress.
10
The library updates the firmware on the selected drive.
Note:
Updating drive firmware could take up to 20 minutes to complete.
11
When finished, the
Status
column of the drive will state
Update Complete
and the LEDs on the back of the drive will display:
•
Green LED 1
- solid green indicating port connectivity to either the
FC I/O blade or the customer FC switch
•
Amber LED
- off
•
Blue LED
- blinks one time per 10 seconds
•
Green LED 2
- blinks at the same cadence as the other green LEDs on
the other drives in the module
12
Click
Close
.
13
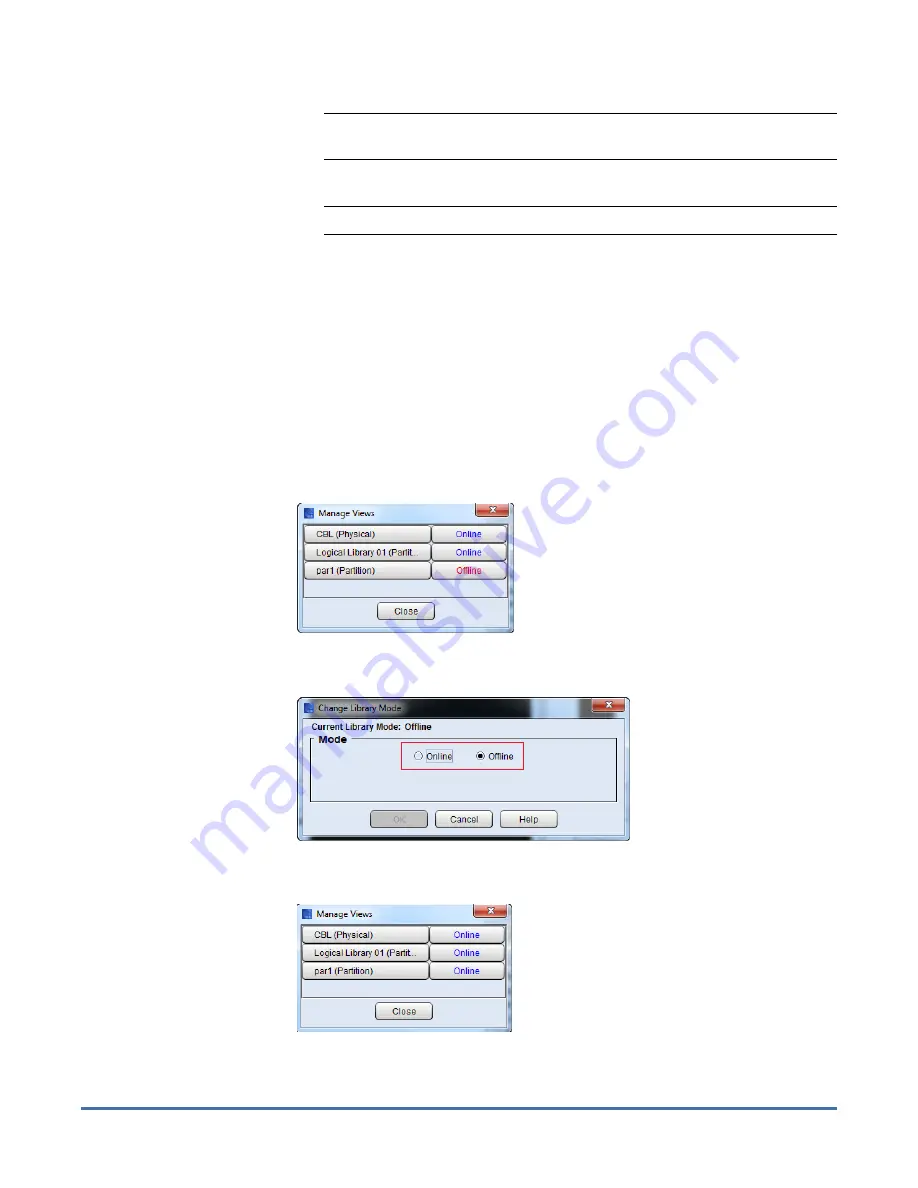
Select
View > Views
. The
Manage Views
screen displays.
14
Click the
Offline
button for the partition that contains the replacement
drive. The
Change Library Mode
screen displays.
15
In the
Mode
area on the
Change Library Mode
screen, select
Online
and
click
OK
. The
Manage View
dialog shows the partition now
Online
.
16
Click
Close
.


