


3.1 P1-P8
The Pilot can store up to eight of your favorite settings.
Enter the Program mode by pressing the P1-P8 soft key. See section 8 for details on using the
program mode.
3.2 SELECT
This soft key selects one of the following :
Mode of Remote 1 / Mode of Remote 2 / Mode of Remote 3
After the mode that you want to change has been highlighted, use the
Left (-)
Å
and
Right (+)
Æ
buttons to change that mode.
See section 4 for details on choosing the correct mode of the remote flashes
3.3 SELECT
This soft key selects one of the following :
Settings for Remote 1 / Settings for Remote 2 / Settings for Remote 3
After the setting that you want to change has been highlighted, use the
Left (-)
Å
and
Right (+)
Æ
buttons to change that setting.
Each of the modes for the remotes have a setting that can be adjusted. Below is a description of
each mode plus it’s setting.
Man (Manual) 1/8 +
A remote flash set to Man can have it’s power adjusted from 1/32 to 1/1 in one third steps.
Auto F8.0
3
The F/number of a remote flash in Auto can be adjusted in third steps. The ISO for all remote
flashes will come from the camera.
A.Fill (Auto Fill) +1.0
7
In A.Fill, the F/number for the remote flash comes from the camera. However you can set the
remote flash from –3 stops below to +2 stops above the camera setting.
QTTL -1.0
3
The exposure of the remote flash can be set from –3 stops below to +2 stops above the camera
setting.
Linked +1.0
3
This mode uses the sensor located on the front of the PILOT. The F/number and ISO come from
the camera. However you can set the remote flash from –3 stops below to +2 stops above the
camera setting.
3.4 CH.
This soft key is used to change the Channel of the internal radio. The channel set on the remote
Qflashes, needs to match the channel set on the PILOT.
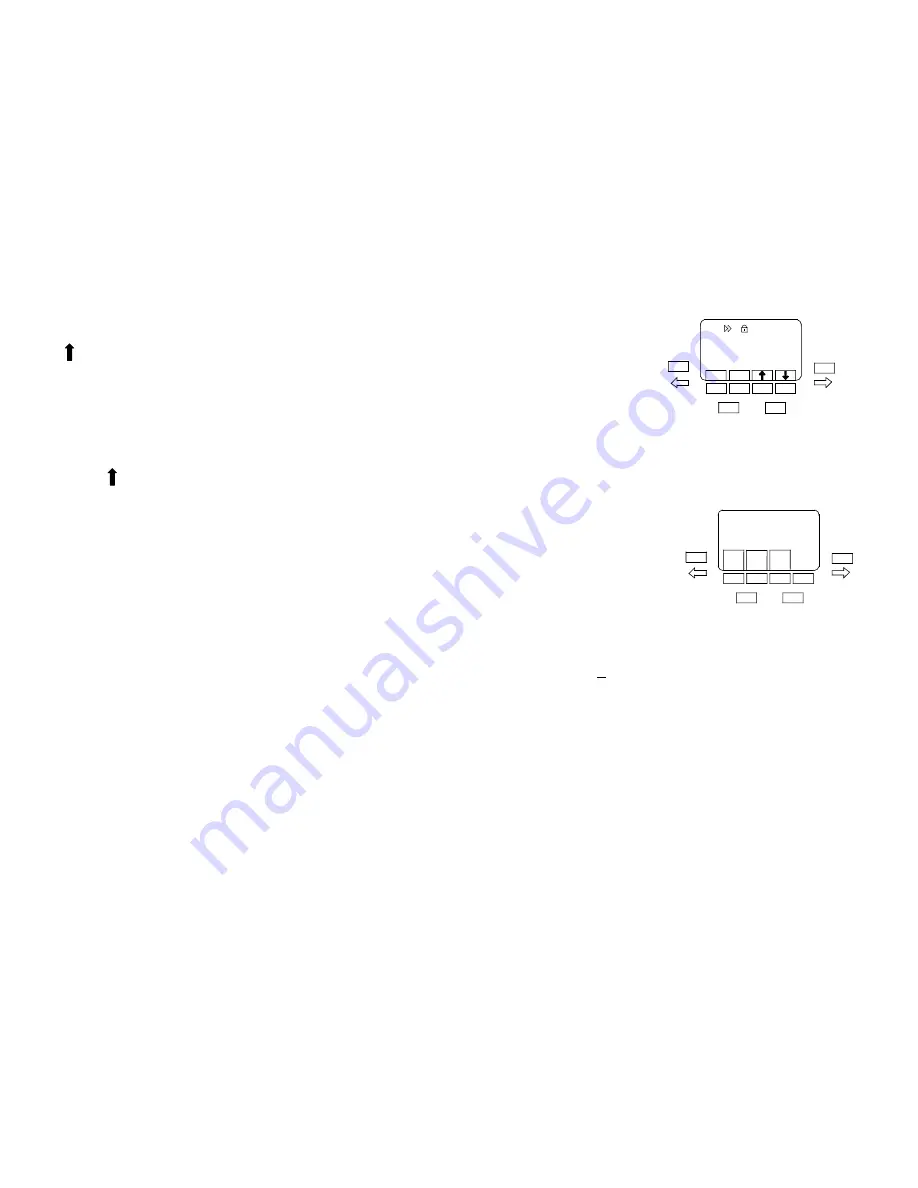
3.5 Options
Press the
OPTIONS
button to
enter the options set up menu.
To exit the set up menu press
the OPTIONS button again
Use the
LEFT (-)
Å
or
RIGHT
(+)
Æ
arrows to select the option
you want to change.
The two soft keys located on the right side are used to adjust the option that has been elected.
The
RESET
soft keys are used to reset the Trio to factory default settings. Press both at the
same time to enter the reset mode.
3.5.1 Resetting to factory defaults
Press the RESET soft key to
bring up the reset menu
The soft keys of the reset menu perform the following functions
RESET ALL
- will restore all the factory settings.
KEEP P1 P8
- will keep your stored Program modes, but reset everything else to factory
settings.
EXIT
– will exit the reset menu without changes
3.5.2 Display light DL
The back light of the display can be set to one of the following.
AUTO :
The back light will come on whenever any button is pressed. This includes the shutter
button of the camera
ON :
The back light will be on all the time.
DARK :
The back light will come on, and stay on, whenever a darkened room is entered.
TEST
OPTIONS
RESET RESET
+
-
DL F TS
Q
FLASH
PILOT
V
ER. QF09xxxx
RESET KEEP
ALL P1 P8 EXIT
TEST
OPTIONS
+
-


