Manual for Advance 6A/Advance 6B
RecoveryEasy
b. If choosing to install RecoveryEasy on an absolutely clear disk, the utility will delete all
the previous partitions.
c. The password is set as default setting “qdiqdi” after installing RecoveryEasy.
1.1
CREATE PAR
Function : Creates a new partition.
Limitation : When no disk space remains or 4 partitions already exist, this button is
disabled.
Steps
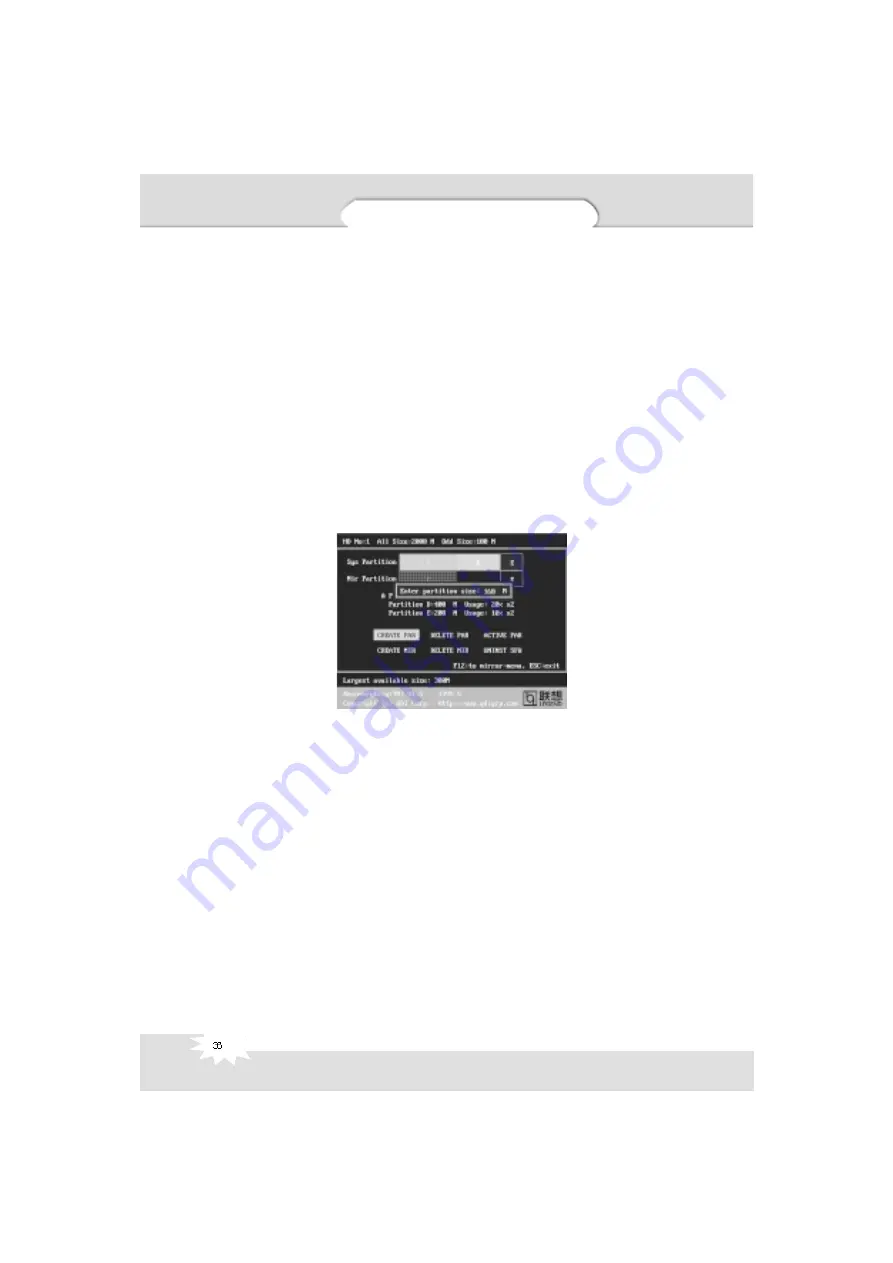
: After pressing the “CREATE PAR” button.
a. The system will prompt whether users want to create a mirror partition for it or
not.
b. If answering “Y”, input the new partition size in Megabyte. Notice that the
maximum partition size that can be assigned is half of the left disk space, which
is also displayed in the status line. Another half is for the mirror partition. If
answering “N”, the whole disk space left can be assigned. See figure-2.
Note:
a. The system will prompt “Insert system floppy, then reset” when the first
partition on the first hard disk is created.
b. After using DOS6.xx boot disk to format C partition, the system should be reset in order
to access the partition.
c. In Windows system 1,048,576 bytes equal 1 Megabyte, while in RecoveryEasy 1,000,000
bytes equal 1 Megabyte, therefore a smaller size will be displayed in Windows system
compared with the size displayed in RecoveryEasy.
1.2
DELETE PAR
Function : Deletes the last partition and its mirror partition.
Limitation : When no partition exists, this button is disabled.
Steps
: After choosing this function, only the final partition can be deleted in order to
keep the continuous disk space. If the warning message is confirmed, the
partition will be deleted. By pressing “N” or “ESC” key, the system quits.
figure-2 Create Partition


