


5
For Research Use Only
Acquire Dark Field
Dark Field Image Acquisition minimizes background
noise in subsequent plate images. Remove any plates
from the Q-View Imager LS, close the Q-View Imager
LS lid, and click
OK
on the software. In the Settings
menu click on
Manage Imagers
. Select the correct
imager and press
Acquire Dark Field
. The process
will take approximately five minutes.
Setup Completion
Once the Q-View Imager LS setup is finished, the
software opens with the Update Preferences dialog
box. Select your preferences and log in if user accounts
were enabled. If your Internet connection on any
computer running Q-View Software goes through a
proxy, specify these settings under
Administration
> Network Settings
. Your Q-View Software and
Q-View Imager LS are now ready to use.
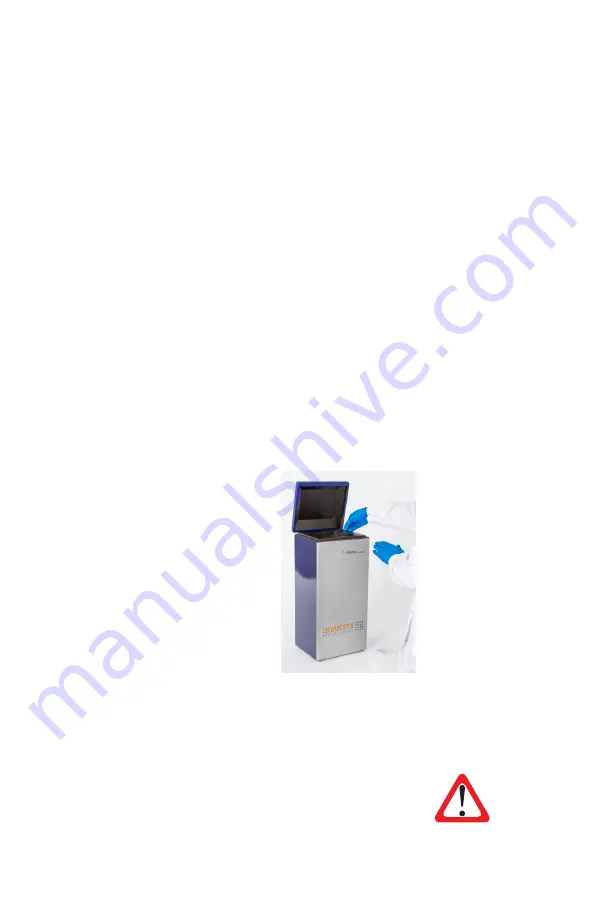
Disassembly
Carefully remove the glass/
tray insert from the Q-View
Imager LS. Take caution that,
while removing the glass/tray
insert, nothing is dropped
into the Q-View Imager LS
cavity. Anything dropped will
fall directly onto the lens of
the camera and cause damage
which will adversely affect the
Q-View Imager LS.
MOVING THE Q-VIEW IMAGER
LS
Ensure there is no plate on the tray of the Q-View
Imager LS and unplug all cords. The Q-View Imager
LS weighs approximately 9.12 kg (20.12 lbs).
In order to move or ship the Q-View Imager LS, there
are several critical steps that should take place.


