PAGE
18
PAGE
17
System Installation Steps
Please put the CD into the CD-ROM drive. The
installation program will self-execute, followed by
instructions to complete the installation setup
screen action.
After installation, please follow the onscreen
instructions to reboot the computer.
If the installer does not start automatically, please
check the CD-ROM.
Select Setup.exe and double-click with the mouse
for installation.
Supplementary Key Program Settings
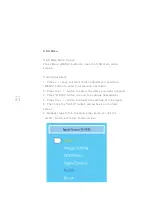
After the IDTI_TOUCHPACK program is executed,
look in the system toolbar for the
IDTI_TOUCHPACK icon. Click with the left mouse
button, and the following menu choices will
appear:
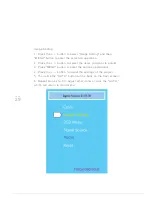
For right-handed stylus users, select the "Right
Hander." Selecting this mode will make the left
side of the screen 3 shortcut keys operable, while
the right side of the screen 3 shortcuts will be
closed to prevent the user from inadvertently
touching them.
For left-handed stylus users, select the "Left
Hander." Selecting this
mode will make the right
side of the screen 3
shortcut keys operable,
while the left side of the
screen 3 shortcuts will be
closed to prevent the user
from inadvertently touching
them.
Functions of Shortcut Keys
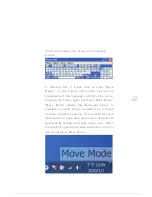
From the top of the three shortcut keys,
respectively, are the following features:
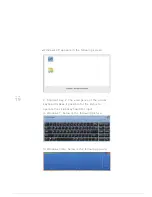
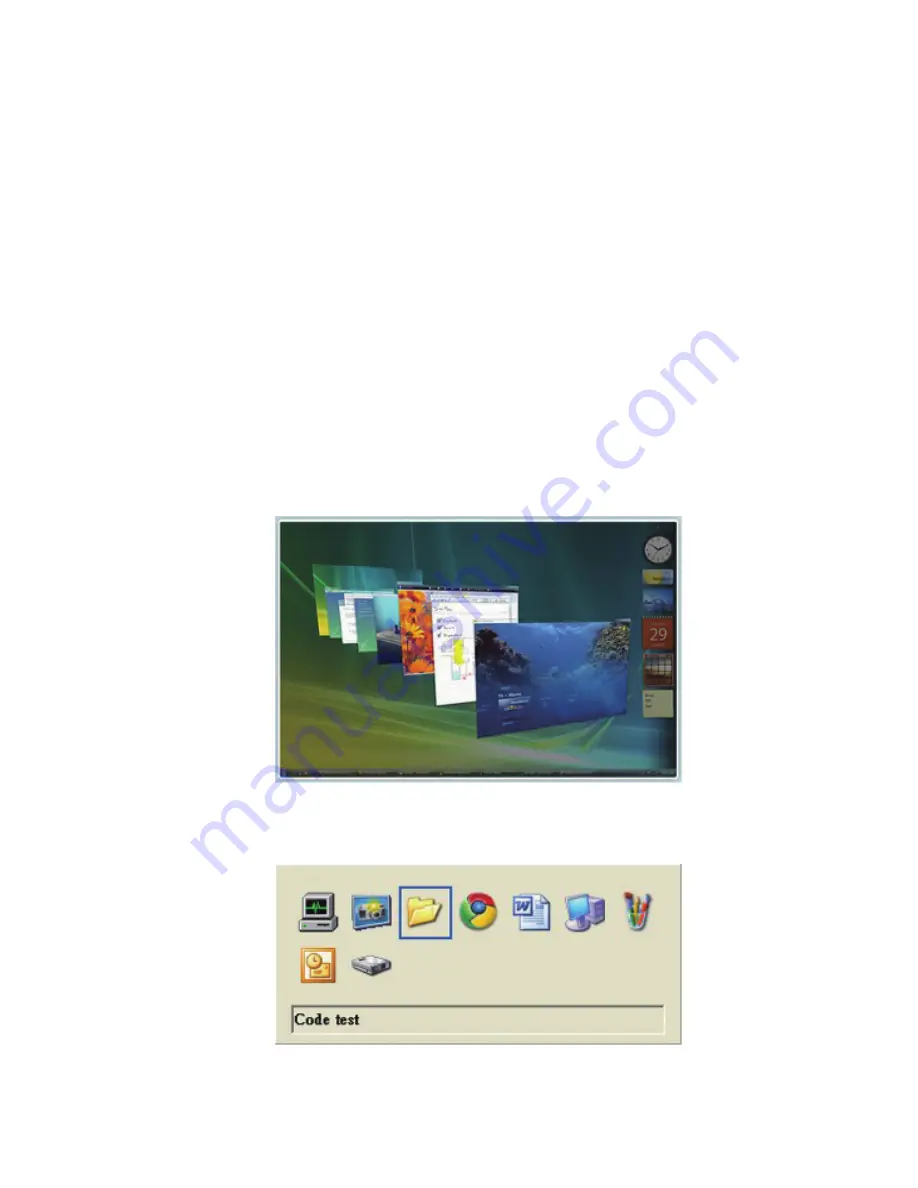
1. Shortcut Key 1: There is usually a list of running
applications, so use this button to quickly use the
stylus to click to choose:
■
Windows 7 or Windows Vista Aero effect in the
following screen:
■
Without Windows 7 or Windows Vista Aero effect
in following screen:
Summary of Contents for QIT600
Page 1: ......
Page 3: ...PAGE 01 Product Features...
Page 5: ...PAGE 01 PAGE 03 LCD Monitor Special Considerations...
Page 7: ...PAGE 05 Precautions...
Page 13: ...PAGE 11 Package Contents...
Page 15: ...PAGE 13 Monitor Appearnce Overview...
Page 17: ...PAGE 15 Side View Screen Tilt Adjustment...
Page 18: ...PAGE 16 Systems Installation Steps...
Page 26: ...PAGE 24 Contrast...
Page 27: ...PAGE 25 Brightness...
Page 28: ...PAGE 26 Color Adjustment...
Page 29: ...PAGE 27 Color Temperature...
Page 32: ...PAGE 30 1 Clock...
Page 33: ...PAGE 31 2 Phase...
Page 34: ...PAGE 32 3 Sharpness...
Page 35: ...PAGE 33 4 Horizontal Position...
Page 38: ...PAGE 36 1 Horizontal Position...
Page 39: ...PAGE 37 2 Vertical Position...
Page 40: ...PAGE 38 3 OSD Timer...
Page 43: ...PAGE 41 1 Input Signal Selection...
Page 44: ...PAGE 42 2 D SUB VGA...
Page 51: ......


