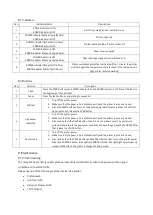
7.3 Dump mode
Please follow the steps below:
1.
Turn off the printer power.
2.
Make sure the label roll is installed correctly and the printer top cover is closed.
3.
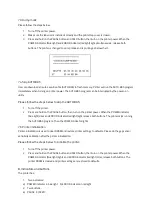
Press and hold on the PAUSE button and FEED button, then turn on the printer power. When the
POWER indicator (blue light) and ERROR indicator (red light) light simultaneously, release both
buttons. The printer is changed to dump mode and is printing as below chart:
7.4 Skip AUTO.BAS
User can download an auto execution file (AUTO.BAS) to flash memory. Printer will run the AUTO.BAS program
immediately when turning on printer power. The AUTO.BAS program can be interrupted by the power-on
utility.
Please follow the steps below to skip the AUTO.BAS:
1.
Turn off the printer.
2.
Press and hold on the PAUSE button, then turn on the printer power. When the POWER indicator
(blue light) dims and ERROR indicator (red light) light, release both buttons. The printer skips running
the AUTO.BAS program. Then the POWER indicator lights.
7.5 Printer initialization
Printer initialization is used to clear DRAM and restore printer settings to defaults. Please do the gap sensor
sensitivity calibration after the printer initialization.
Please follow the steps below to initialize the printer:
1.
Turn off the printer power.
2.
Press and hold on the PAUSE button and FEED button, then turn on the printer power. When the
POWER indicator (blue light) lights and ERROR indicator (red light) dims, release both buttons. The
printer DRAM is cleared and printer settings are restored to defaults.
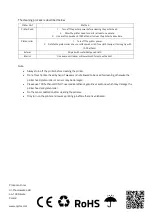
8. Indicators and buttons
The printer has:
1.
Two indicators:
a)
POWER indicator in blue light b) ERROR indicator in red light
2.
Two buttons:
a)
PAUSE b) FEED

