42
43
CHAPTER 4 MAIN MENU SETUP
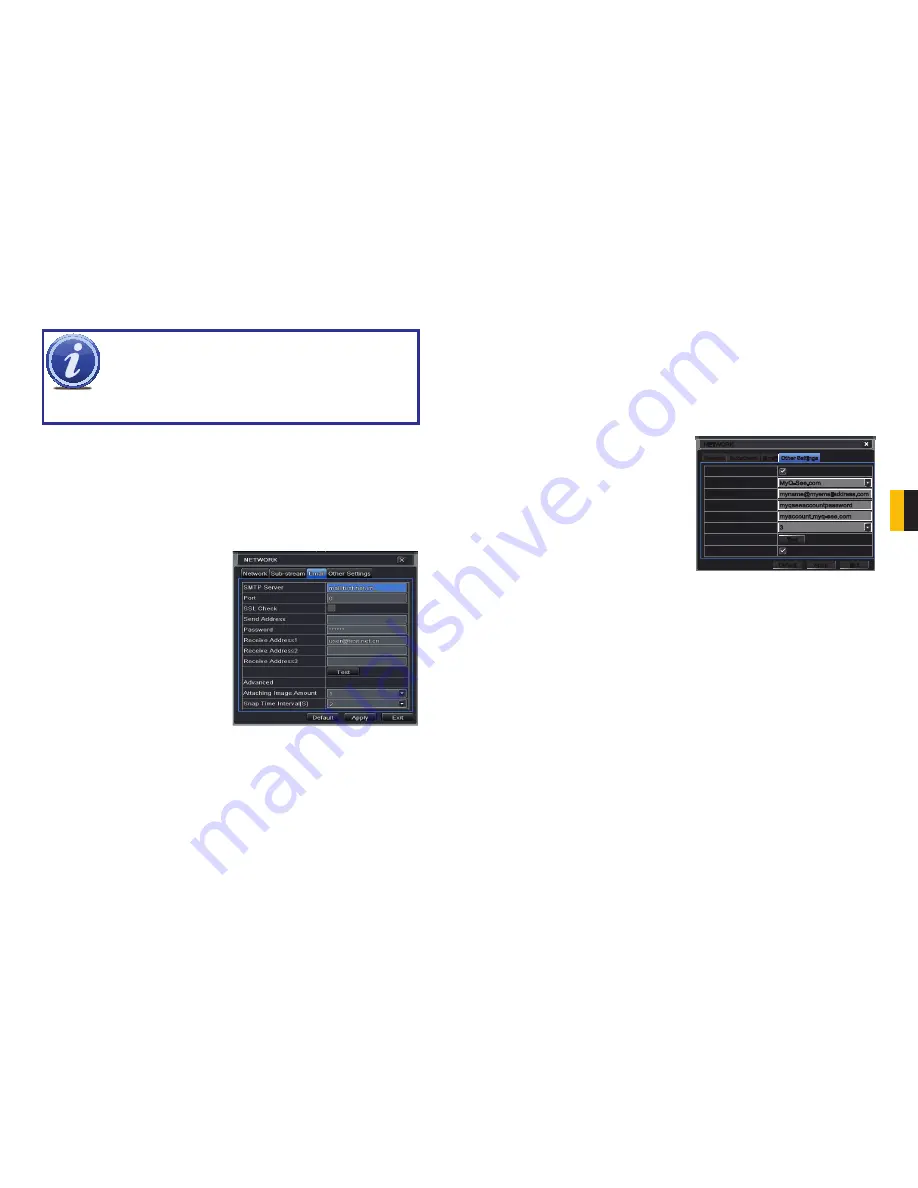
Email Tab
This tab allows you to set how your DVR will send out e-mail alerts. You will be able to send
e-mail alerts to three addresses.
NOTE!
Depending upon your settings, the system can generate a lot of e-mail
alerts. For that reason, we recommend setting up a dedicated e-mail address
specifically for the system to send alert notices. If you do not have your own
e-mail system (such as a corporate mail server) you should consider using a
free e-mail provider. However, because many free e-mail services allow only
a limited amount of e-mail traffic we specifically recommend using Google’s
Gmail service with its higher limit. Similarly, you will want the alert e-mails to go to a different
account than the one sending them. This will ease your management of these alerts.
If you do not have your own e-mail system, please set up a free account which the DVR can
use to send out alerts before proceeding.
For the example below, we will use Gmail. The settings can be found under
Options
when
logged into your Gmail account.
Clicking on any of the fields will bring up the virtual keyboard allowing you to enter the data.
The virtual keyboard is capable of handling upper and lower case letters as well as numbers
and symbols. Click the
ENTER
button to enter your input or
ESC
to exit the field without
applying any changes.
SMTP Server:
smtp.gmail.com
Port:
465 (standard port for Gmail - others
may vary)
SSL Check:
You will need to select this for
Gmail. Other ISPs may vary.
Send Address:
Enter your new address. This
will appear on alert e-mails sent from
the DVR
Password:
Enter the password you created
for this account. Remember, it will be
case-sensitive.
Receive Addresses:
You may set up to three
e-mail addresses to receive alerts. It
is strongly advised that you do not
use the same address that the DVR is
using to send alerts.
PICTURE 4-37
Advanced
Attaching Image Amount:
The alert e-mails can include up to three images
Snap Time Interval:
The interval of the images can range from every second to every five
seconds.
Other Settings
Commercial ISPs provide their customers with dynamic addresses (IP numbers). These
numbers can change from time to time depending upon your service provider. Doing so can
cause you to lose the ability to remotely access your DVR from your mobile phone or other
out-of-network device. To prevent this from happening, we recommend using a Dynamic
Domain Name Service (DDNS). This will give you a domain name that can be linked to your IP
address and will automatically – and invisibly – forward remote connections to your network
when the IP address changes.
Q-See offers DDNS for free at
MyQ-See.com
. Create a domain name, user name and
password before proceeding.
DynDNS.com
also offers a similar free service. This is covered
in-depth in
SECTION 1.4
of the
Remote Monitoring Guide
.
Network
Network
Substream
Substream
NETWORK
NETWORK
Default
Default
Apply
Apply
Exit
Exit
Test
Test
DDNS
DDNS Server
User Name
Password
Host Domain
DDNS Update [Hours]
UPnP
DDNS
DDNS Server
User Name
Password
Host Domain
DDNS Update [Hours]
UPnP
Other Settings
Other Settings
MyQ-See.com
[email protected]
myqseeaccountpassword
myaccount.myq-see.com
3
MyQ-See.com
[email protected]
myqseeaccountpassword
myaccount.myq-see.com
3
Select the box in the DDNS field to enable
DDNS. You will then enter the user name,
domain name and password you created into
the appropriate fields. You can also select the
interval in days at which the DDNS checks to
see whether your IP address has changed.
Intervals range from every 30 minutes to 24
times in 60 days.
You can now access the DVR remotely by inputting that domain name into the web browser.
PICTURE 4-38


