30
31
4.6 RECORDING
The fundamental purpose of your DVR is to view live cameras as well as to record events as
they happen. This section covers how to configure the settings to best suit your requirements.
Since each user’s needs are different, we will provide information on the options available
which you may combine as you need.
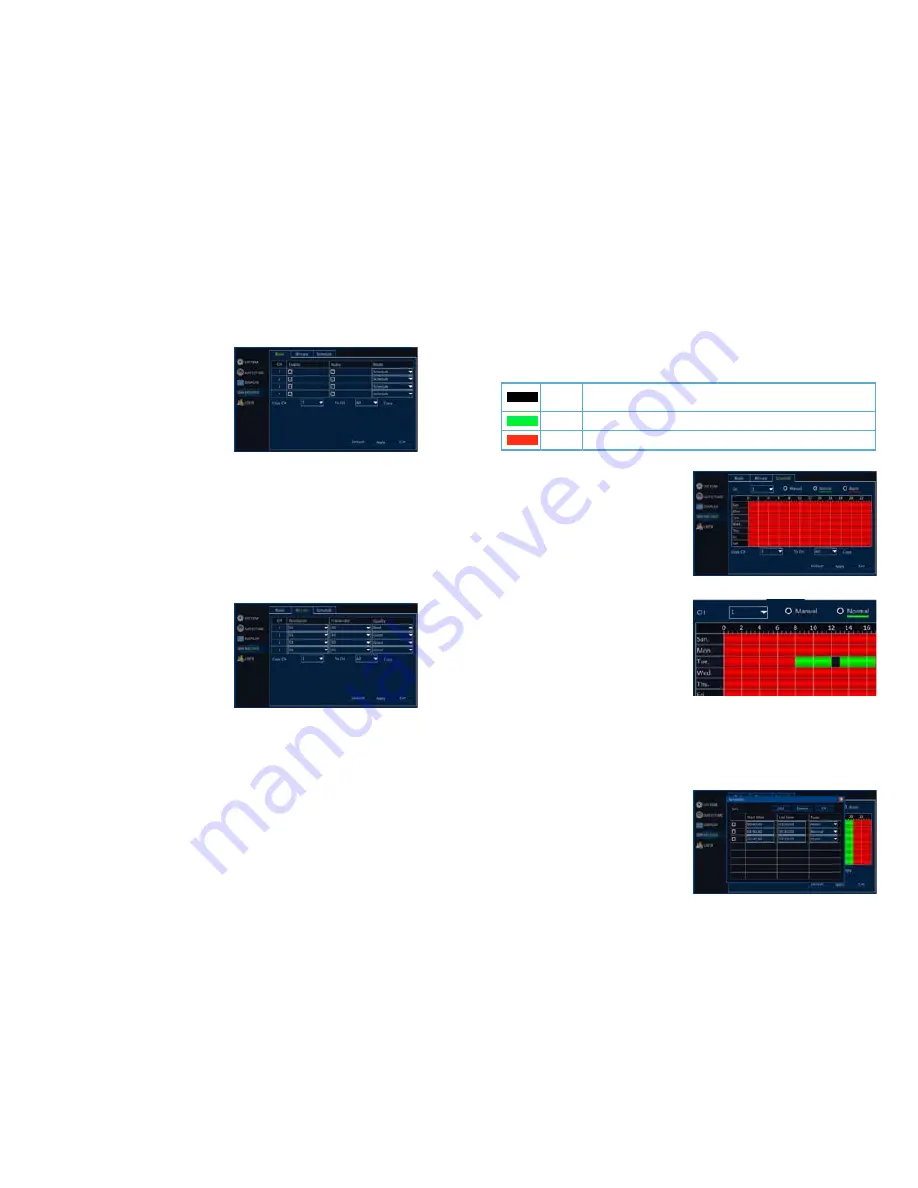
PICTURE 4-8
PICTURE 4-9
PICTURE 4-10
PICTURE 4-12
PICTURE 4-11
Basic Tab
By default, your DVR is configured to record
when motion is detected. Each camera is
enabled as is audio recording. Audio tracks
will only be added to the video if you have
microphones or audio-enabled cameras
connected to your DVR.
The recording mode is set for
Schedule
which allows it to follow the schedule set up under
that tab (discussed below). The other option is to enable the cameras to record all the time.
You can copy settings in this tab from one camera to another using the
Copy
button. Be
certain to click
Apply
to save any settings you make in this tab.
Bit Rate Tab
This tab controls the quality of the video recorded by the cameras. The resolution, frame rate
and physical quality of the recordings may all be adjusted. The factory settings are optimized
to best balance quality with the amount of space required to store recorded videos.
Resolution
- D1 resolution is 704x480 pixels
Framerate
- Smooth, “real-time” video
footage moves at 30 frames per second
(fps). A lower frame rate generates jerkier
movement, but it requires less disk space.
Quality
- This ranges from “Normal” to “Best” with increasing levels of image clarity. Each
improved level requires more storage space on the hard drive.
You may copy the Bit Rate settings from one camera to others. Simply select which camera
to use as the source and which camera(s) to apply the settings to and then click on the
Copy
button.
Schedule Tab
As stated earlier in this section, your DVR is configured to record when motion is detected
24/7. The
Schedule
tab reflects this with the weekly schedule filled completely with red
signifying that it is set to record on
Alarm
. This schedule setting not only saves disk space,
but makes it easier to locate recordings of events when they do occur because there is much
less video that needs to be searched through.
The different recording modes are color coded:
You can alter the schedule, including the type
of recording mode, by selecting the desired
mode and then clicking and dragging in the
desired area of the schedule with the mouse.
The area will fill with the color indicating the
recording mode for that time.
Mistakes can be corrected by selecting a
different recording mode and changing the
block of time back to the desired mode.
In
Picture 4-11
at right, the DVR has been
set to record continuously (green) during the
period of time between 8am and 5pm (1700
hours) on Tuesdays with the exception of the
12 noon and 1pm (1300 hours) which has
been set to Manual (black). The rest of the
time, the schedule is set so that the DVR will
record when an event is detected (red).
Manual
DVR will not record unless user begins it by clicking on the Record
button in the Control Bar or on the remote control
Normal
DVR records continuously
Alarm
DVR will only record when motion is detected
Each camera is configured separately, but you may copy the schedule from one channel to
another by selecting the camera with the desired schedule as well as which camera - or all
cameras - to which you want to apply the schedule. Click
Copy
and the other cameras will
have the same schedule.
For more precise schedule setting, you may
double-click on a day’s bar and a Schedule
pop-up window will appear allowing you to
set the recording mode along with the start
and end times. Add or delete scheduled
blocks using the appropriate button.


