DVR BOOT-UP
QR40198 User Manual
7 |
P a g e
Chapter 4: DVR Boot-Up
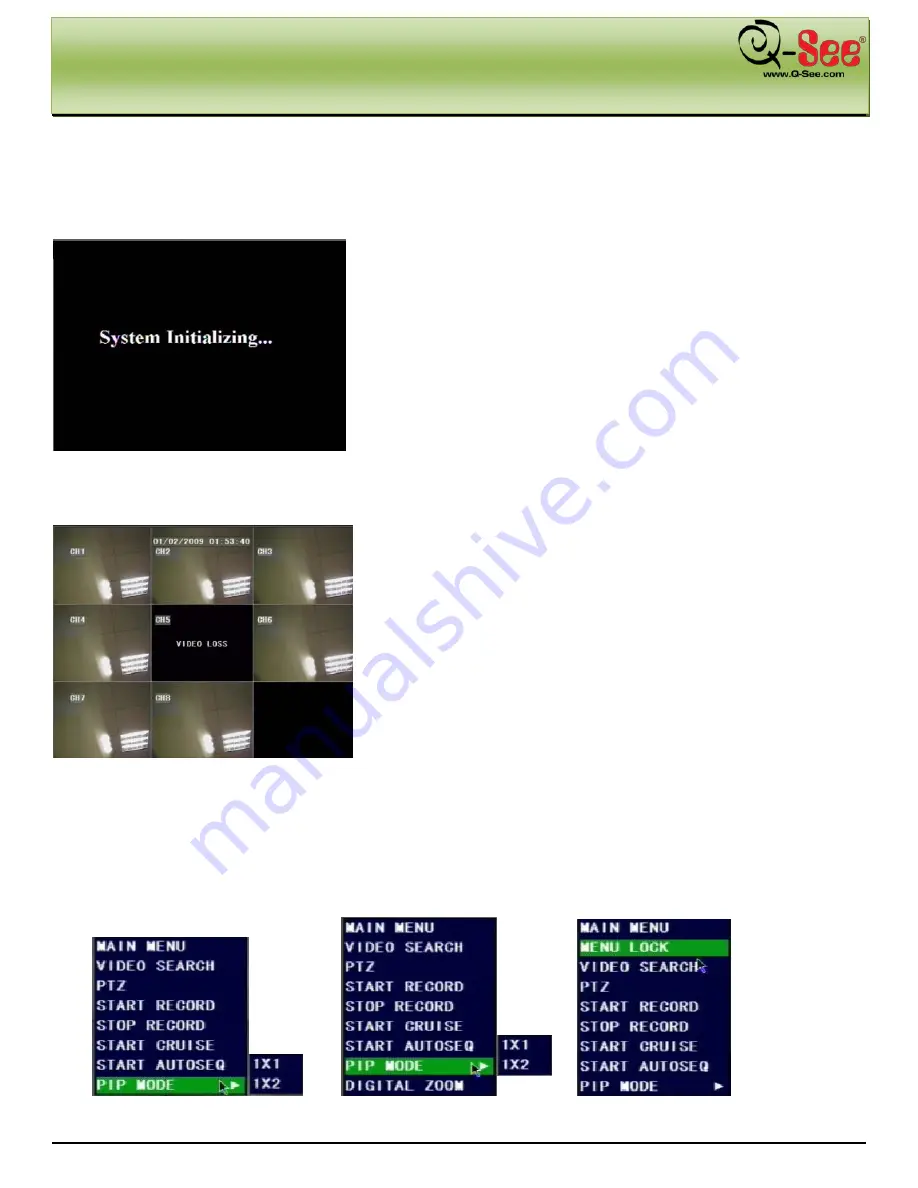
4.1. System Initialization
After connecting the power adapter the system will boot-up and start
initializing.
Picture 1
4.2. Main Interface
After initialization, the system will display the main display screen.
When there are video inputs, live images from the cameras will be
displayed on the screen. You can use the mouse to double-click the
live image of any channel for full screen display; by double-clicking
again, the display will display all cameras.
On the main interface, you will be able to see current system date &
time, channel title, and recording status.
When there is no HDD installed in the DVR, or the HDD is not in
working condition, system will display “H” on the screen.
Picture 2
Press SEL button on the front panel or click the right mouse button and you will see the pop-up menu bar. It’s a short
cut to your most frequently used menus. Detailed information on the options in the pop-up menu bar will be available
in the chapter related to that option. Picture 3 shows the menu in multiple screen mode, Picture 3A shows it in single
screen mode, and Picture 3B shows the menu with password enabled in multiple screen mode.
Picture 3
Picture 3A
Picture 3B


