4
If your PC does not have a functioning FireWire port, you must install the IEEE 1394 PCI card that came with your
camera:
•
Shut down your computer.
•
Open the computer’s case and install the included IEEE 1394B card into an empty PCI or PCIe slot. See the
user manual for your computer for instructions on installing new PCI or PCIe cards.
•
Re-start your computer. Windows should automatically install the appropriate software drivers
for the card.
Step 2: Install your imaging software
•
Once the IEEE 1394B card is installed in your computer, you are ready to install the FireWire drivers and
imaging software. See your imaging software User Guide for instructions.
Step 3: Connect the EXi Aqua camera
Once your imaging software is installed, connect your camera. There are two types of connections: (1) through
Windows 9-pin PCI card and (2) through a Windows laptop computer.
In most cases, the FireWire cable provides the necessary power required by the EXi Aqua camera.
Connecting the EXi Aqua camera
Perform the following for connecting your camera.
•
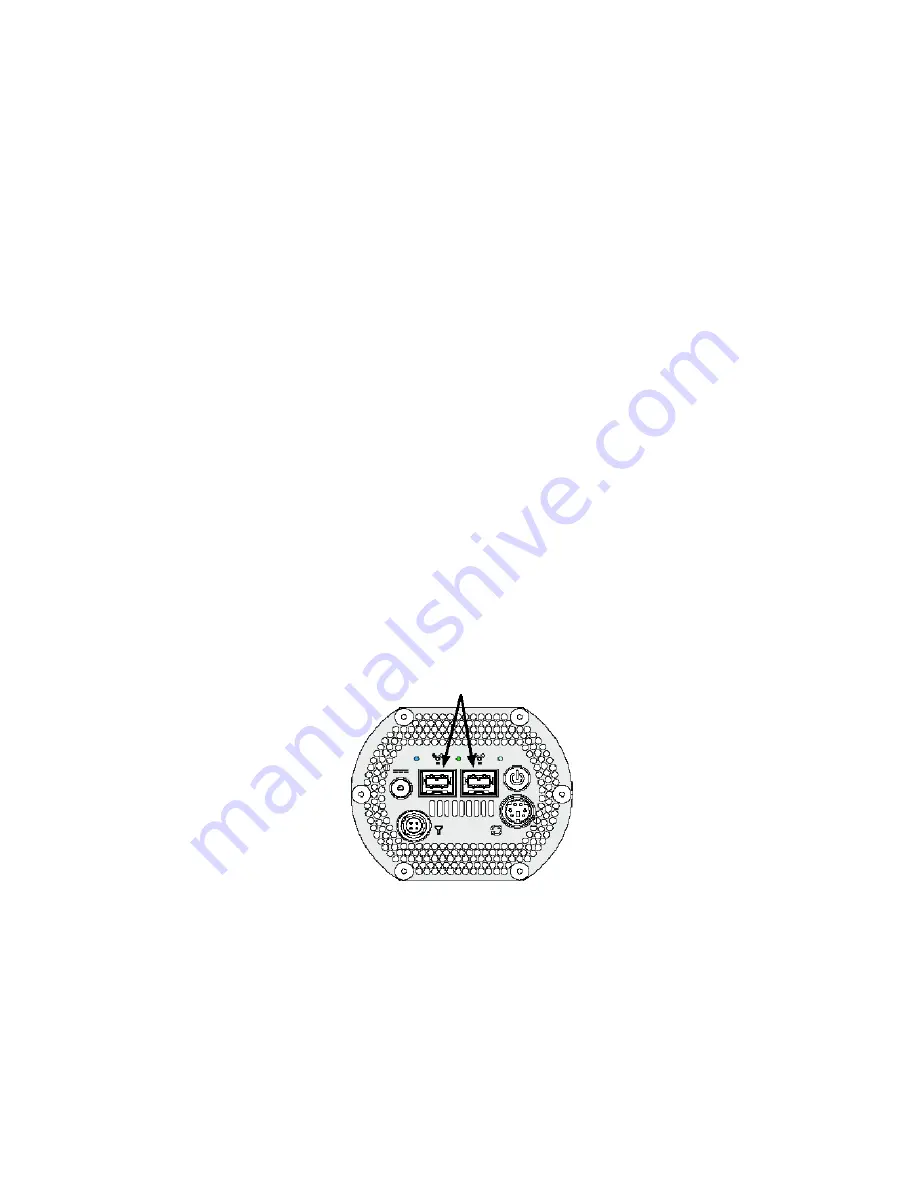
Remove the FireWire cable from the camera box, and plug one end of the cable into one of the
camera’s FireWire sockets (either socket is fine).
FIREWIRE PORTS
FIREWIRE PORTS
FIREWIRE PORTS
FIREWIRE PORTS
Figure 3 —
Camera FireWire sockets.
Summary of Contents for EXi Aqua
Page 2: ......


