


3
CHAPTER 2
INSTALLATION
Important:
Follow these steps in order to complete the installation.
Do not connect the camera until you have a functioning FireWire port in your
computer and the camera driver is installed.
1.
Install the IEEE 1394 PCI or PCIe card only if necessary.
2.
Install the software and drivers that your new QImaging camera needs to capture images.
3.
Connect your camera to your computer using the included IEEE 1394 cable.
Step 1: Install the 1394B PCI card
Check your computer for an existing FireWire port:
The EXi Aqua camera connects to your Windows PC via a FireWire port. If you already have a FireWire port, you
do not have to install the IEEE 1394 PCI or PCIe card. Check the connectors at the back of your PC for a port that
matches the FireWire port of the connection shown in Figure 1 or Figure 2.
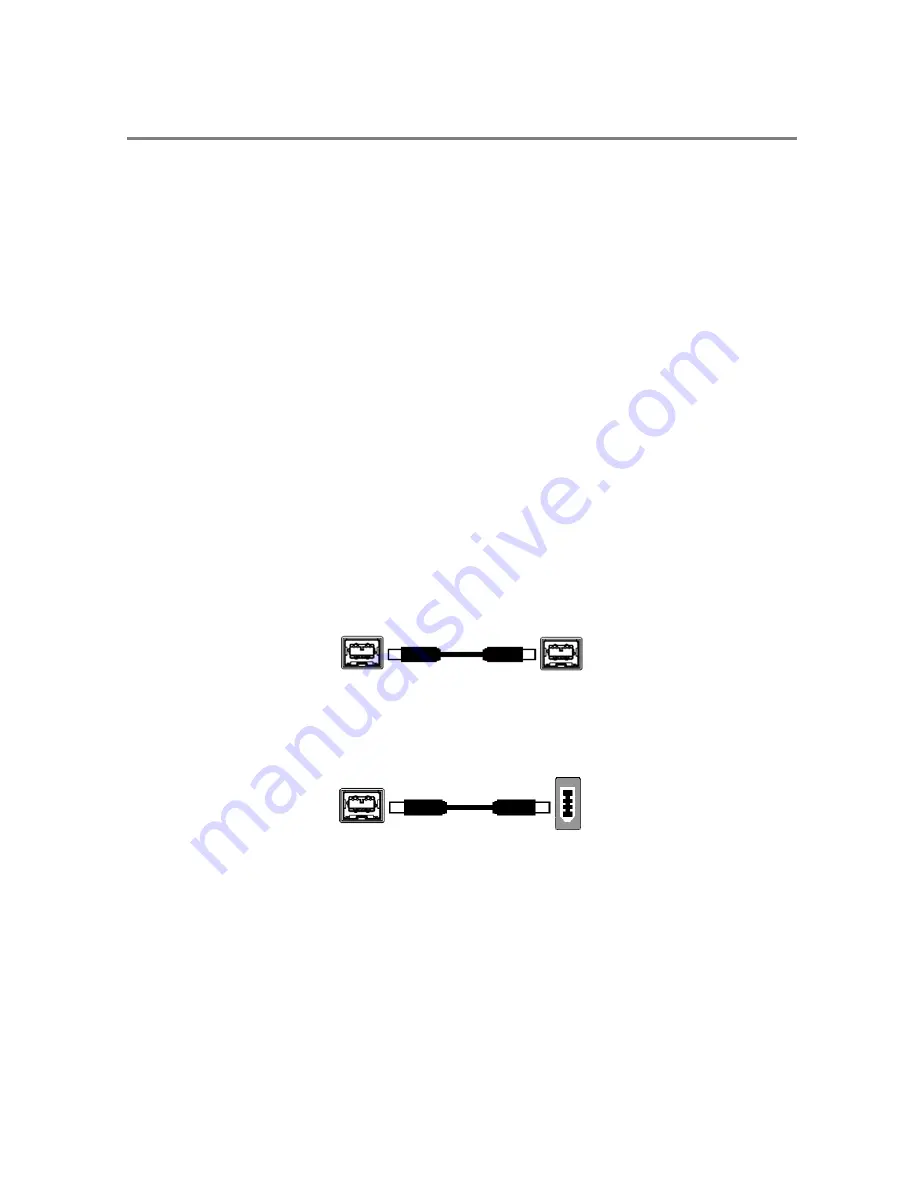
Camera
Computer
Figure 1 —
9-pin to 9-pin FireWire (IEEE 1394B) port connection
Camera
Computer
Figure 2 —
9-pin to 6-pin FireWire (IEEE 1394a) port connection
Figure 2
NOTE:
Unless the 6-pin FireWire Socket is on a FireWire B card, the maximum data rate will be 400 Mbps.
Due to the amount of high speed data transferred, some of the high end settings may not function
fully.
Summary of Contents for EXi Aqua
Page 2: ......


