www.pulsar.pl
INTRE
5
3. Installation.
3.1 Basic guidelines.
When installing the RS485-ETHERNET interface, please follow the general rules that will help to avoid
electromagnetic interferences and incorrect operation of the device:
- supply the interface with the power source of low ripple voltage
- the power cable should be as short as possible
- signal beams should be led at a minimum distance of 50 cm from each other, while the intersections between
them should be done at an angle of 90 °
- interface installation site should be located at a considerable distance from the equipment generating large
impulse disturbances, such as inverters, contactors, relays.
3.2 Connection to the RS485 bus.
The RS485-
ETHERNET interface is connected to the RS485 bus via the „RS485” connector. Connect the
wires of the RS485 bus to the A+, B- terminals of the connector. They are marked and connected the same way as
the rest of devices (A+ to A+, B- to B-).
Use a twisted-pair cable as a transmission wire of the RS485 bus. The
”point-to-point” topology is
recommended, while the ”star” topology should be avoided. If the wires are long enough, it is recommended to use
shielded cables to avoid errors during the communication and to lower the susceptibility to noise and radio
interference. It is recommended to mount the terminal resistors at the ends of the bus with a resistance close to the
impedance of the used cable, which is 120 Ohm.
3.3 Connection to the Ethernet network.
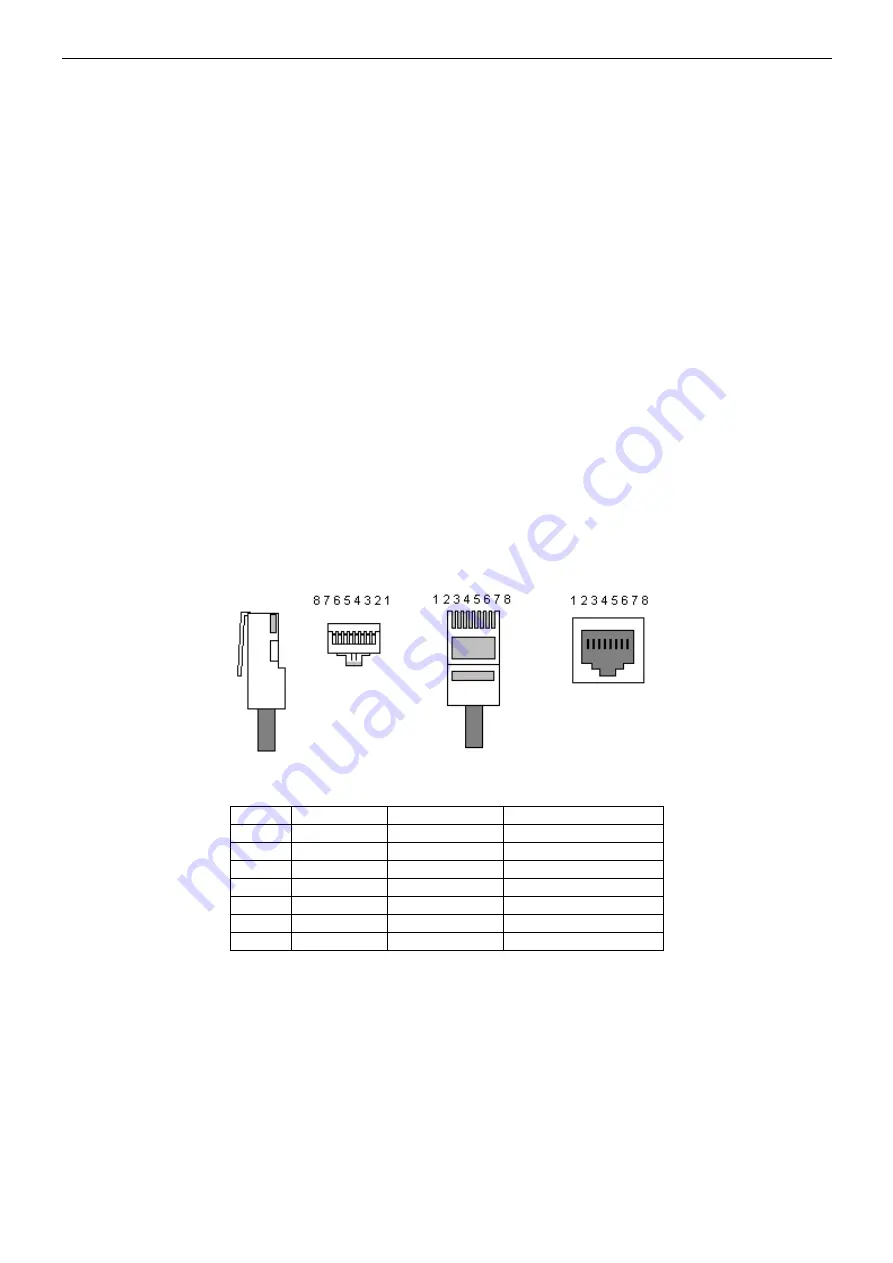
The connection of the RS485-ETHERNET interface to the Ethernet network should to be made with a
U/UTP twisted-pair cable, of min. 5 category, ending with RJ45 plugs, connected according to colour and
accordingly to the EIA/TIA 568B standard. If the dedicated location shows a high level of electromagnetic
interference, use a F/UTP or S/UTP shielded cable, thereby substantially reducing penetration of electromagnetic
interference.
The connection of the interface to the Ethernet network uses a cable with RJ45 plugs, non-interlaced.
Table 2. Description of pins in the RJ45 socket.
Pin 1
TXD+
Transm
white-orange
Pin 2
TXD-
Transmitting -
orange
Pin 3
RXD+
Rec
white-green
Pin 4
EPWR+
---
blue
Pin 5
EPWR+
---
white-blue
Pin 6
RXD-
Receiving -
green
Pin 7
EPWR-
---
white-brown
Pin 8
EPWR-
---
brown


