


6
6
5
Turn the unit on by briefly pressing the
button - the
ON (
4
)
green
LED
(10)
charge
.
will light up. The display shows the battery
icon The
IR Illuminator switches automatically to position
To turn the display off during operation, press and hold down the
ON
(
4
)
button for more than one second.
The display will show a
message.
DISPLAY OFF
To turn the display on, press iefly the
button for more than one
br
ON
second.
To turn the unit off, press and hold down the
button for more than
ON
three second. The display shows message
,
“Switch off”
countdown will start from 3 to seconds, and the unit turns off.
1
Achieve a crisp image of the icons on the display by rotating the
eyepiece diopter adjustment ring
.
(2)
Locate an object within 20 to 30 metres.
Achive a crisp image of the object by rotating the objective lens
.
(1)
Adjust the image brightness by turning the adjustment wheel
. The
(8)
brightness level and brightness icon are shown in the right
top
corner of the display. The adjustment range is 0 to 20.
When changing the viewing distance, obtain a sharp and high-
quality image by rotating the objective lens
and the wheel
.
(1)
(8)
There is no need to rotate the eyepiece - you have already made the
necessary individual adjustment.
To increase the range of detection and identification in low light
conditions or in complete darkness, you may switch on the built-in
LED IR Illuminator
by pressing the
button. The IR
(9)
IR (5)
illuminator allows you to increase the observation distance and
recognise the object.
Press the button successively to change power level (from 1 to 3).
IR
The corresponding icon will appear in the upper part of the
display.
To turn the IR Illuminator off, press and hold down the
button for
IR
two seconds. The IR icon will disappear.
You can find a detailed description of IR Illuminator operation in
section
.
12 “BUILT-IN IR ILLUMINATOR”
To activate the digital zoom, briefly press the
button.
ZOOM (7)
OPERATING MODES
9
Video
(video recording)
Photo
(image capture)
eview
R
(video and image review)
The operating modes are as follows:
When first switched on, the unit is in Video mode. Switch between
operating modes by a long press of the
REC (6)
button. This enables you
to cycle between modes
(Video->Photo->Review->Video…)
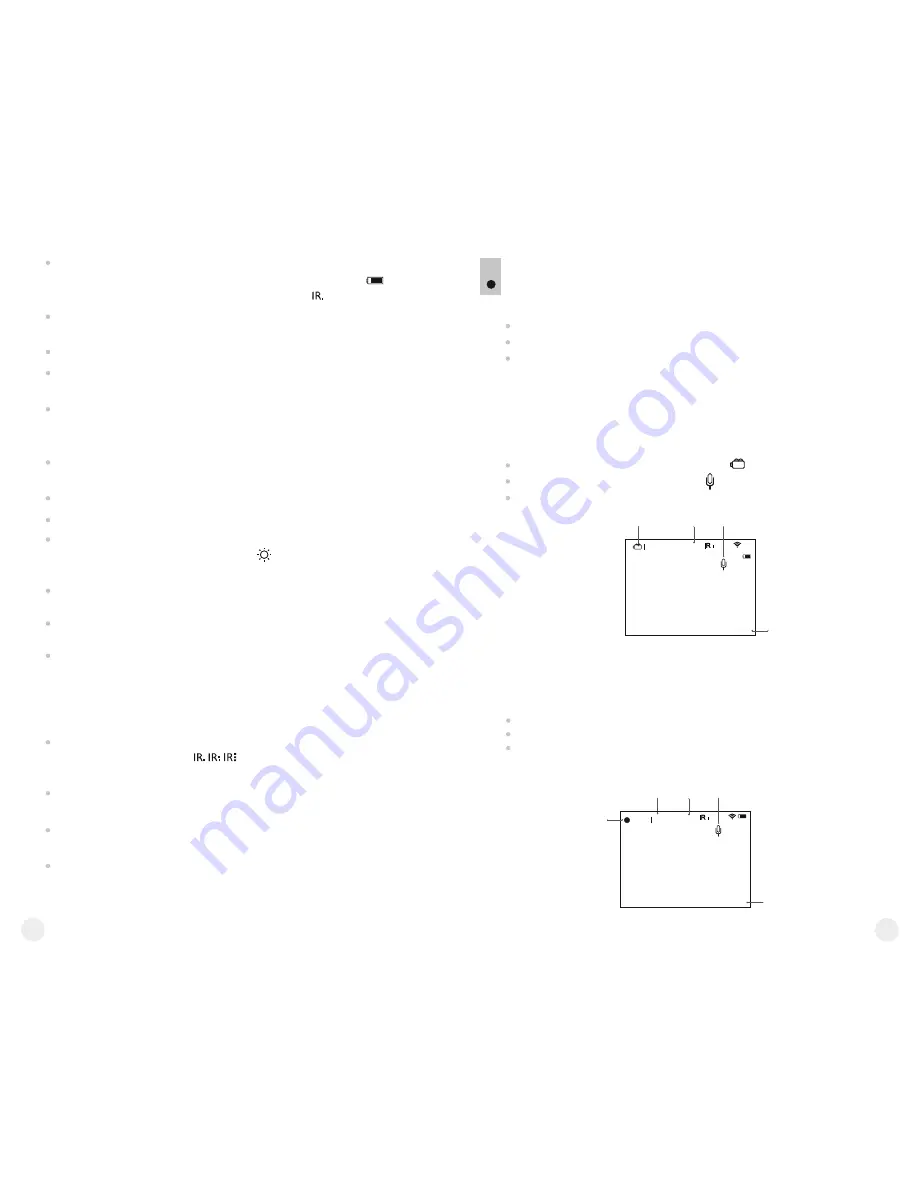
VIDEO MODE
Video recording mode is the default mode.
Video recording mode
is shown by the icon on the display.
Sound recording
is shown by the icon on the display.
Full magnification
is shown with by special icon (i.e. 13x) on the
display.
To start or stop video recording
, briefly press the
REC (6)
button.
Video clips are saved in the internal Flash memory when video recording
is stopped or the unit is turned off.
Video recording indication on the display:
The
REC (6)
icon appears in place of the
“VIDEO”
icon.
Display icons are not recorded.
You can enter and navigate the menu during video recording.
13x
04:23pm
VIDEO mode
SOUND
ZOOM
Current time
13x
00:02
Elapsed recording time
Note!
You can stop recording video only after exiting the menu.
Record timer
SOUND
ZOOM
Video recording
REC
00:42
01:42


