background image

ORiNOCO Wireless Client 

User Guide

Chapter 2 Installation  


16     

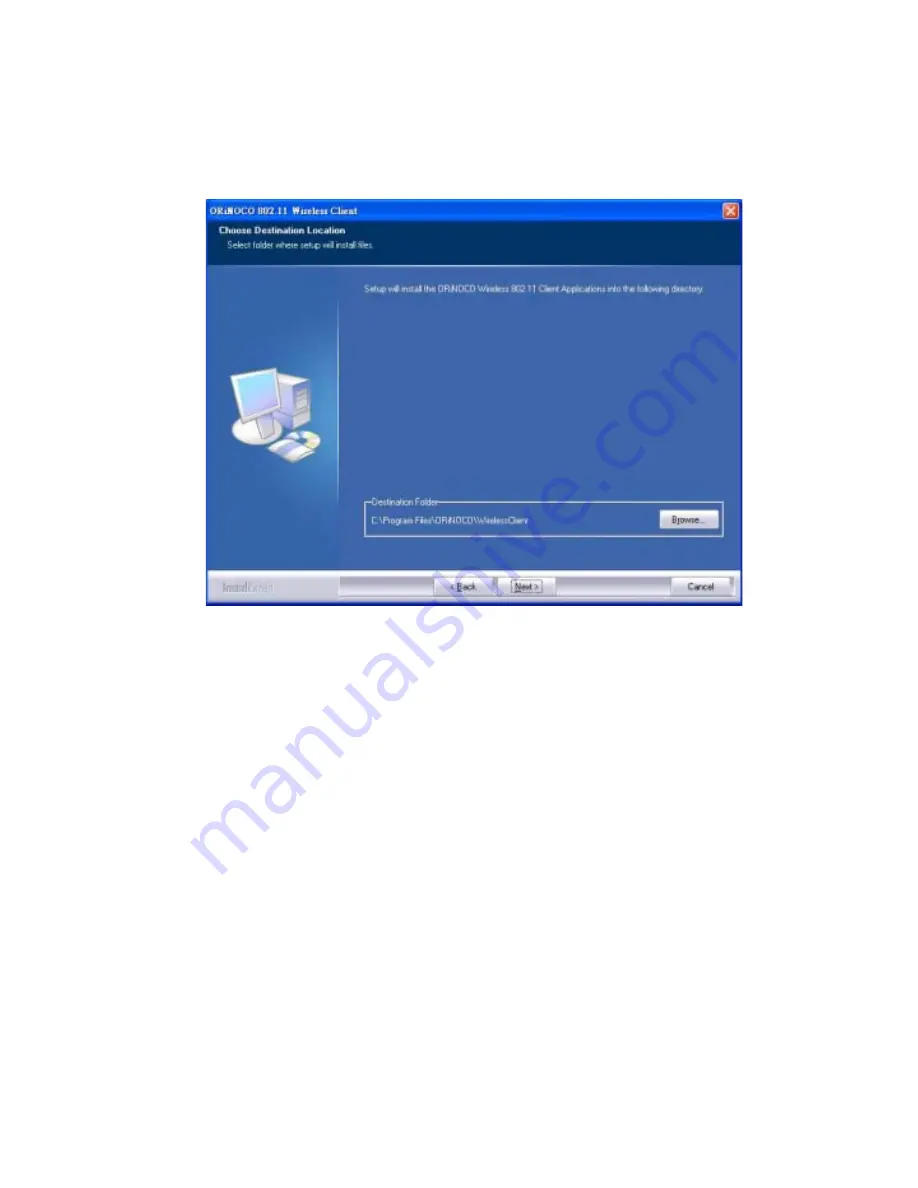
Figure 2-4  Choose Destination for Installation 

8. 

Select Program Folder.   

Setup will then ask you to select a folder name for ORiNOCO 802.11 Wireless Client.  You can 

accept the default setting, or enter another folder name as you wish. 

Summary of Contents for orinoco series

Page 1: ...ORiNOCO Wireless Client User Guide...

Page 2: ...e described in it are copyrighted with all rights reserved No part of this publication may be reproduced transmitted transcribed stored in a retrieval system or translated into any language in any for...

Page 3: ...IENT UTILITY INSTALLATION 12 2 4 PROXIM CLIENT UTILITY MAJOR UPGRADE 22 CHAPTER 3 WIRELESS TOPOLOGIES 23 3 1 INTRODUCTION 23 3 2 PEER TO PEER GROUP 23 3 3 ACCESS POINT INFRASTRUCTURE 24 CHAPTER 4 PROX...

Page 4: ...DIX A SPECIFICATIONS 65 A 1 TECHNICAL SPECIFICATIONS 65 APPENDIX B WARRANTY AND REGULATORY INFORMATION 69 B 1 LIMITED WARRANTY DISCLAIMER LIMITATION OF LIABILITY 69 B 2 REGULATORY INFORMATION 70 APPEN...

Page 5: ...nt These differences are explained later in this chapter The ORiNOCO Wireless Client supports Windows XP Windows 2000 Windows Millennium Edition ME and Windows 98 Second Edition SE Computers with an O...

Page 6: ...chnical Specifications Table 1 1 Comparison list of Proxim Wireless Client Support 11a b g ComboCard 11b g PC Card 11a b g PCI Adapter 802 11a X X 802 11b X X X 802 11g X X X Fastest Radio Data Rate 5...

Page 7: ...om the network 1 4 Product Package Each ORiNOCO Wireless Client comes with the following 1 One Gold or Silver ORiNOCO Wireless Client z All models include two integral antennas antennas are inside the...

Page 8: ...1 The IEEE 802 11 Specifications In 1997 the Institute of Electrical and Electronics Engineers IEEE adopted the 802 11 standard for wireless devices operating in the 2 4 GHz frequency band This standa...

Page 9: ...efer to parameters that apply to 802 11a 802 11b and 802 11g devices An 802 11a device and an 11b g device cannot communicate with each other Also a device in 802 11a 2X mode and a device operating in...

Page 10: ...Cisco Client Extension compatibility including LEAP z Wired Equivalent Privacy WEP encryption using 64 bit 128 bit or 152 bit encryption z AES CCM Encryption support z Support for Windows 802 1x suppl...

Page 11: ...nd control the ORiNOCO Wireless Client see 4 6 Configuring Your Wireless Networking Settings with Windows XP Installing the Wireless LAN Client utility will disable this Windows XP feature 2 1 Pre ins...

Page 12: ...Windows 98 ME CD it is possible that you already have the Windows installation files on your hard drive These Windows installation files are known as Windows Cabinet or CAB files The Cabinet files ar...

Page 13: ...ORiNOCO Installation CD into the computer s CD ROM drive 3 If the ORiNOCO Installation program does not launch automatically run SETUP EXE from the ORiNOCO Installation CD to launch the program 4 Clic...

Page 14: ...ORiNOCO Wireless Client User Guide Chapter 2 Installation 14 Figure 2 2 License Agreement for the Installation of the ORiNOCO Wireless Client...

Page 15: ...em After the installation you can configure connection settings from Windows Zero Configuration however you can t use PEAP LEAP WPA PSK since no supplicant is installed Install ORiNOCO 802 11 Wireless...

Page 16: ...Installation 16 Figure 2 4 Choose Destination for Installation 8 Select Program Folder Setup will then ask you to select a folder name for ORiNOCO 802 11 Wireless Client You can accept the default set...

Page 17: ...ORiNOCO Wireless Client User Guide Chapter 2 Installation 17 Figure 2 5 Select Program Folder in this dialog 9 Please be patient while the software is installed on your computer...

Page 18: ...ORiNOCO Wireless Client User Guide Chapter 2 Installation 18 Figure 2 6 Software Setup in Process 10 Click Finish to close the Software Setup wizard when prompted...

Page 19: ...nt Utility will be automatically loaded each time your computer starts To access the utility click the Proxim Client Utility icon in the Windows Taskbar 11 Insert the ORiNOCO Wireless Client into your...

Page 20: ...rding to the instructions provided by the computer s manufacturer Touch the metal chassis of your computer to avoid damage caused by electrostatic discharge Figure 2 9 Remove the Computer Cover to Int...

Page 21: ...security enabled the Wireless Client should connect automatically z If you have an Access Point on the network with security enabled double click the Proxim icon to launch the Proxim Client Utility U...

Page 22: ...message dialog for Major Upgrade Figure 2 11 Setup program issue Major Upgrade 2 The setup program will then remove the prior installed ORiNOCO Wireless 802 11 Utility and Driver 3 After successful r...

Page 23: ...twork is the simplest to deploy and is ideal for small offices Peer to Peer Group can be comprised of two or more wireless client configured to communicate with one another Peer to Peer Group clients...

Page 24: ...or more Access Points on the Ethernet network Access Points are devices that communicate with both the Ethernet network and the wireless network An Access Point network is also referred to as an Infra...

Page 25: ...CO AP 2000 with an ORiNOCO 802 11g card installed Figure 3 2 Communicating with a Single 802 11g Access Point 3 3 2 Roaming Between Multiple APs For larger environments the ORiNOCO Wireless Client may...

Page 26: ...twork must have a unique independent Channel but all must have the same Network Name and security settings Mobile clients equipped with an ORiNOCO Wireless Client have Network Type set to Access Point...

Page 27: ...lection a user can roam among 802 11a 802 11a 2X Turbo 802 11g and 802 11b Access Points All workstations with ORiNOCO Wireless Clients installed must use either a Network Name of any or the same Netw...

Page 28: ...r is restarted Double click the PCU icon to launch the utility Figure 4 1 Proxim Utility Icon The Proxim Client Utility icon will display the current status of the wireless connection A number appears...

Page 29: ...ration profile Network Type The current type of wireless network either Access Point or Ad hoc Wireless Mode The current frequency and data rate that has been selected Current Channel The current chan...

Page 30: ...wer Level Provides current setting of Radio output power Network Name SSID The wireless network name SSID that the device is currently connected with Power Save Mode The type of Power Savings that is...

Page 31: ...ppropriate settings of a unique wireless network The Profile box lists all the configured profiles The Details dialog describes the basic settings SSID Network Type Security Mode of the highlighted pr...

Page 32: ...all available wireless networks that are within range of the ORiNOCO Wireless Client Each wireless network entry displays the network s SSID encryption settings signal strength level Channel and Wirel...

Page 33: ...s shown in Figure 4 7 3 In the Profile Name box enter a unique name that describes the profile or the wireless network you want the card to connect to 4 In the SSID boxes enter the SSID that matches t...

Page 34: ...ection becomes available so you can configure additional settings required by the selected security mode 7 Click Advanced if you want to configure the advanced parameters see 4 3 3 Advanced Settings i...

Page 35: ...not support EAP 802 1x authentication x 802 1x This security mode allows the authentication of the user and or the station to create a dynamic Wired Equivalency Key WEP key LEAP authentication with a...

Page 36: ...m Client Utility Configuration 36 Figure 4 10 Disable Security Setting on Profile Management Icon Setting Pre Shared Keys You can define the Pre Shared keys Figure 4 11 by using the Define Pre Shared...

Page 37: ...e left edge to set the currently active encryption key At least one Shared Key field must be populated to enable security using a shared key If more then one key is defined then click the appropriate...

Reviews: